

A touch of Paris to this DIY budget-friendly Atlanta, GA Kitchen

Finding our House
This was my very first budget-friendly kitchen renovation! This kitchen was the reason my husband and I were able to afford a house in our dream Atlanta neighborhood. We saved over $100k on our home, because the kitchen was in such poor condition. There were pest infestations, plumbing problems, and electrical issues, but we saw an opportunity to live in a beautiful neighborhood at an affordable price, and nothing was going to stop the vision we had for this space.


Almost three years ago, my husband and I purchased our first home. We were driving through the cutest Atlanta neighborhood, and spotted a “for sale by owner” sign.
From the looks of it, we could tell it was a fixer-upper, but that was right up our alley! The house was in a great location, and we were willing to put in the work we needed to get a deal on the house. That “work,” ended up being the kitchen.

The Kitchen Plan
The moment I stepped in to the kitchen, I could see its potential and knew exactly how I wanted to design the space. I’d been to Paris, France a few times that year, and I loved how homely I felt in their establishments. Even though the architecture was modern and luxurious, I still felt comfortable along with a need to lounge. These were some of the same feelings I wanted to bring to our kitchen.

A Galley Style Kitchen
Because the kitchen was galley-style, it immediately reminded me of those smaller cafes I’d visited in Paris during our vacations there. So it was absolutely important for me to incorporate that bistro-European aesthetic while keeping the layout of the kitchen and utilizing the space appropriately.


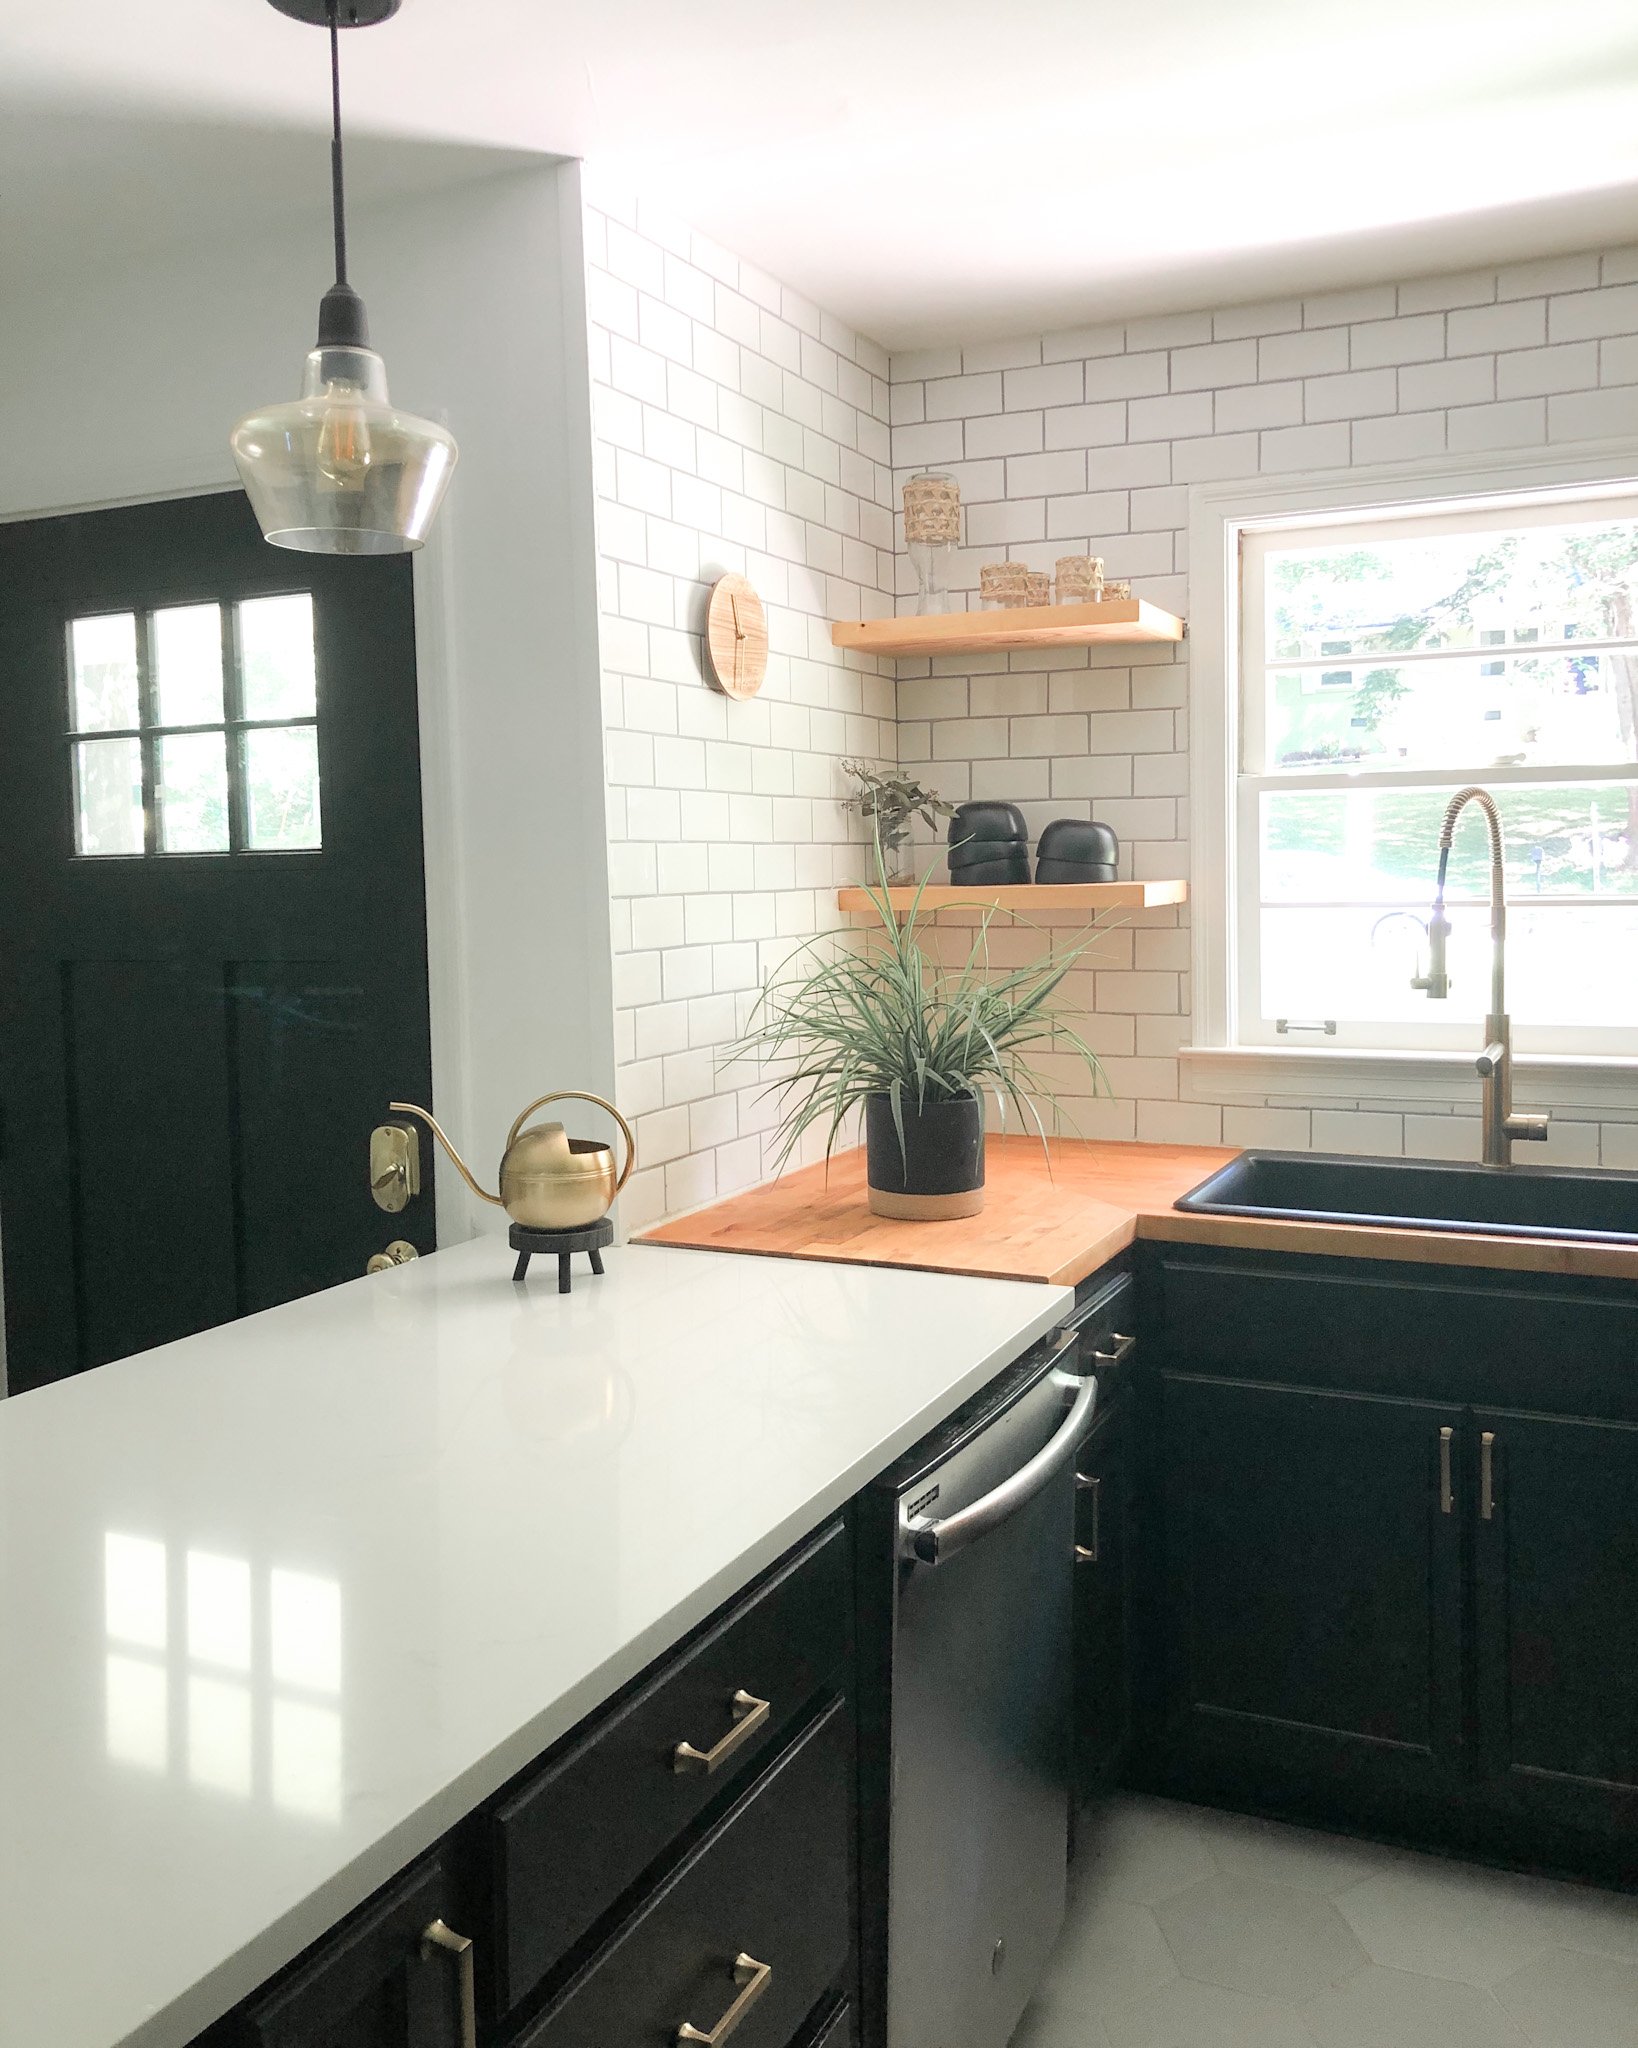
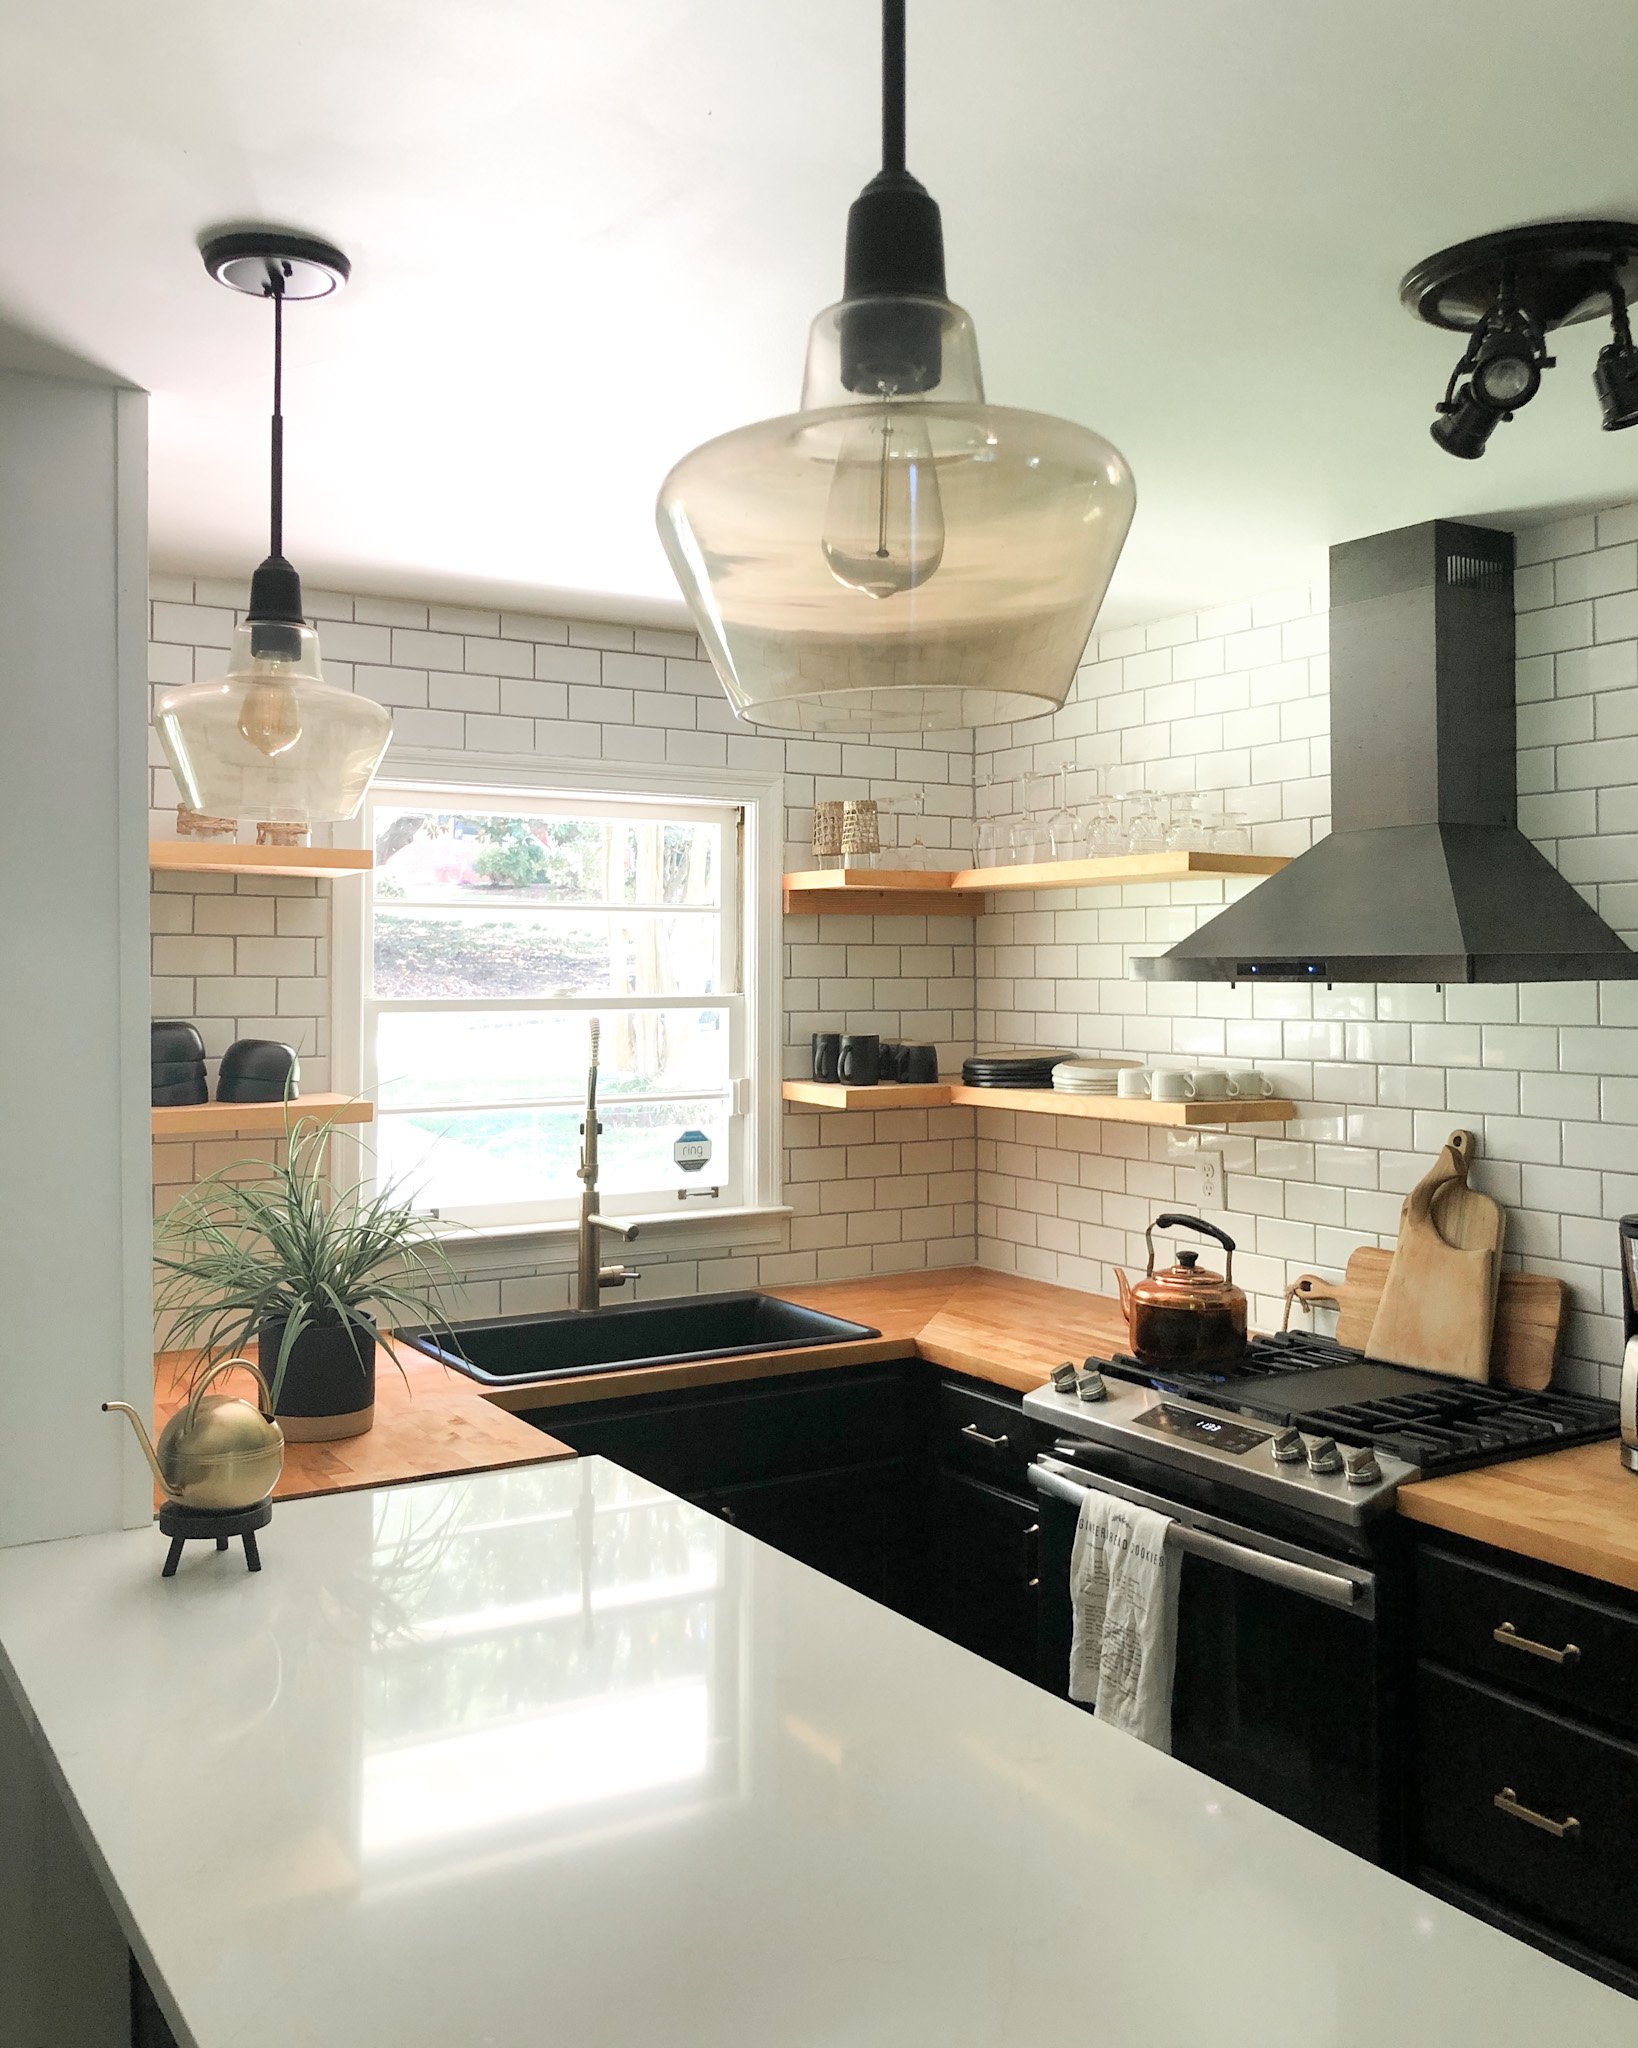
I started with knocking out the walls, and creating a 14-foot island with a quartz countertop. This makes the kitchen feel like the perfect spot to hangout, drink lattes and eat crepes. I added velvet and brass barstools, and hexagon floor tile to play up this vibe!

The Contrast
If you know me, you know just how much I love contrast! I wanted the kitchen to feel open and airy, but I also wanted it to feel extra moody and sophisticated (like Paris), so I painted our cabinets black, chose a black gas stove and range hood to pop against the subway tile. I decided to go with floating shelves up top, to open up the space. I added counter-to-ceiling subway tile to elongate the walls, and chose butcher-block to contrast the quartz countertop.
Texture, Texture, Texture
I love playing with textures! I decided on wood shelves against the tiled backsplash, and weaved accessories like dish coasters to go along with our bowls and plates. There are textured vintage wine and cocktail glasses incorporated into the design as well, this gives it a boutique and eclectic feel.

Lounging
My ultimate goal was to create a cozy space that would inspire conversation. Having the bar set-up makes it so enticing to lounge and chat with friends over a cup of joe or tea. It was one of our favorite places to sit in the house.

When guests were over, our sink and faucet helped us to rinse cups, bowls, and plates quick and easy; pop them into our dishwasher, and never miss a beat during our fun conversations. I also loved the warm mid-century-style lighting we chose, this style drop pedant sets the Parisian mood just right.

Ajai’s Kitchen AFTER Remodel Began

Ajai’s kitchen BEFORE Remodel
The Journey
We spent $25k to update this kitchen, put in some sweat equity, and budgeted on greenery and foliage. We tiled the backsplash, painted the cabinets, and stained the butcher-block ourselves, and added a faux fiddle leaf fig . It was worth every moment, and we absolutely enjoyed the journey.
I hope you enjoyed this read and I hope it inspires you.
Xo,
Ajai

How to Make a large scale wooden frame
I took matters into my own hands and decided to make one. I only spent about $30 doing so. I figured I share this fun and easy DIY for anyone else needing to save a few bucks, but wanting to frame a large scale print or piece of artwork.

I’ve been looking for the perfect print for my living room for quite some time. I finally found a print, that happens to be on the large size. All to find out, a 31” x 47” print can cost anywhere from $250 - $600 to frame. So I took matters into my own hands and decided to make one. I only spent about $30 doing so. I figured I share this fun and easy DIY for anyone else needing to save a few bucks, but wanting to frame a large scale print or piece of artwork.

Here’s what you’ll need:
1 composite board (to fit your art work)
4 pieces of wood moulding (2 vertical pieces and 2 horizontal pieces - to fit the dimensions of your art work)
gorilla glue
wood filler
sand paper
1/2 inch nails
picture fasteners
hammer
Directions:
Step 1: select a composite board to fit your art
Step 2: select your choice of moulding from hardware store
Step 3: cut 4 pieces of your moulding. (Two should be measured to the vertical measurement of your print and two should be the same as your horizontal measurement).
Step 4: cut 45 degree angles into each end of the moulding. They should come together in a “V” shape.
Step 5: after you have your 45 degree angles cut, ensure that all four pieces fit the frame.
Step 6: place art on top of composite board and glue edges with gorilla glue
Step 7: glue moulding pieces to the edges of the art and composite board. Glue the edges together.
Step 8: let the frame sit for 24 hours. I laid books on top of it to make sure the pieces that were glued remained forced together.
Step 9: turn the frame over to expose the back of the composite board and attach self fastening tooth hanger (I attached three fasteners just 2 inches down from the top of the board - 20 inches in between each fastener).
Step 10: hammer 1/2 inch nails 3 - 5 inches apart into composite board edges to further secure the moulding.
Step 11: place nails in wall where you intend to place art piece.
Step 12: turn your art piece over (to the front) and fill in the joint edges with wood filler
Step 13: sand wood filler down to your liking.
Step 14: hang up your art and enjoy saving hundreds of dollars on a frame!


Minimal and Sustainable Gift Wrapping Ideas
This year, my goal is to reuse all of the items I currently have to wrap presents. I'm trying my best to get into a practice of repurposing and living more sustainably. Here are some ways I'll be sustainably gift- wrapping and decorating for this holiday season.

This year, my goal is to reuse all of the items I currently have to wrap presents. I'm trying my best to get into a practice of repurposing and living more sustainably. Here are some ways I'll be sustainably gift- wrapping and decorating for this holiday season:

REUSING SHIPPING BOXES FROM DELIVERIES
I'll be saving all of my Amazon boxes to wrap my presents this year. With a baby on the way, we created an Amazon registry and had all of the gifts sent to us. We had deliveries that entailed us receiving 2-3 boxes a day - so many boxes that would normally just go to waste.


USING DRIED FOLIAGE
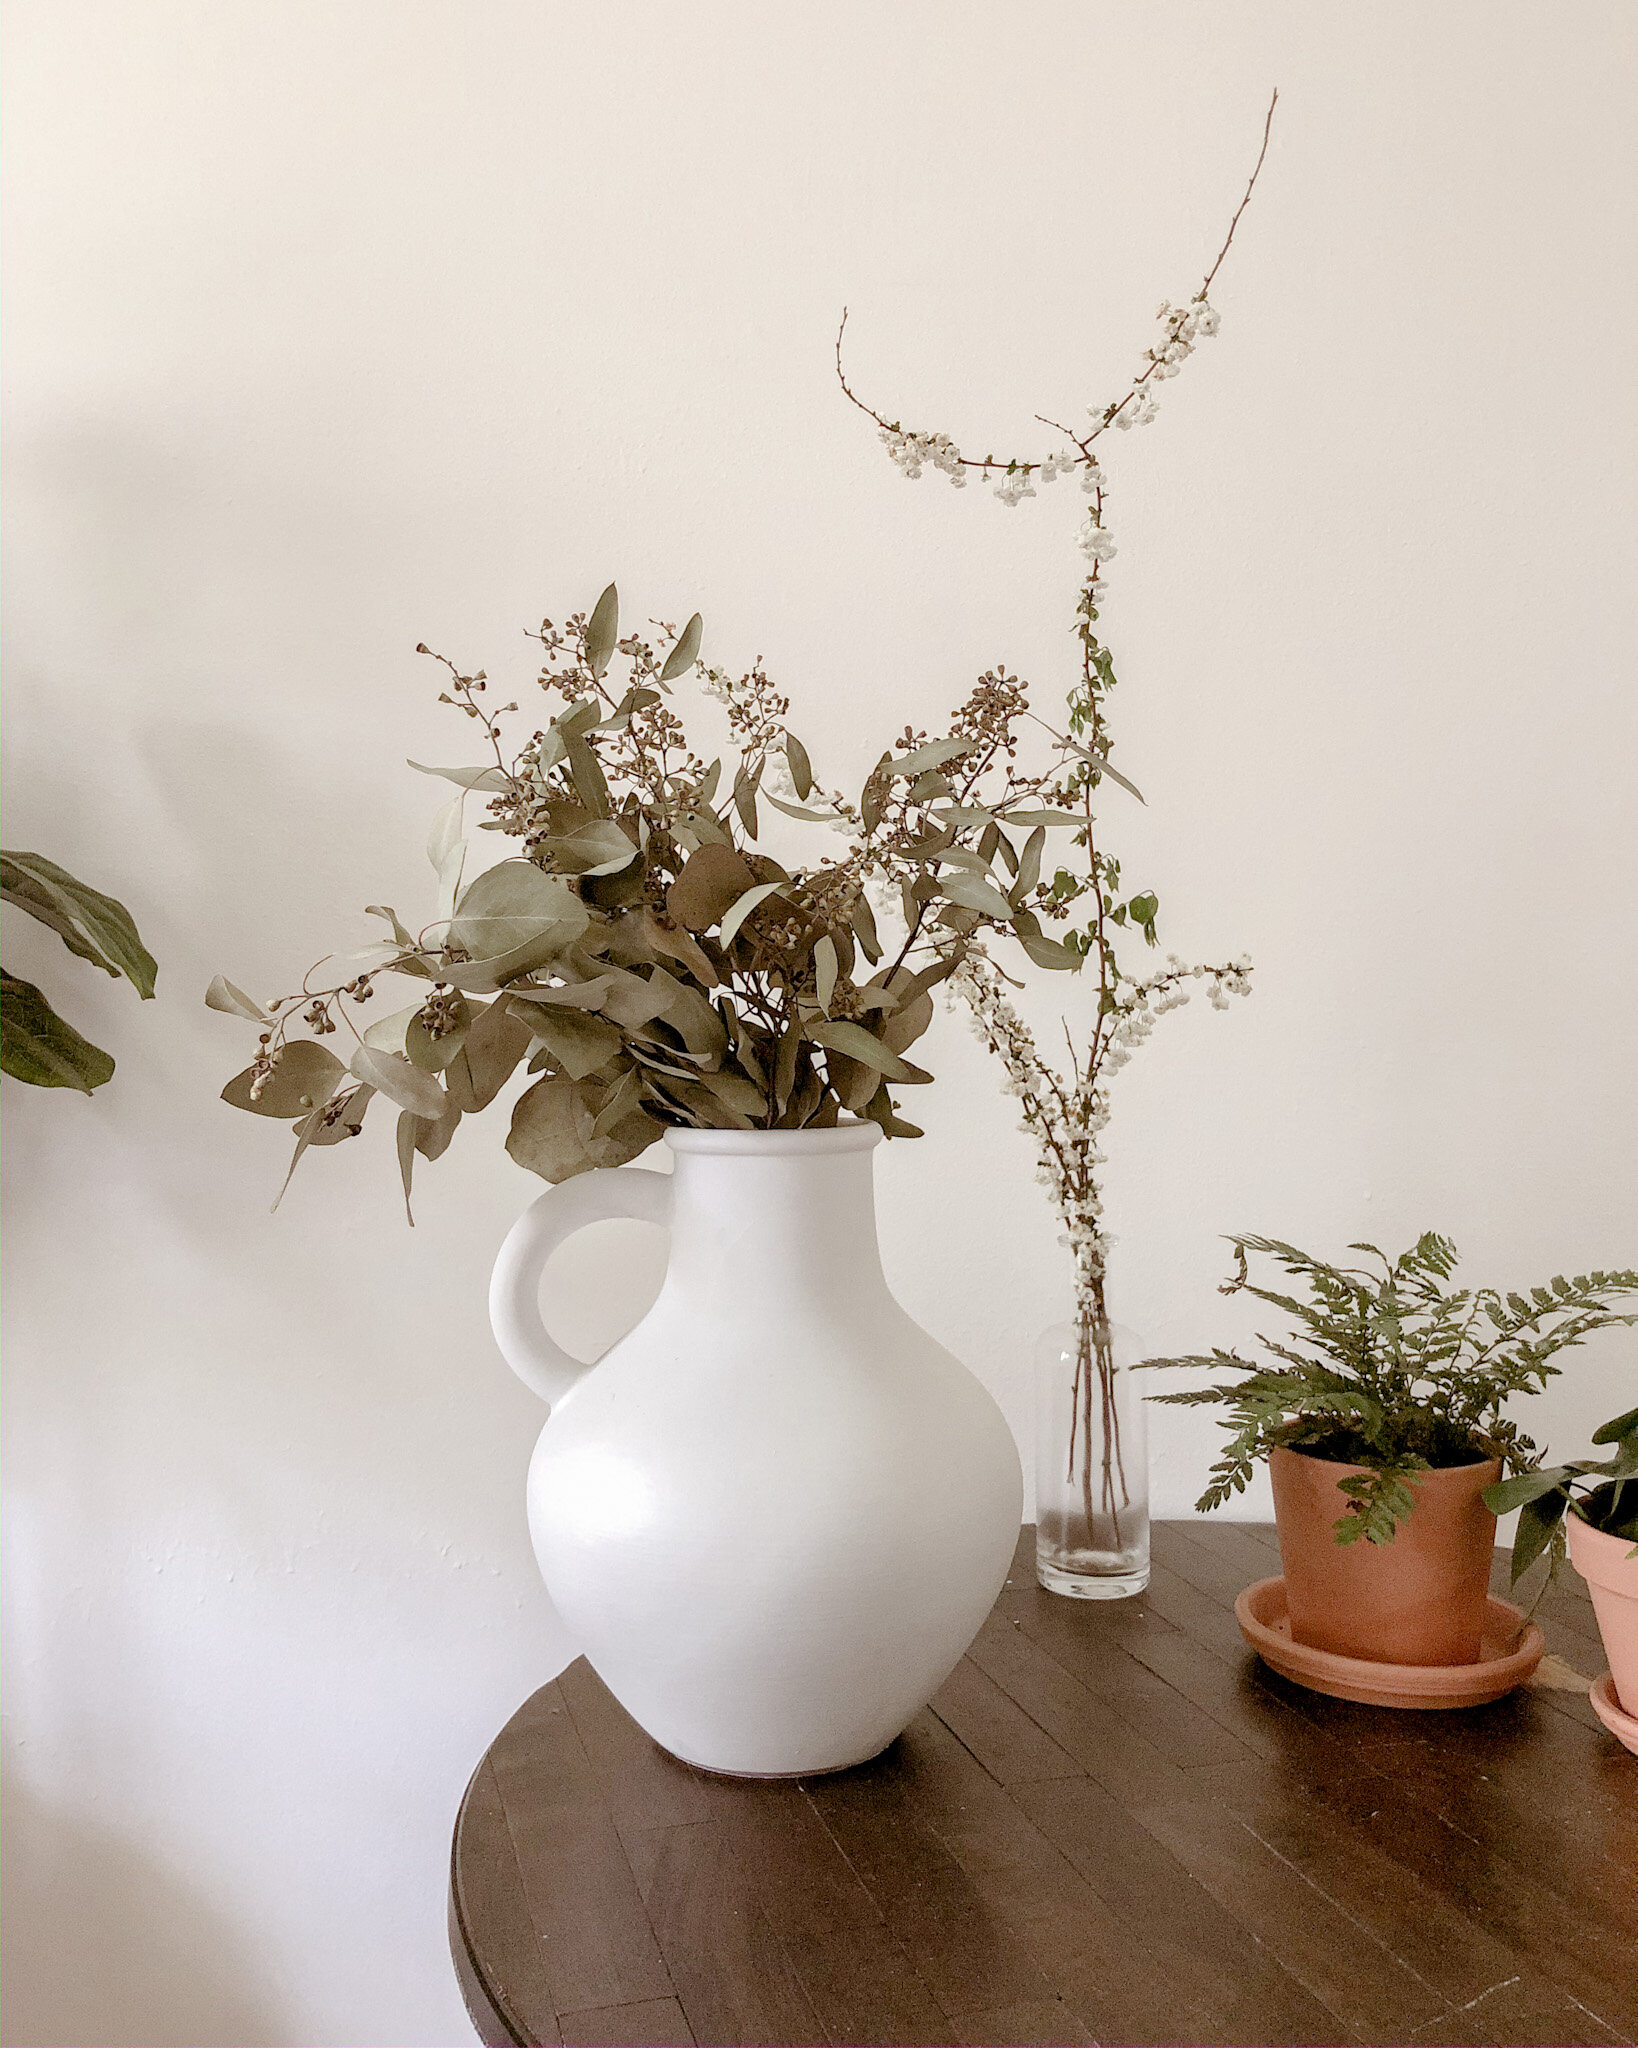
I'll be using natural decorations to embellish my gifts this year. Like foliage from my grandfather's yard (he has plenty of eucalyptus growing in his yard) and drying fruits to decorate our tree. It's so simple to find foliage in a garden or local park (like branches on the ground). My husband recently went over to a Christmas tree lot and asked if we could have the leftover trimmings that had been cut from the Christmas trees - we used these trimmings to wrap gifts and even added them to a few of our white vase; placing them on our our bedroom nightstands and living room credenza.


MAKE USE OF FABRIC (NAPKINS)
I love using fabric to wrap gifts. This ensures the receiver can reuse things like napkins and blankets for their original function. These sorts of holiday wrapped gifts show very beautifully as well.


USE KRAFT PAPER
Kraft paper is also a versatile item. Paper without all of the holiday designs can be used year-round and for several purposes. Along with a beautifully displayed gift wrap-design, this paper has high strength and great durability. Kraft paper is also a very inexpensive way to have an appealing, minimal, and elegant gift display.


EMBELLISH YOUR PRESENTS WITH JUTE TWINE AND RIBBON
If you’re like me (a craft queen) you’ve got plenty of jute twine laying around, along with ribbon to reuse and add beautiful designs to your holiday gifts.

There you have it! quick and easy ways to wrap gifts sustainably this holiday season!
Happy designing!
Xo,
Ajai

How we updated our bathroom on a $250 budget

The $250 Budget
When we moved into our house we had to update both of our bathrooms in a hurry! Neither one of the bathroom’s toilets or sinks were water compliant (up to code) therefore, we could not have the water or gas turned on. This left us with a small budget, needing to update two bathrooms! After updating the larger bathroom, we were left with $250 to remodel the half-bath. Below is a before photo of what we were working with.

Getting Started
To get started, we thought it would make the most sense to immediately swap out the toilet and sink, as they were the primary reason we could not have the water and gas turned on. We found a traditional toilet and vanity during a BOGO deal! We bought the toilet for our full bath and got a toilet free, and bought a vanity for our full bath and got one free. We used the free toilet and sink for our half bath.
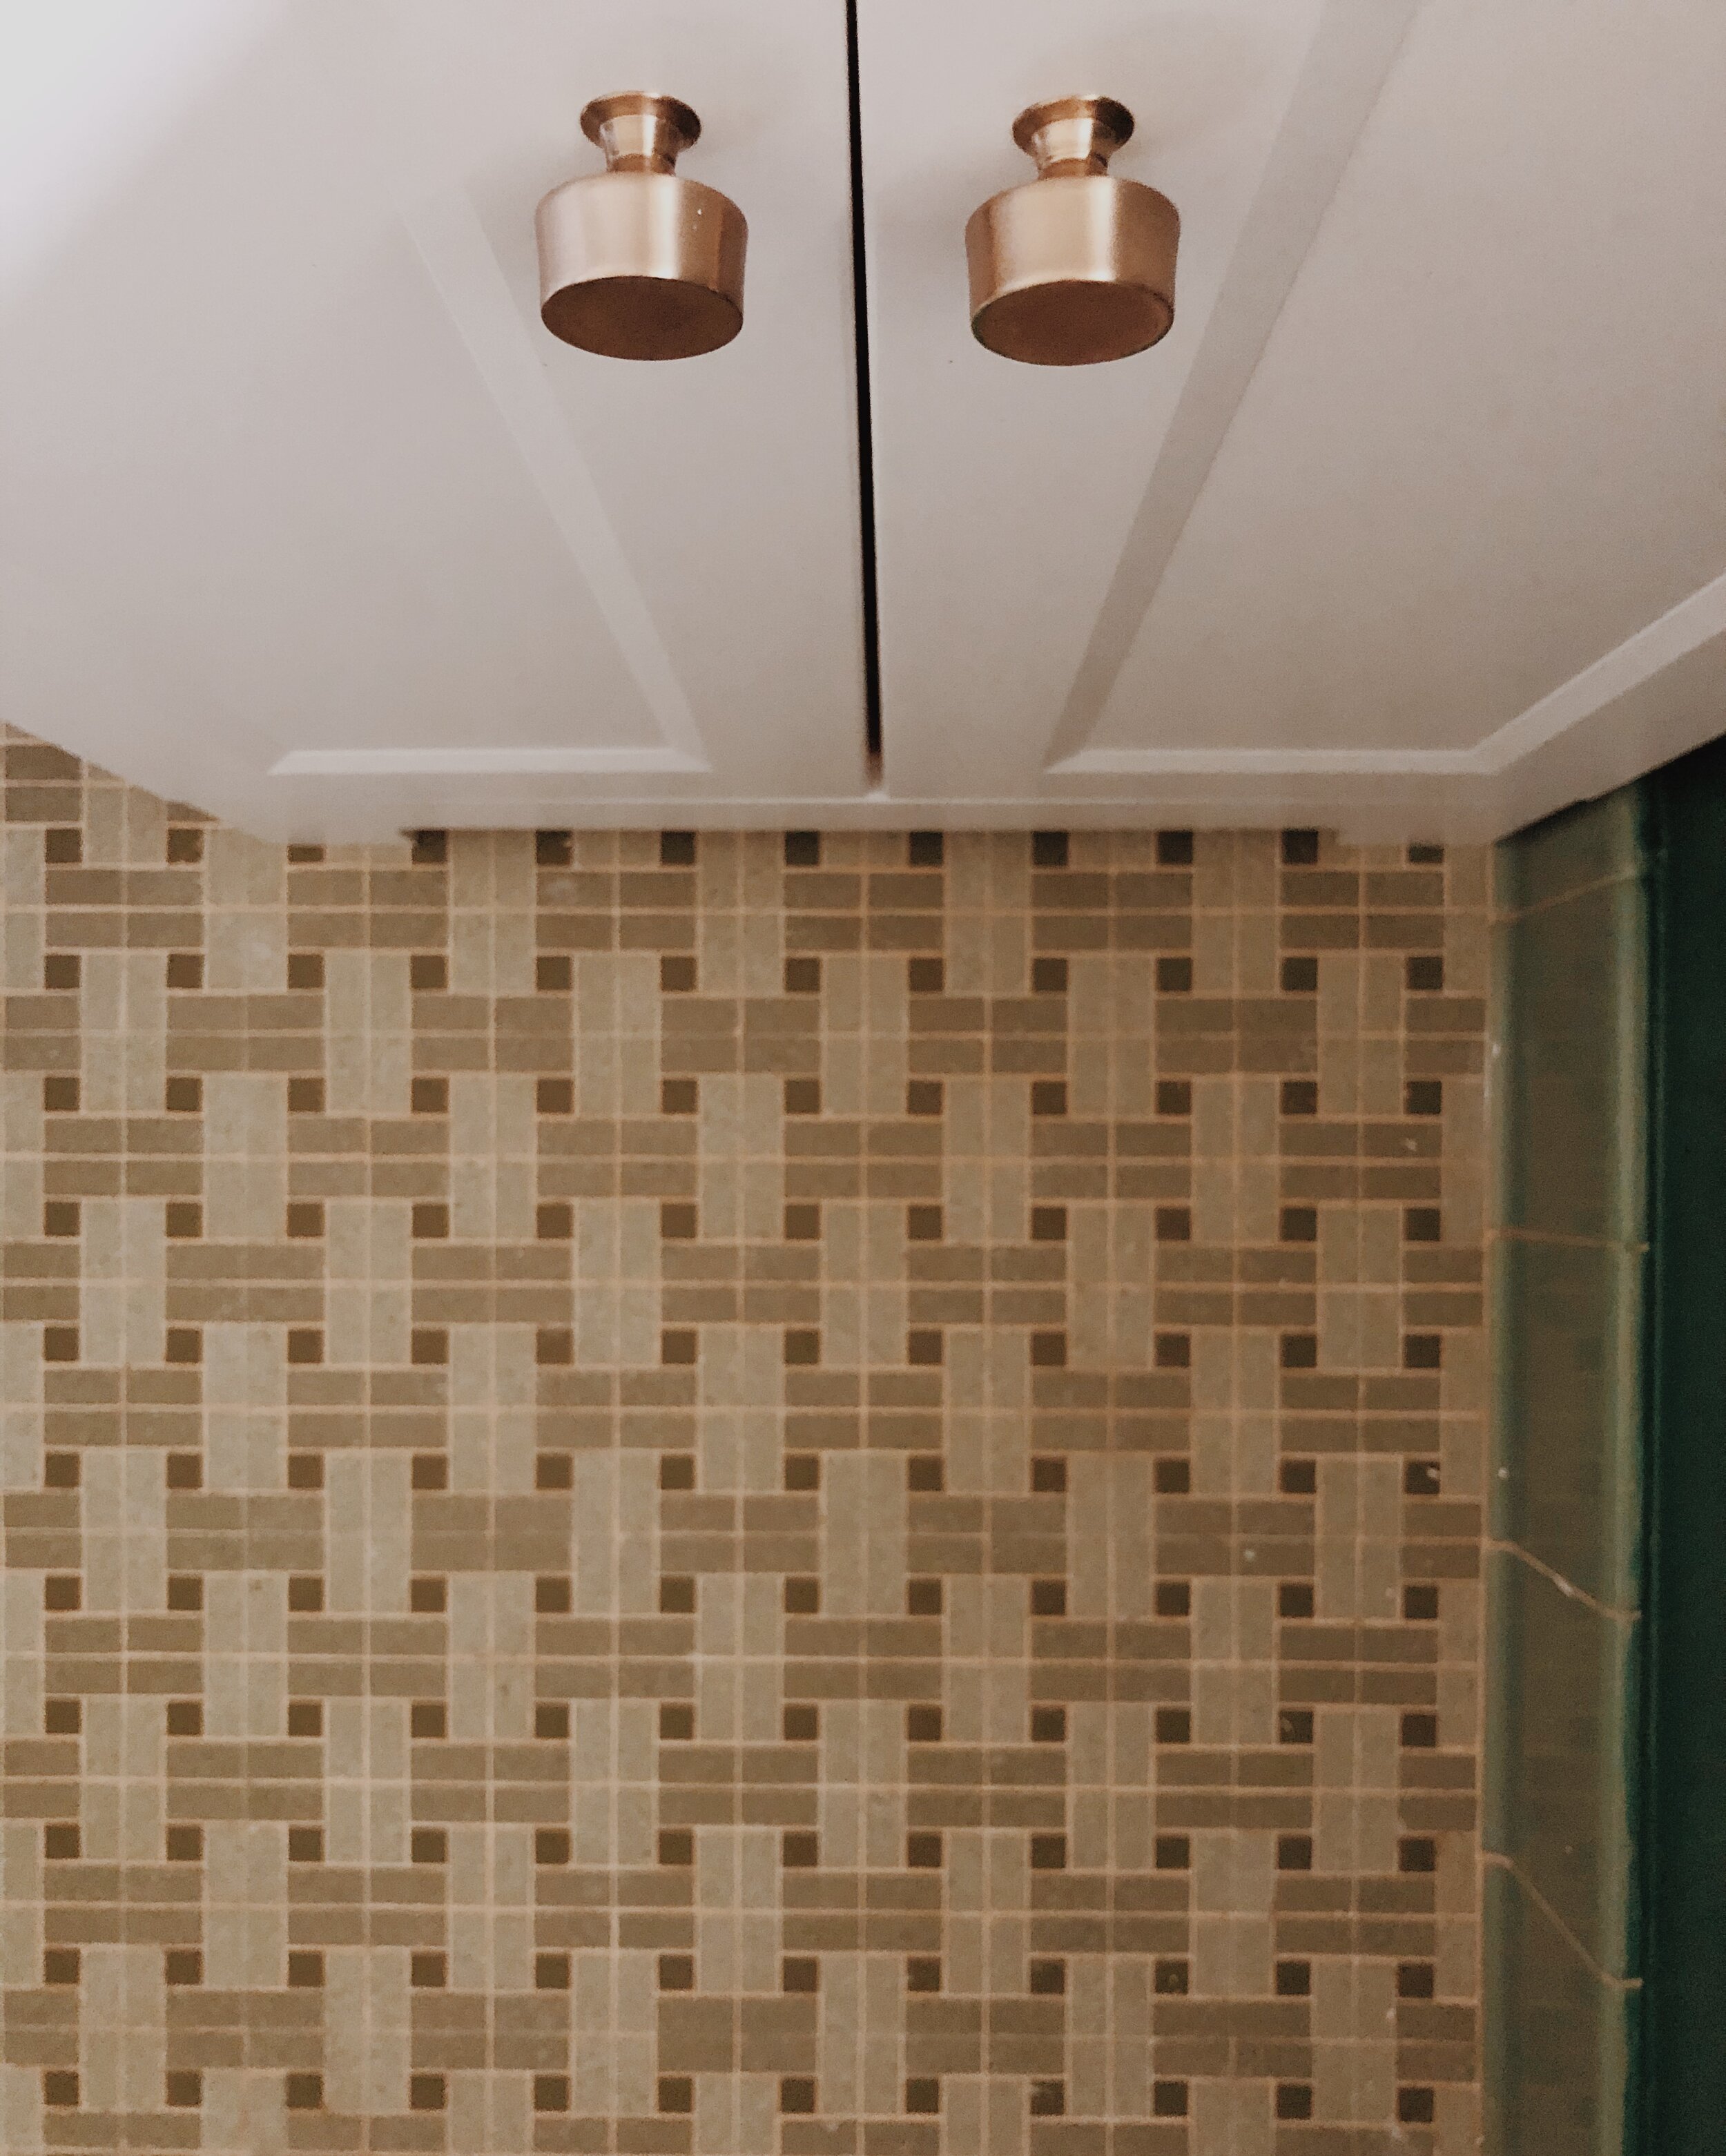
We also purchased different vanity knobs, a brass faucet, and sconce to go along with our design concept.

Design Concept
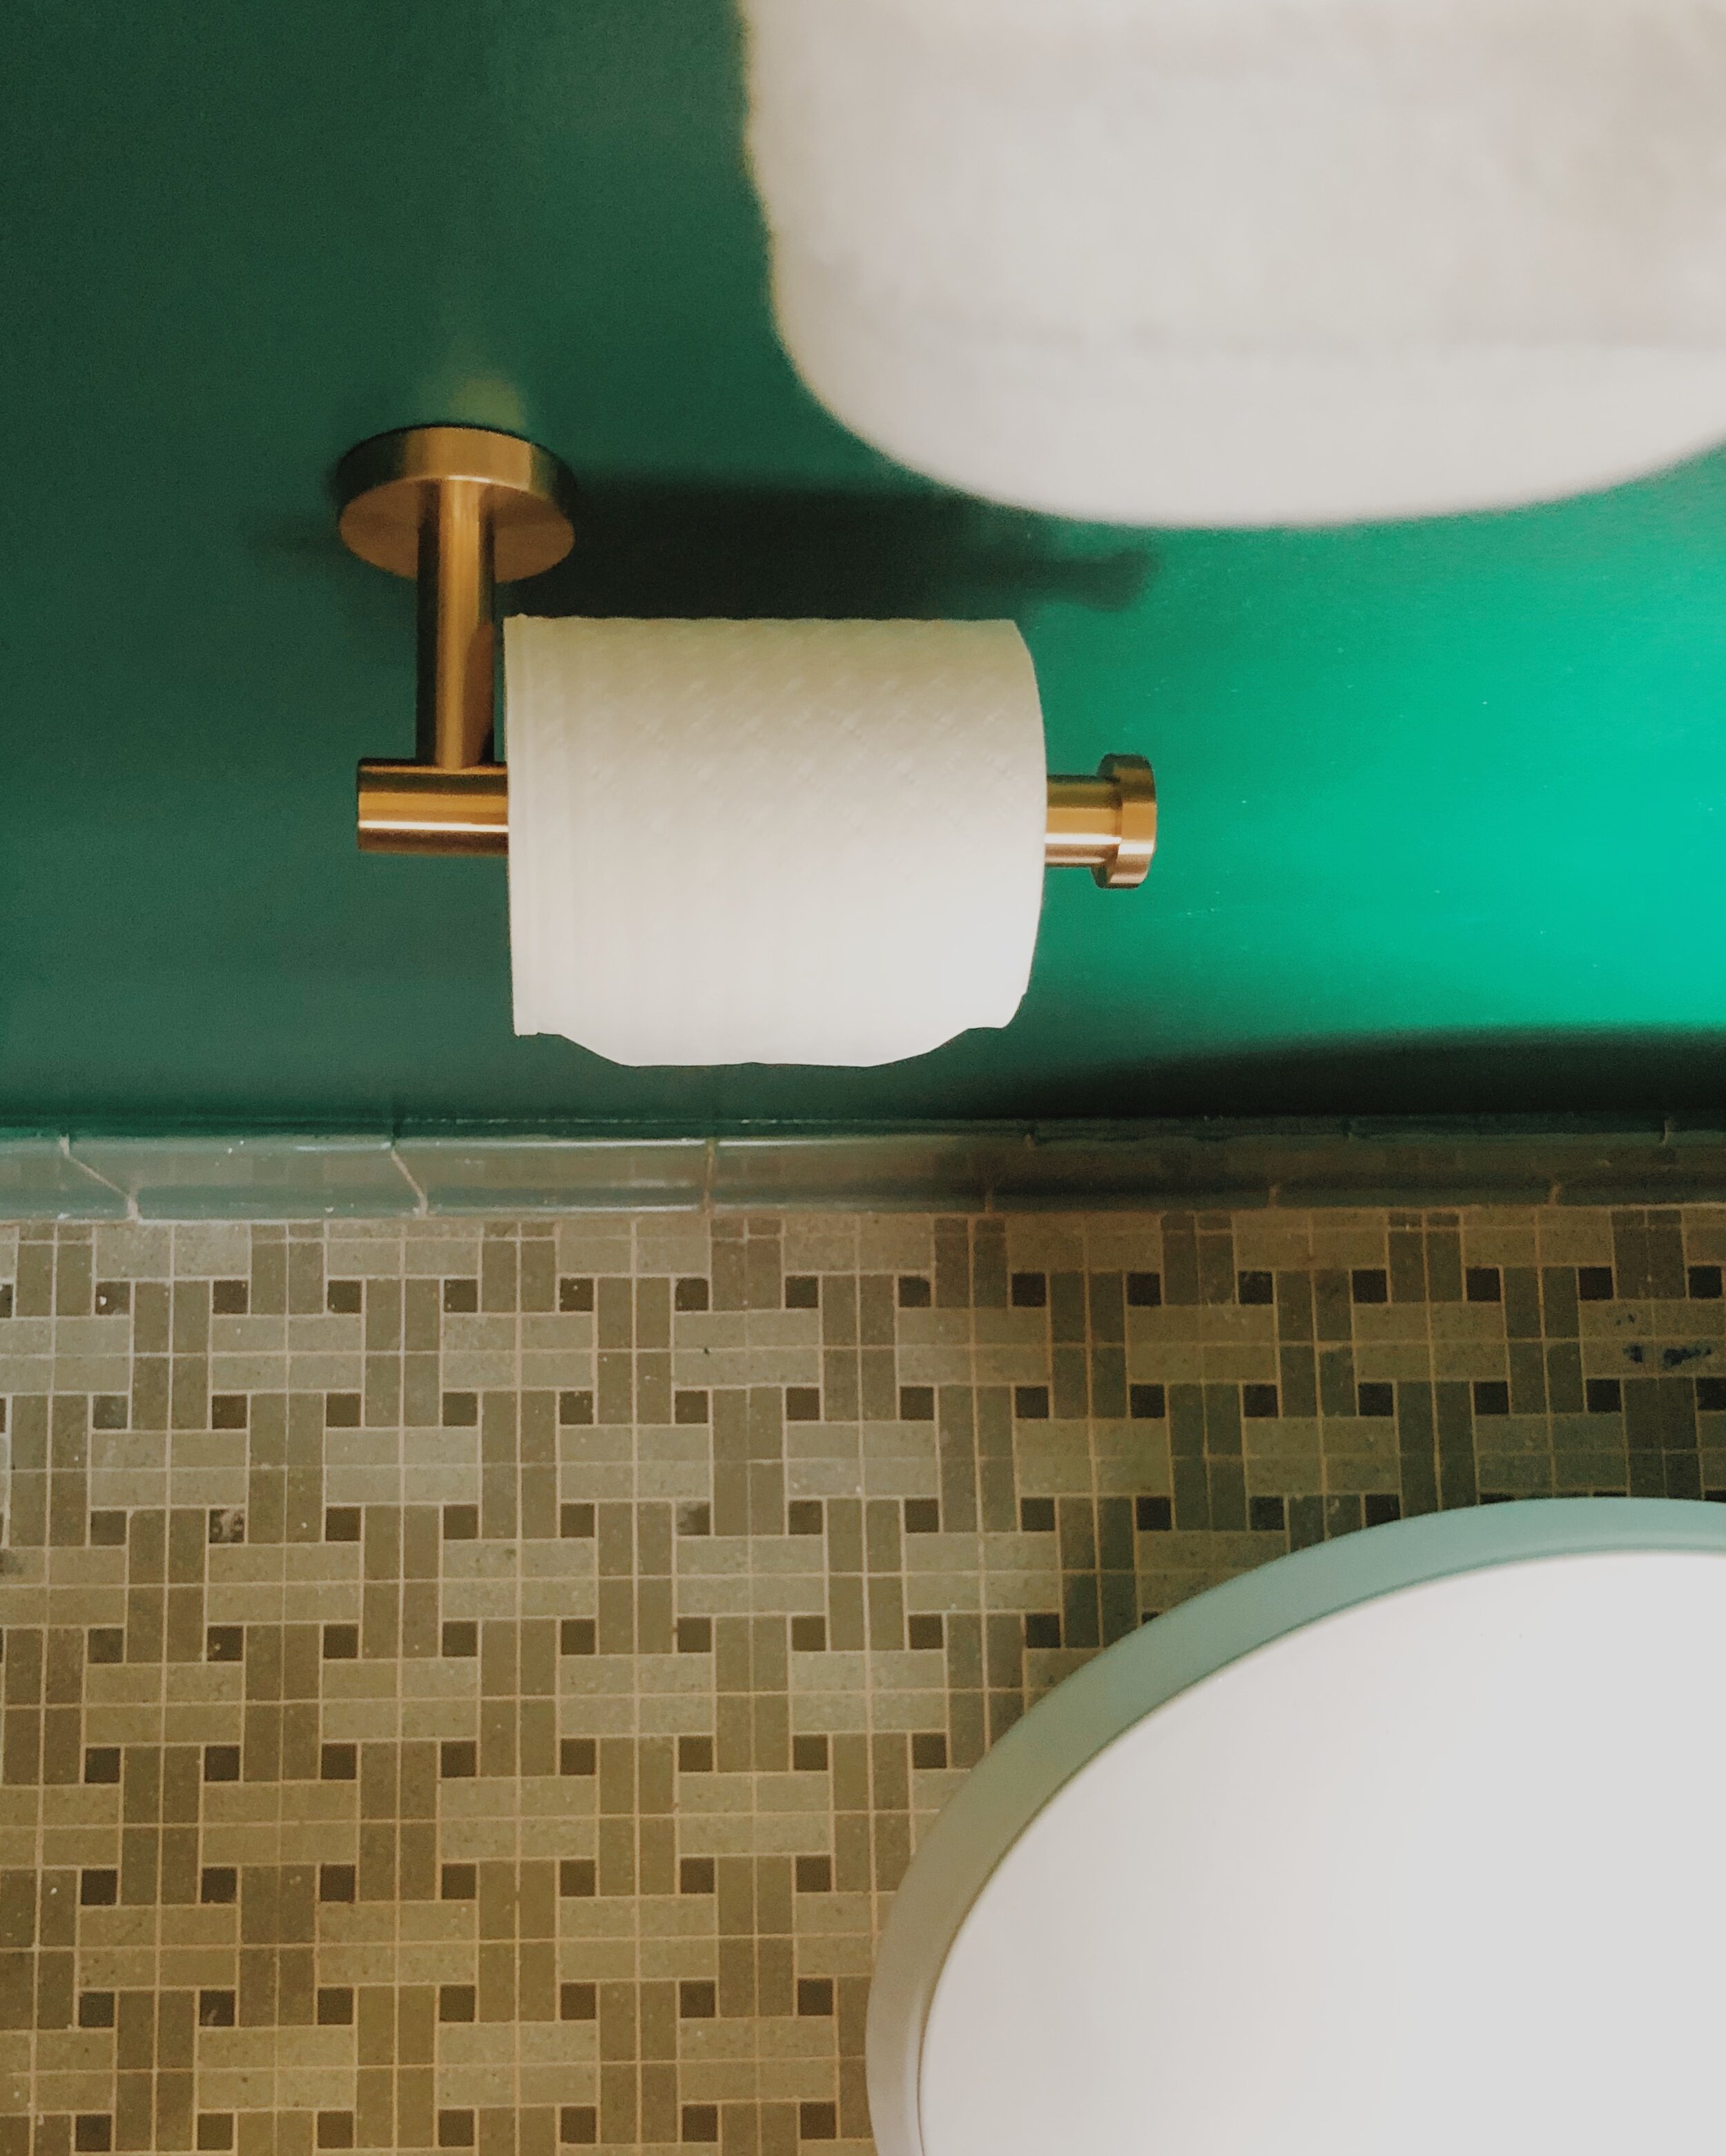
We decided on “vintage and quaint” for our design concept. This meant we would keep our older tile and use it as an inspiration for the new design! This lead us to choosing a paint color that would compliment the already existing floor tile.
Sweat Equity
We wanted to do all of our own work in this space, because we knew we’d get more bang for our buck. So we did all of our own patch work after removing the existing medicine cabinet and hardware.
We even swapped out the vanity and toilet on our own.

Mounting hardware first
From there, we mounted the new hardware, as it’s important to do this before starting any painting. Creating the holes for hardware like, toilet paper and towel holders, vanity mirrors, shelves and sconces, allowed us to get everything leveled and in the right spot. We removed the finishing hardware pieces once we had the correct positioning.

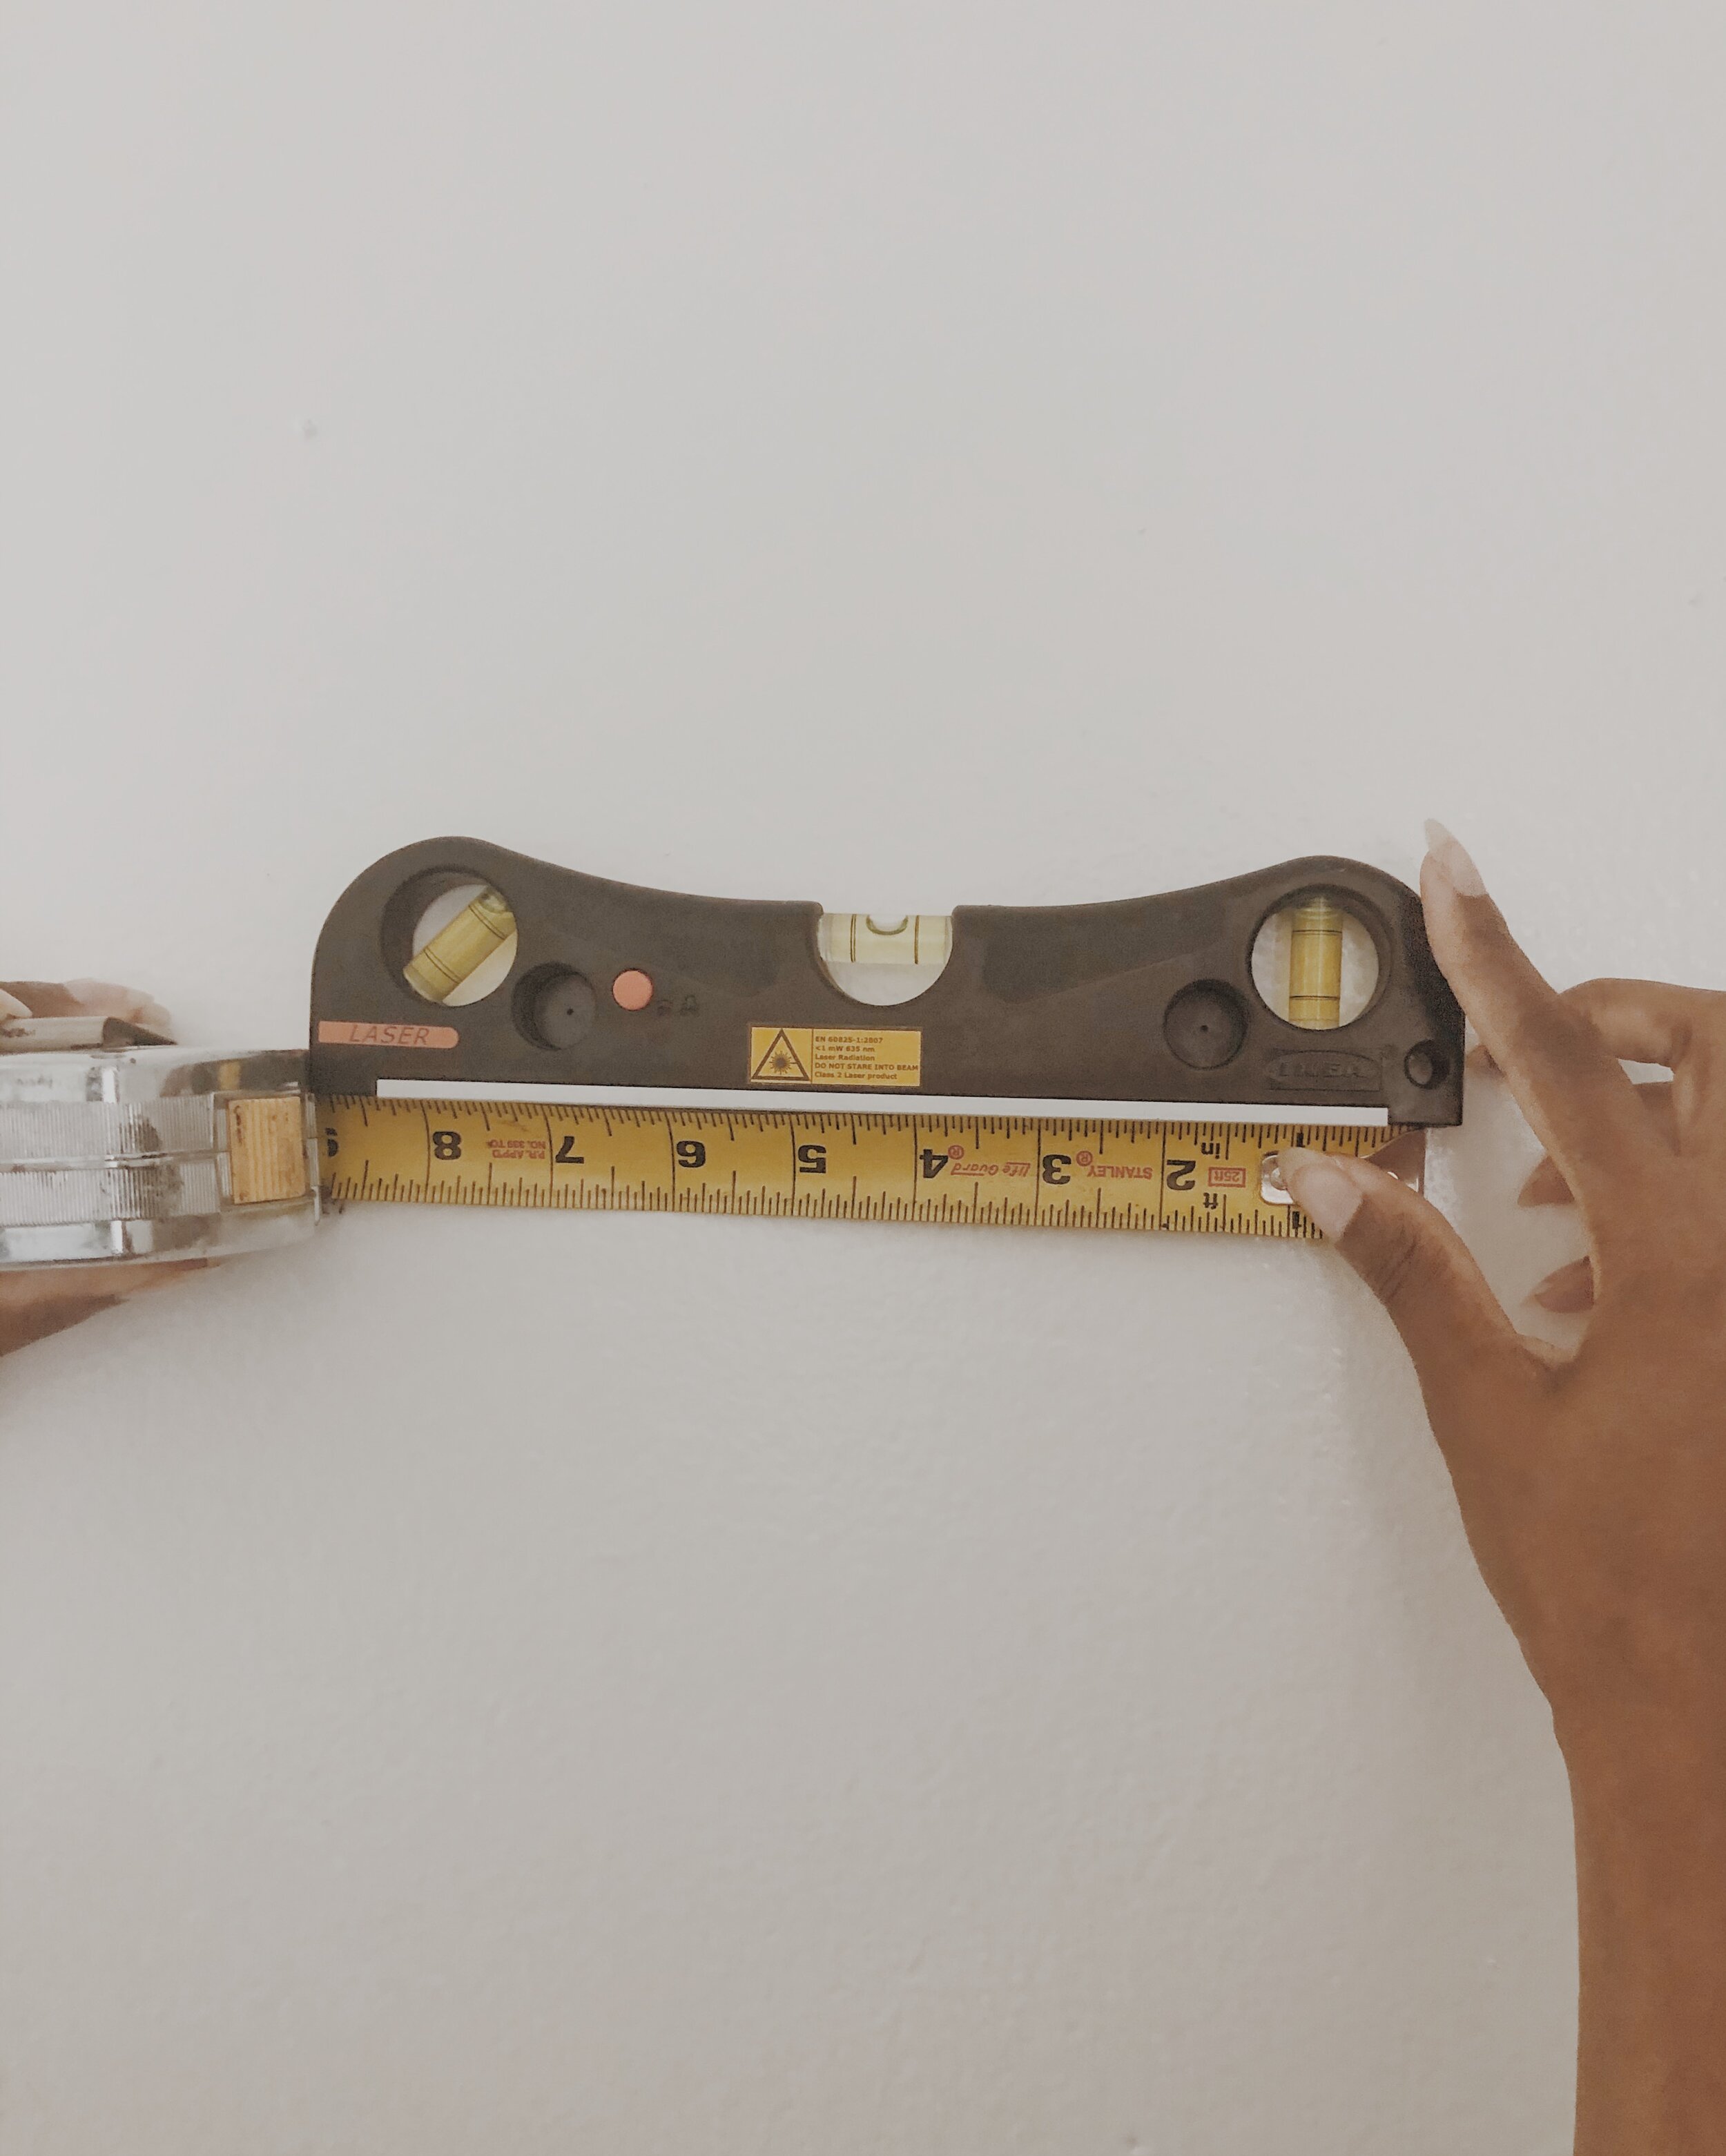
Time for Paint
Next, we prepped for paint! We used a laser-level to create a division line with painter’s tape. We decided to paint the top half of the bathroom white, and the bottom half Behr’s Billiard Green. This way we only had to purchase a small amount of paint and were able to use some left-over white paint we already had. After the paint dried, we removed the painter’s tape and added in the hardware. We replaced the original vanity knobs with new knobs, to achieve the quaint feel we desired for the space.

Styling
When it came to styling our bathroom, we decided to only purchase the functional pieces that were a necessity. We bought a marble soap dispenser, toothbrush holder, and a marble canister jar. We already had an extra Glassy Baby hanging around the house, and it happened to match well with the paint color, so we incorporated it into the design. The plants, soap, and toilet paper were also essential items that we already had - and made sense to style into the space.

The end result
There you have it! That’s how we designed our half bath for just $250. It was so important for us to make budget-friendly decisions when updating our bathroom. This way, we could splurge in the areas where it really counted - like our kitchen renovation for instance!

Parisian Kitchen Renovation: How I brought a touch of Paris to this Atlanta, Georgia Kitchen:We Saved over $100k on Our House, All Thanks To The Kitchen

Finding our House
Last July, my husband and I purchased out first home! We were driving through the cutest Atlanta neighborhood, and spotted a “for sale by owner” sign. From the looks of it, we could tell it was a fixer-upper, but that was right up our alley! The house was in a great location, and we were willing to put in the work we needed to get a deal on the house. That “work,” ended up being the kitchen.
We Saved over $100k on Our House - All Thanks To The Kitchen
We were able to save a little over $100 thousand on the house due to the poor condition of the kitchen. There were critter infestations, plumbing problems, and electrical issues, but the moment I stepped in to the kitchen, I could see its potential and knew exactly how I wanted to design the space.

A Galley Style Kitchen
Because the kitchen was galley-style, it immediately reminded me of the smaller cafes I’d visited in Paris during our vacations there. So it was absolutely important for me to incorporate that bistro-European aesthetic while keeping the layout of the kitchen and utilizing the space appropriately.
I started with knocking out the walls, and creating a 14 foot island with a quartz countertop. This makes the kitchen feel like the perfect spot to hangout, drink lattes and eat crepes! I added velvet and brass barstools, and hexagon floor tile to play up this vibe!

The Contrast
If you know me, you know just how much I love contrast! I wanted the kitchen to feel open and airy, but I also wanted it to feel extra moody and sophisticated (like Paris), so I painted our cabinets black, chose a black gas stove and range hood to pop against the subway tile. I decided to go with floating shelves up top, to open up the space. I added counter-to-ceiling subway tile to elongate the walls, and chose butcher-block to contrast the quartz countertop.

Texture, Texture, Texture
I love playing with textures! I decided on wood shelves against the tiled backsplash, and weaved accessories like dish coasters to go along with our bowls and plates. There are textured vintage wine and cocktail glasses incorporated into the design as well, this gives it a boutique and eclectic feel.

Lounging
My ultimate goal was to create a cozy space that would inspire conversation. Having the bar set-up makes it so enticing to lounge and chat with friends over a cup of joe or tea. It’s one of our favorite places to sit in the house. When guests are over our sink and faucet help us to rinse cups, bowls, and plates quick and easy; pop them into our dishwasher, and never miss a beat during our fun conversations. I also love the warm mid-century-style lighting we chose, this style drop pedant sets the Parisian mood just right.

The Journey
We spent $25k to update this kitchen, put in some sweat equity, and budgeted on greenery and foliage. We tiled the backsplash, painted the cabinets, and stained the butcher-block ourselves, and added a faux fiddle leaf fig and some pampas grass to save a bit on greenery. It was worth every moment, and we have absolutely enjoyed the journey. We are selling our house the week, and are looking forward to our next kitchen design adventure!

Loft Project : DIY Details From My Collaboration With Sarah Randall - Project

This past weekend, I teamed up with DIYer Sarah Randall to transform her mother’s loft! The goal was to create a vignette-design that would inspire her mother throughout the workday. I wanted to bring life into the space to really get some creativity flowing.

Here is a before photo of the loft:

This was such a fun space to transform! Now to the DIY and design details!

Lets Talk Walls!
The idea was to create texture, and we did this by installing beadboard utilizing a nail gun. It took four of us to apply a custom cut with a table saw and jigsaw for the small window cut-out.
Per my favorite staple, we painted the feature wall with Behr “Pacific Dunes” in a matte finish.


DIY Brass Sconces
Here’s one of my favorite sconces to use when remodeling on a budget, and its only $33 at Home Depot! We thought it would create the perfect “pop” by adding these sconces, but we needed to paint the black middle portion of the sconce to give the custom all-brass look we desired. We did this by spray-painting the scones with Satin Bronze Spray Paint.
We were able to avoid hardwiring the sconces by placing small remote-controlled puck lights inside, and wanted to conceal the puck lights, so we frosted the glass globes with a Rustoleum spray paint.

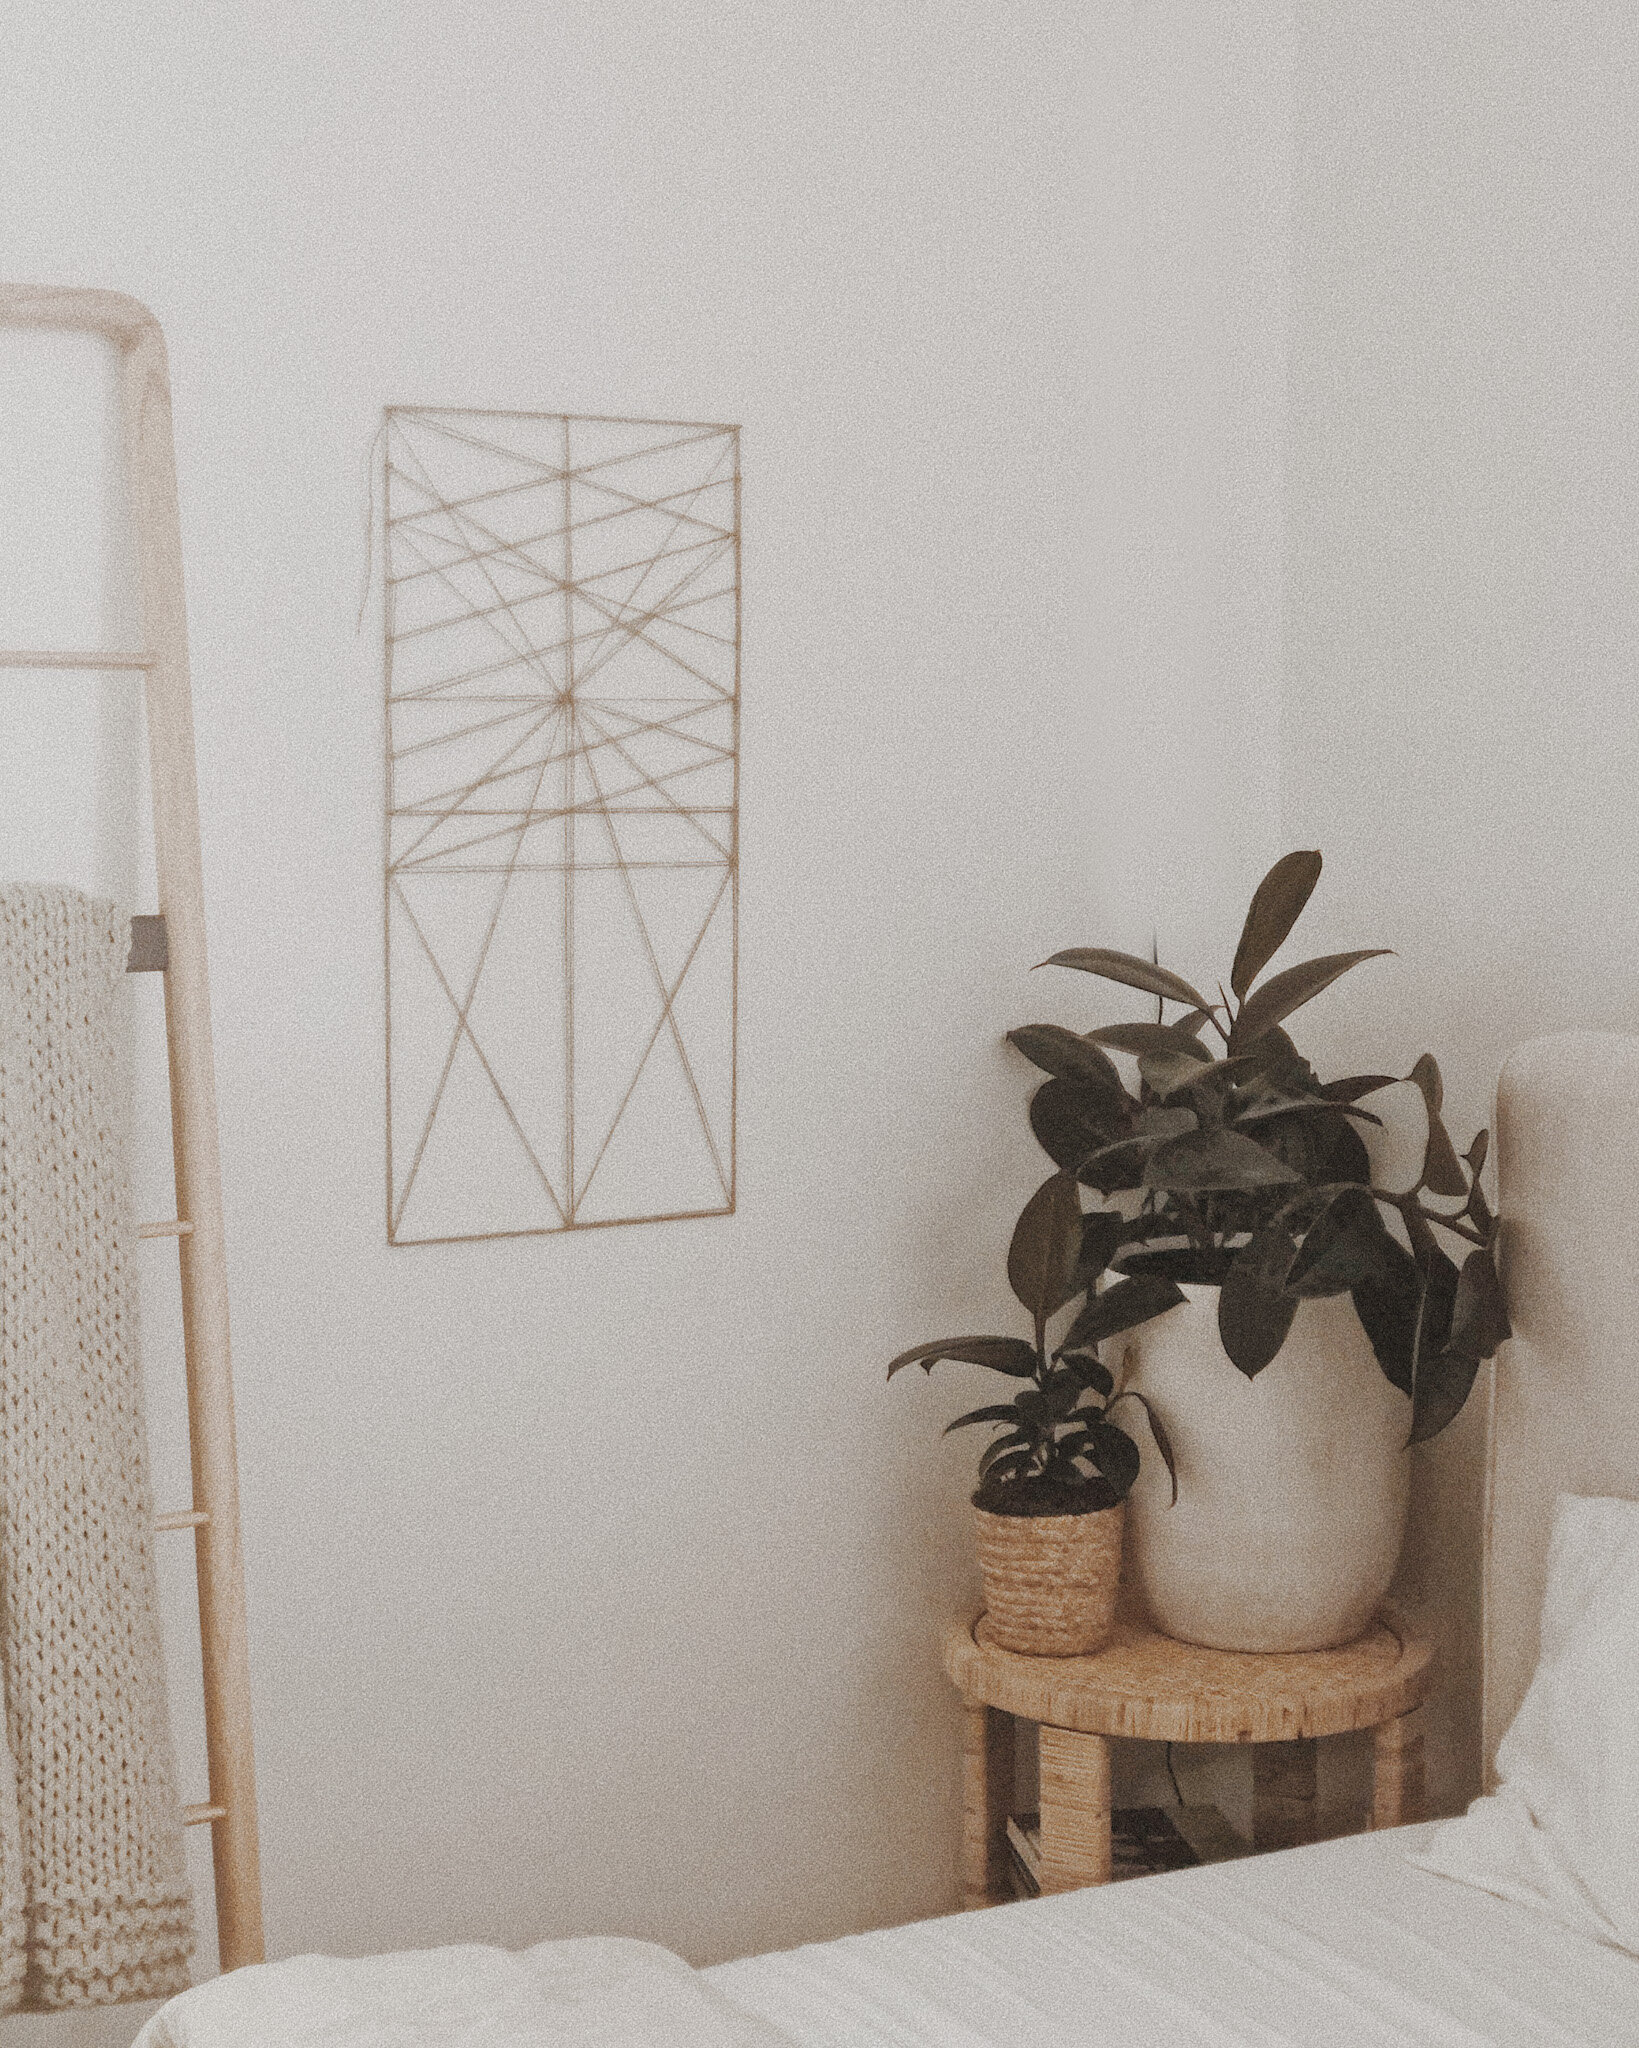
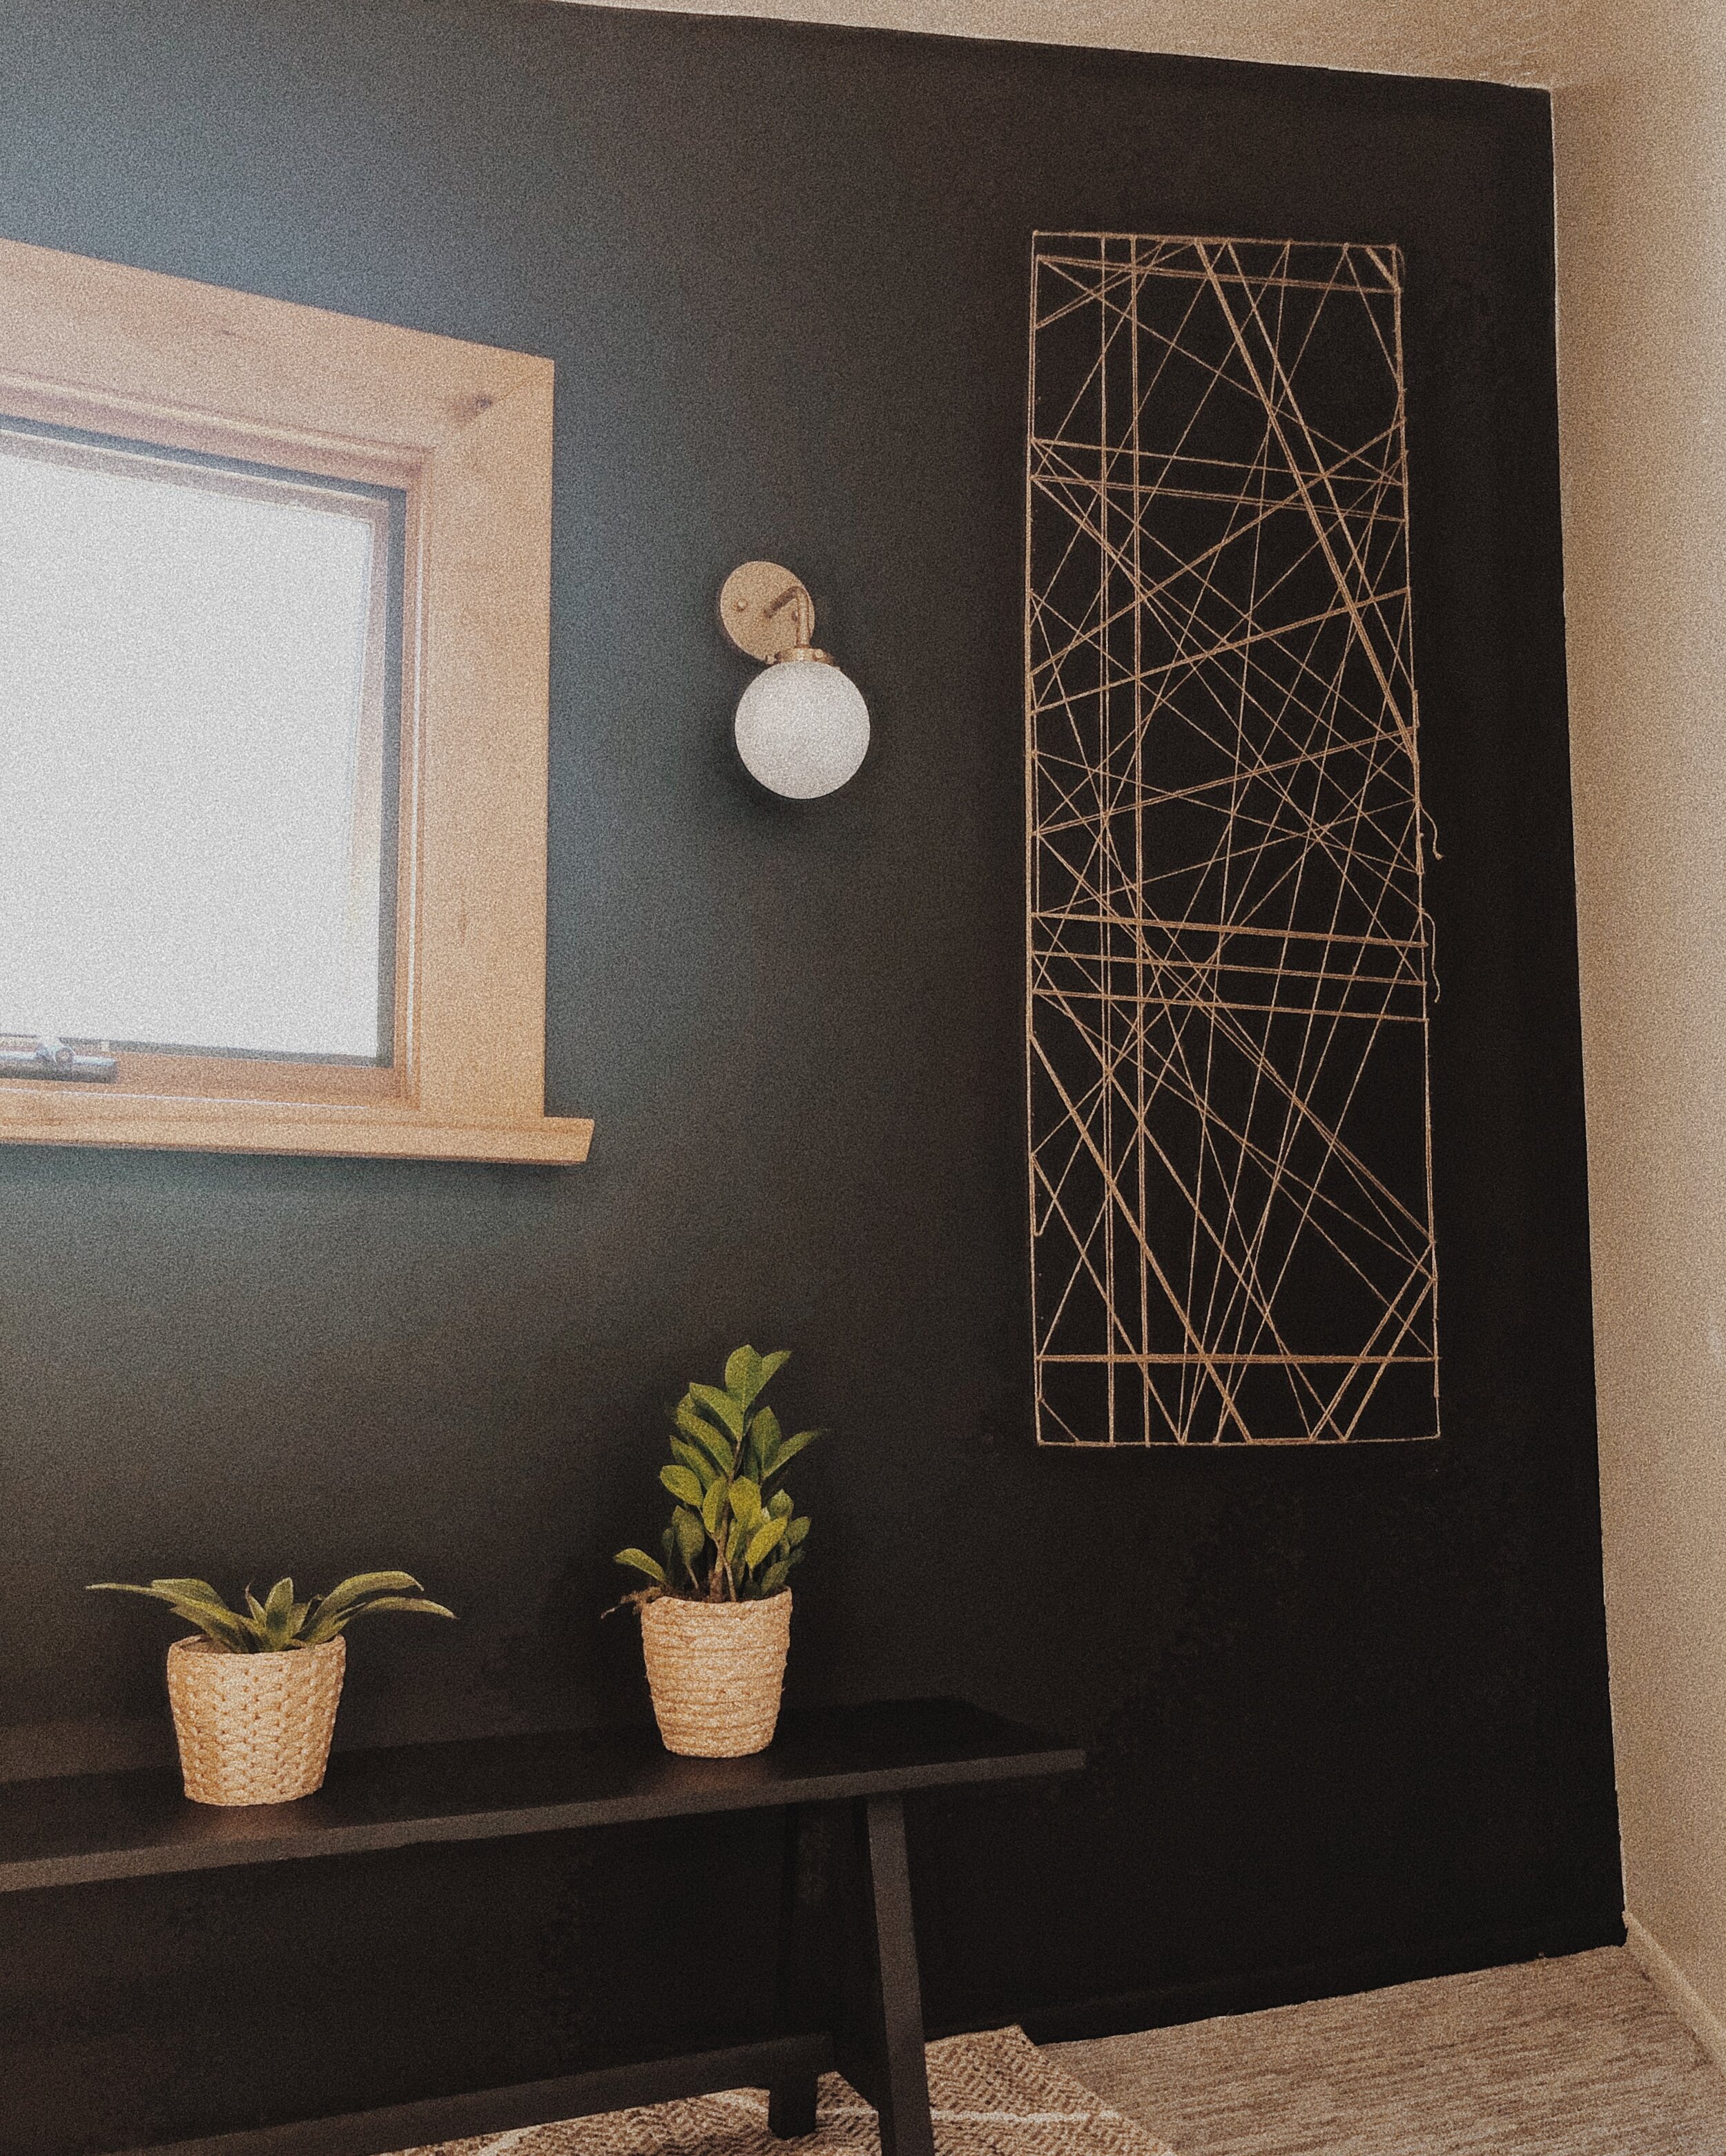
Custom Art Installation
Here I installed my infamous budget-friendly, yet very expensive-looking custom art.
Quick history on this piece! I ran out of budget during a client-project, and needed to source a feature artpiece with only $40 left to spare. This is when I came up with the idea for this art-piece!
That said, it was the perfect piece to compliment our loft-vignette and made for a great conversational piece in this space. I’ll be releasing a DIY tutorial this Thursday via my DIY blog newsletter, so sign up here if you want first dibs on all of my how-tos!

Custom Bench
We built a custom bench for this space, and boy is it pretty! We used 6' 1x2x12 for the seat, 2x2 for the legs and supports, and 1x2 to attach the legs to the seat (the materials were purchased for less than $20). You can find the tutorial for this build on @builds_by_kristen’s Instagram by clicking here.

Finishing Touches
As for the finishing touches, we added a patterned jute rug from Lowe’s, and basket-weaved plants consisting of some of my favorites: a rubber plant, a fiddle leaf fig, and for a bit of romance and magic - plenty of pothos!

I am beyond pleased with how this space turned out, and working alongside Sarah was absolutely amazing! I’m so excited for the next DIY collaboration!

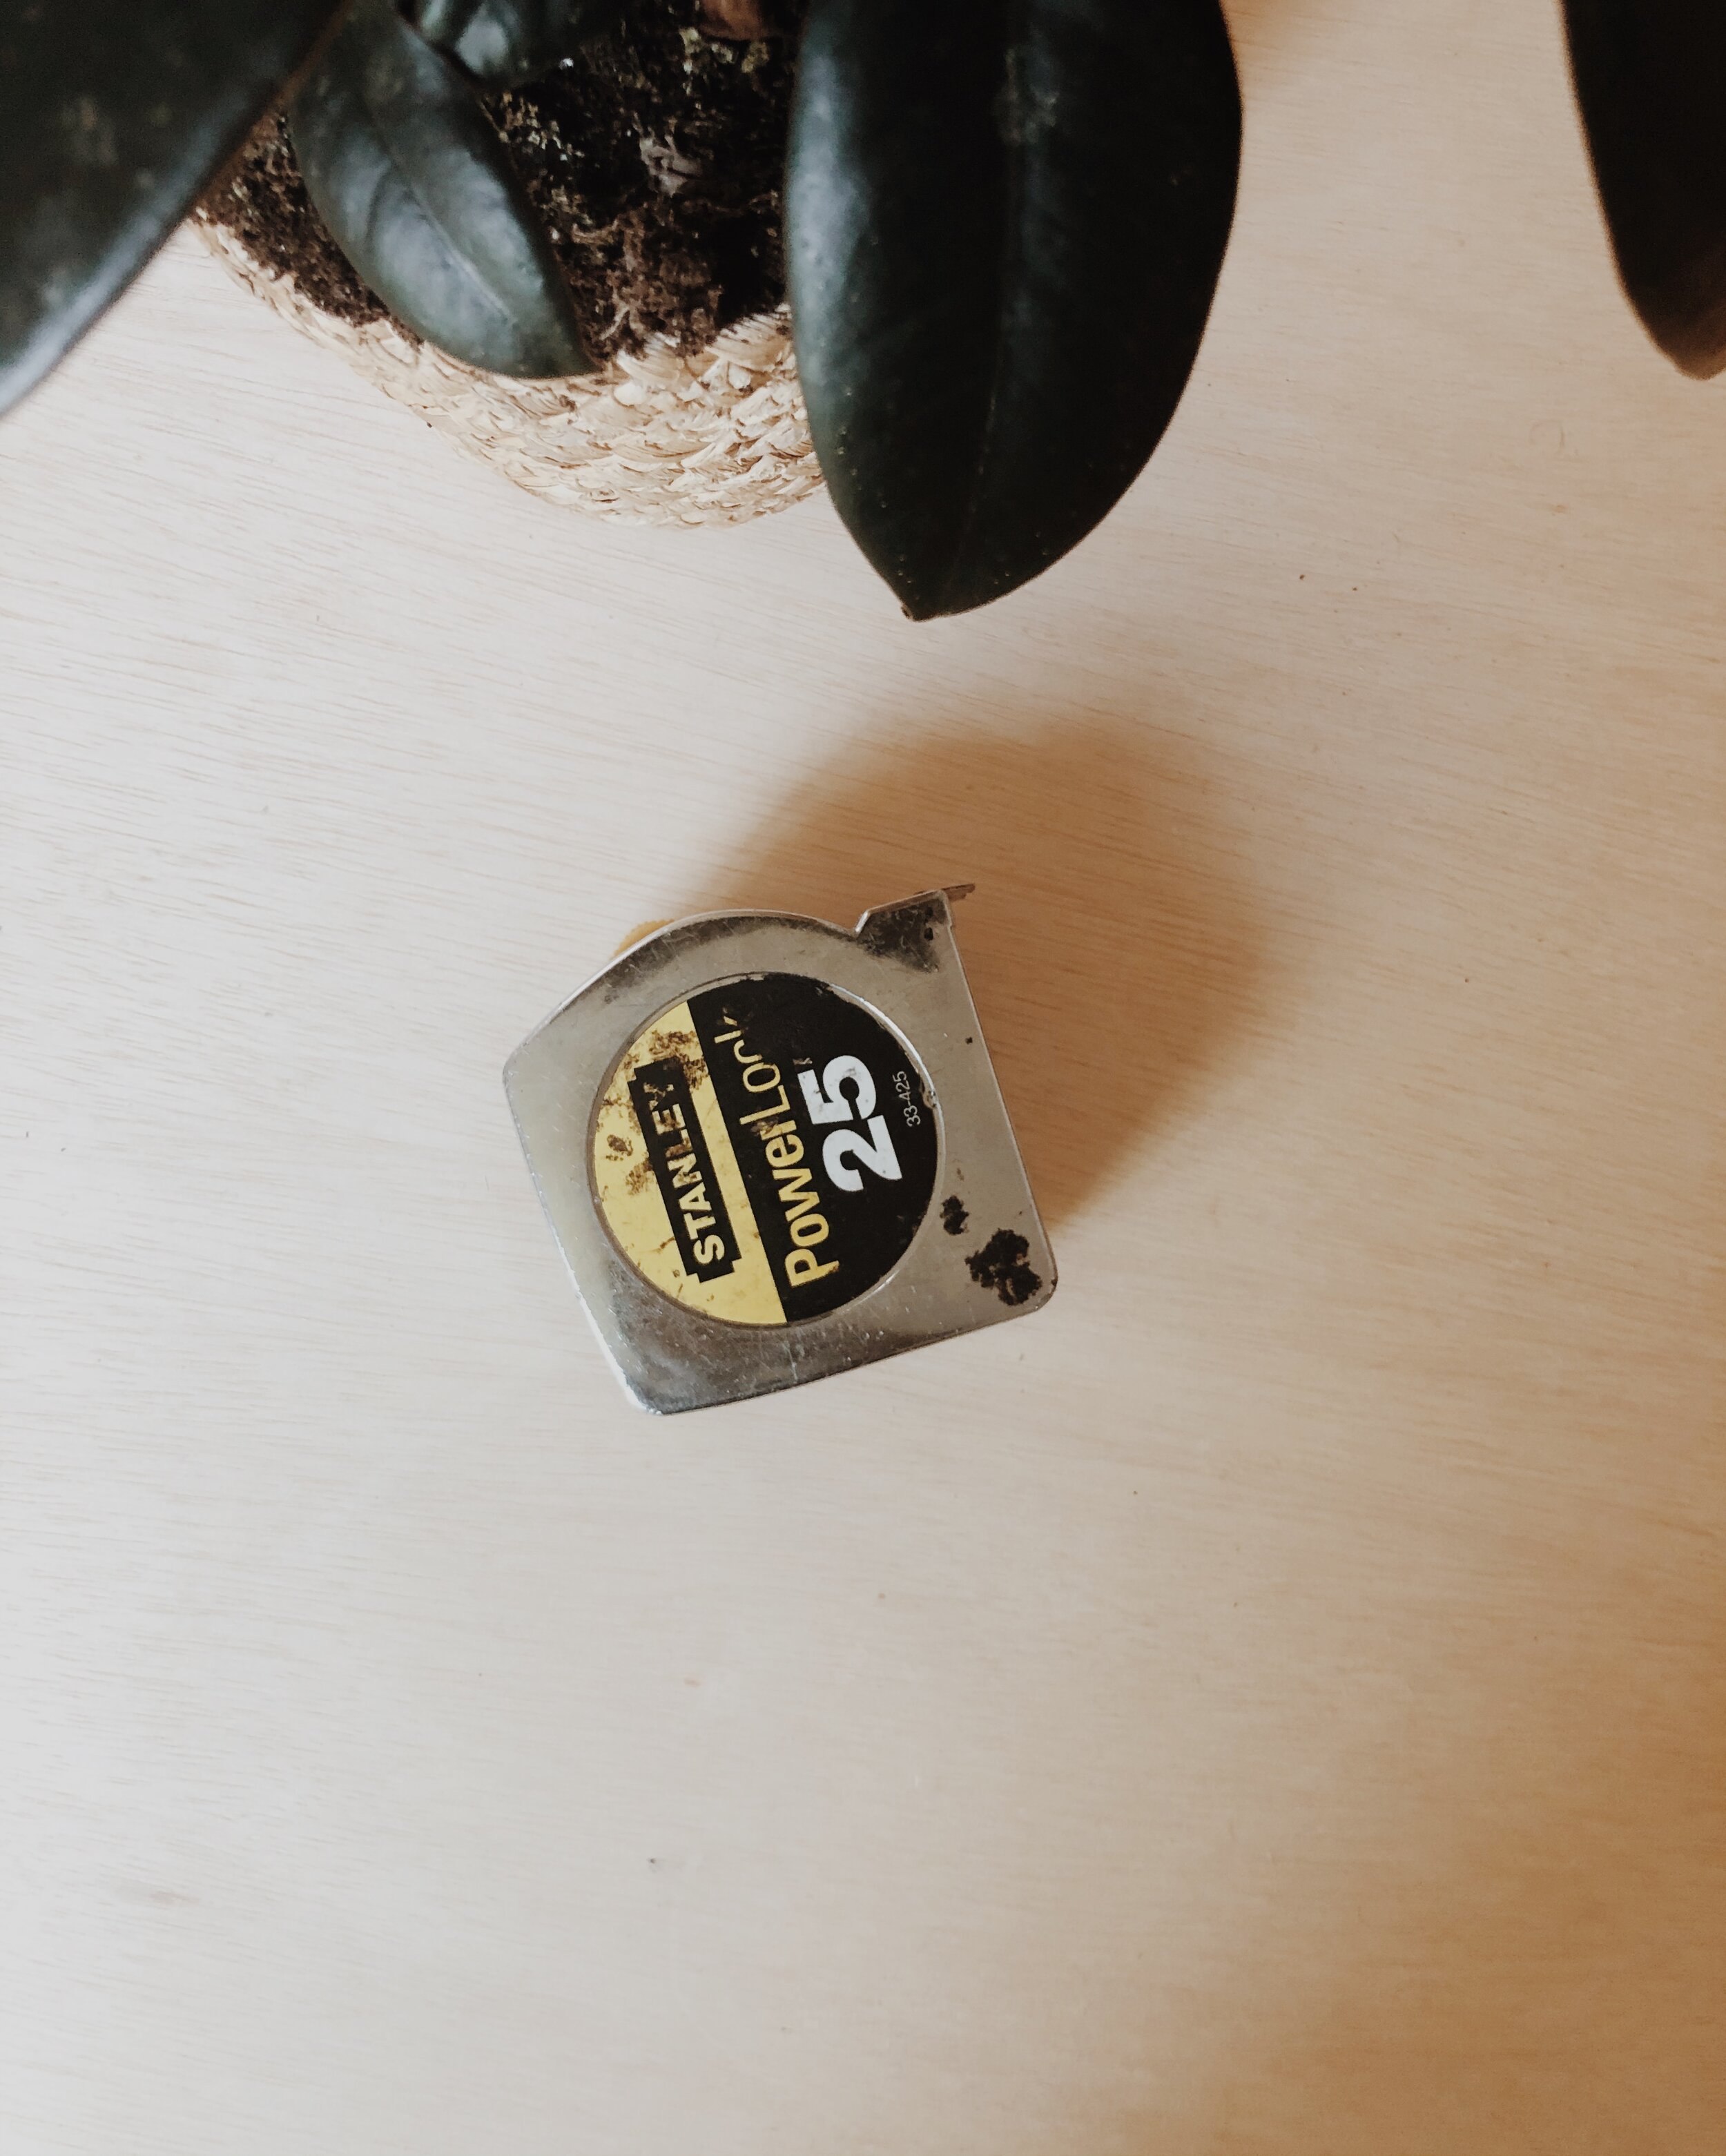
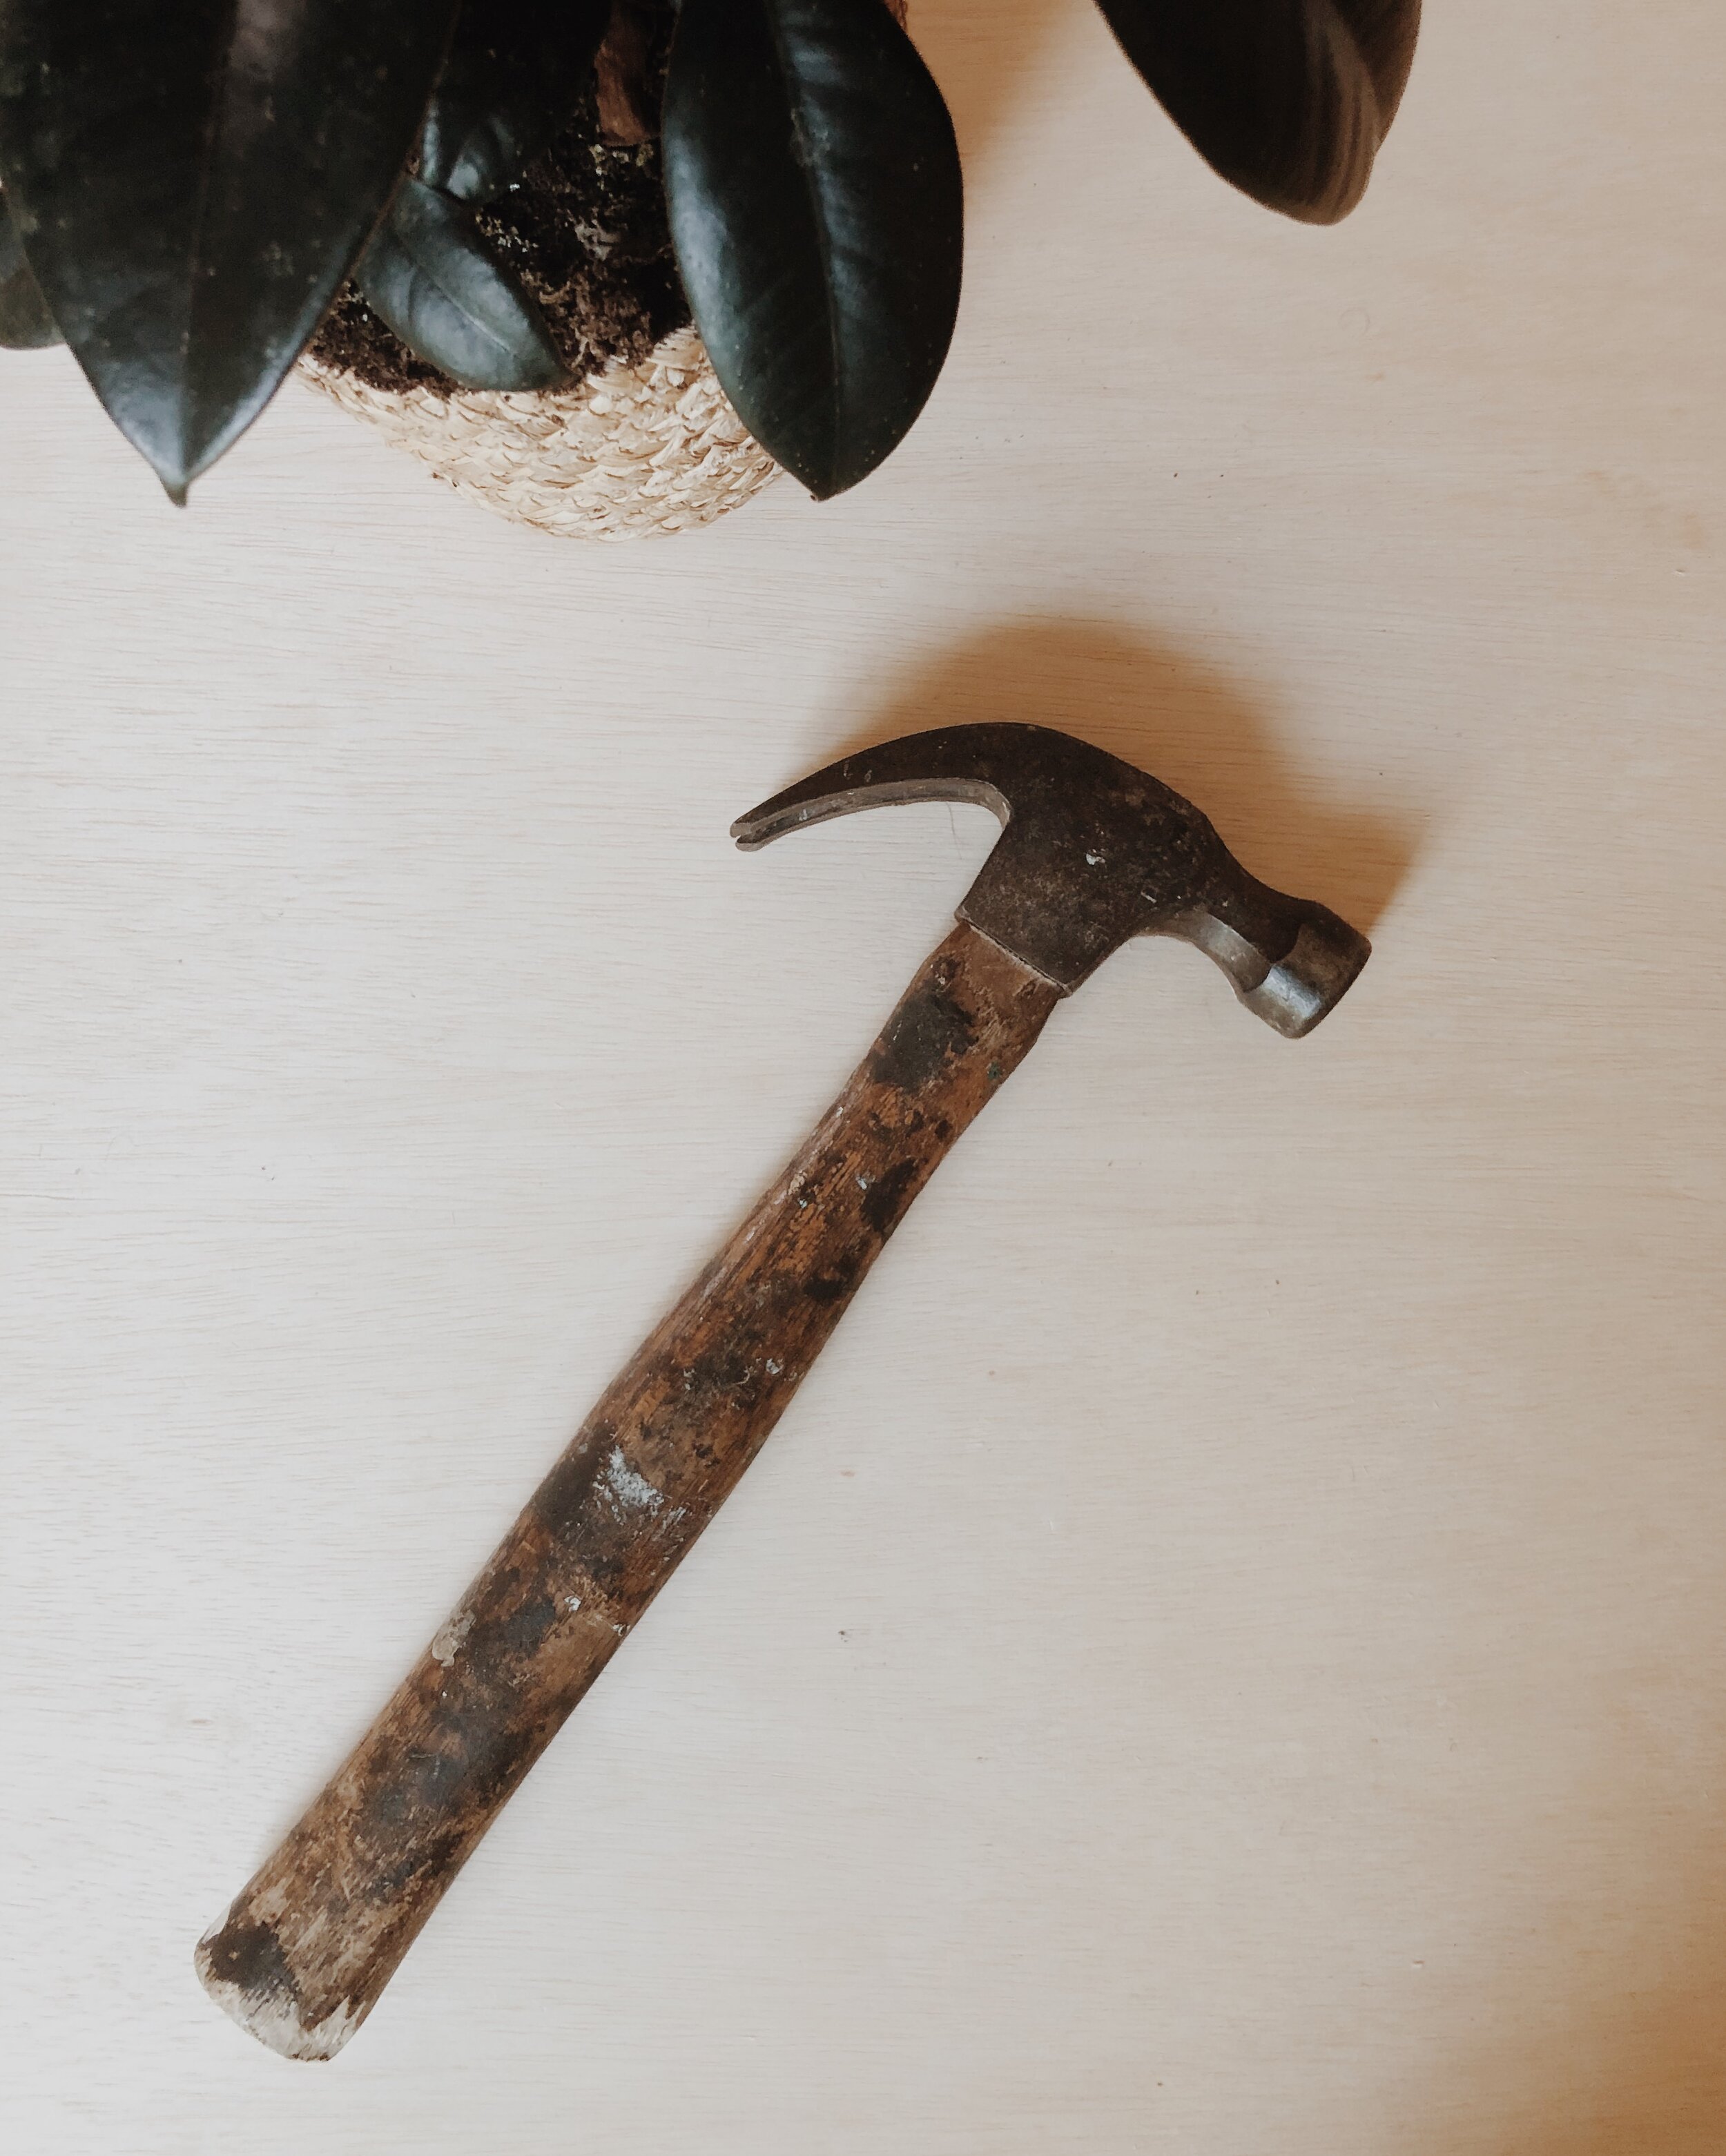
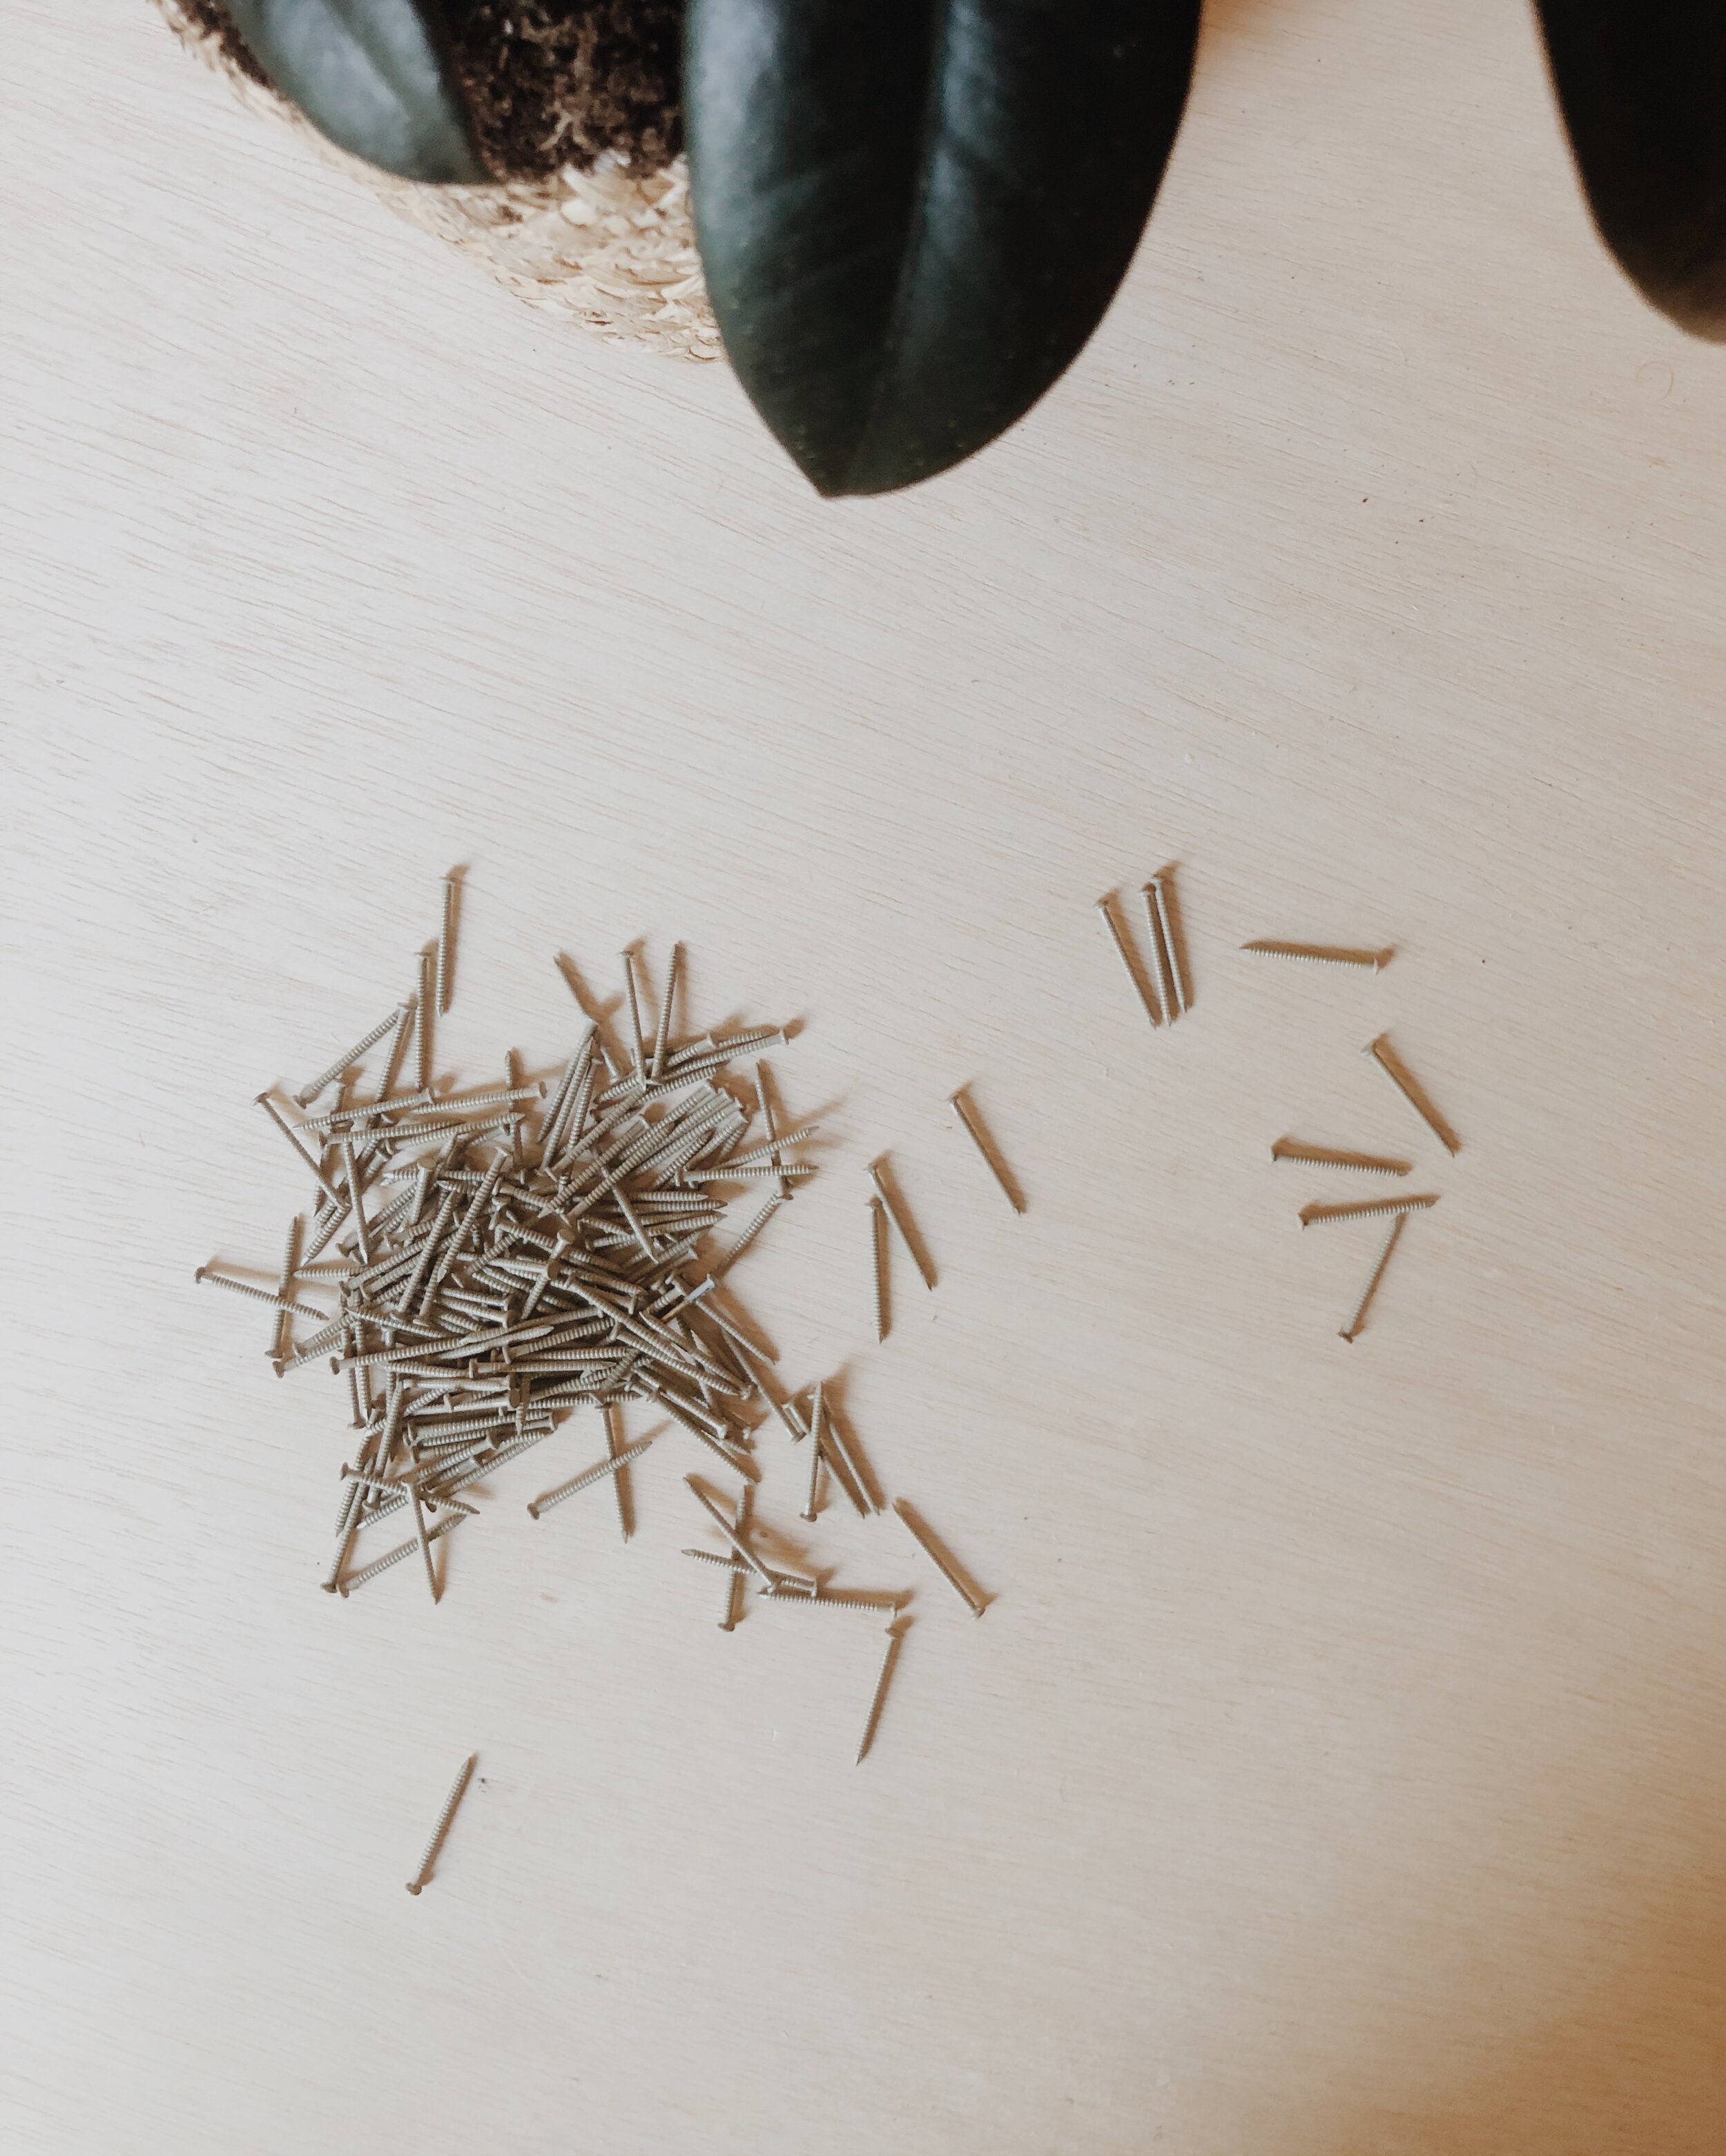
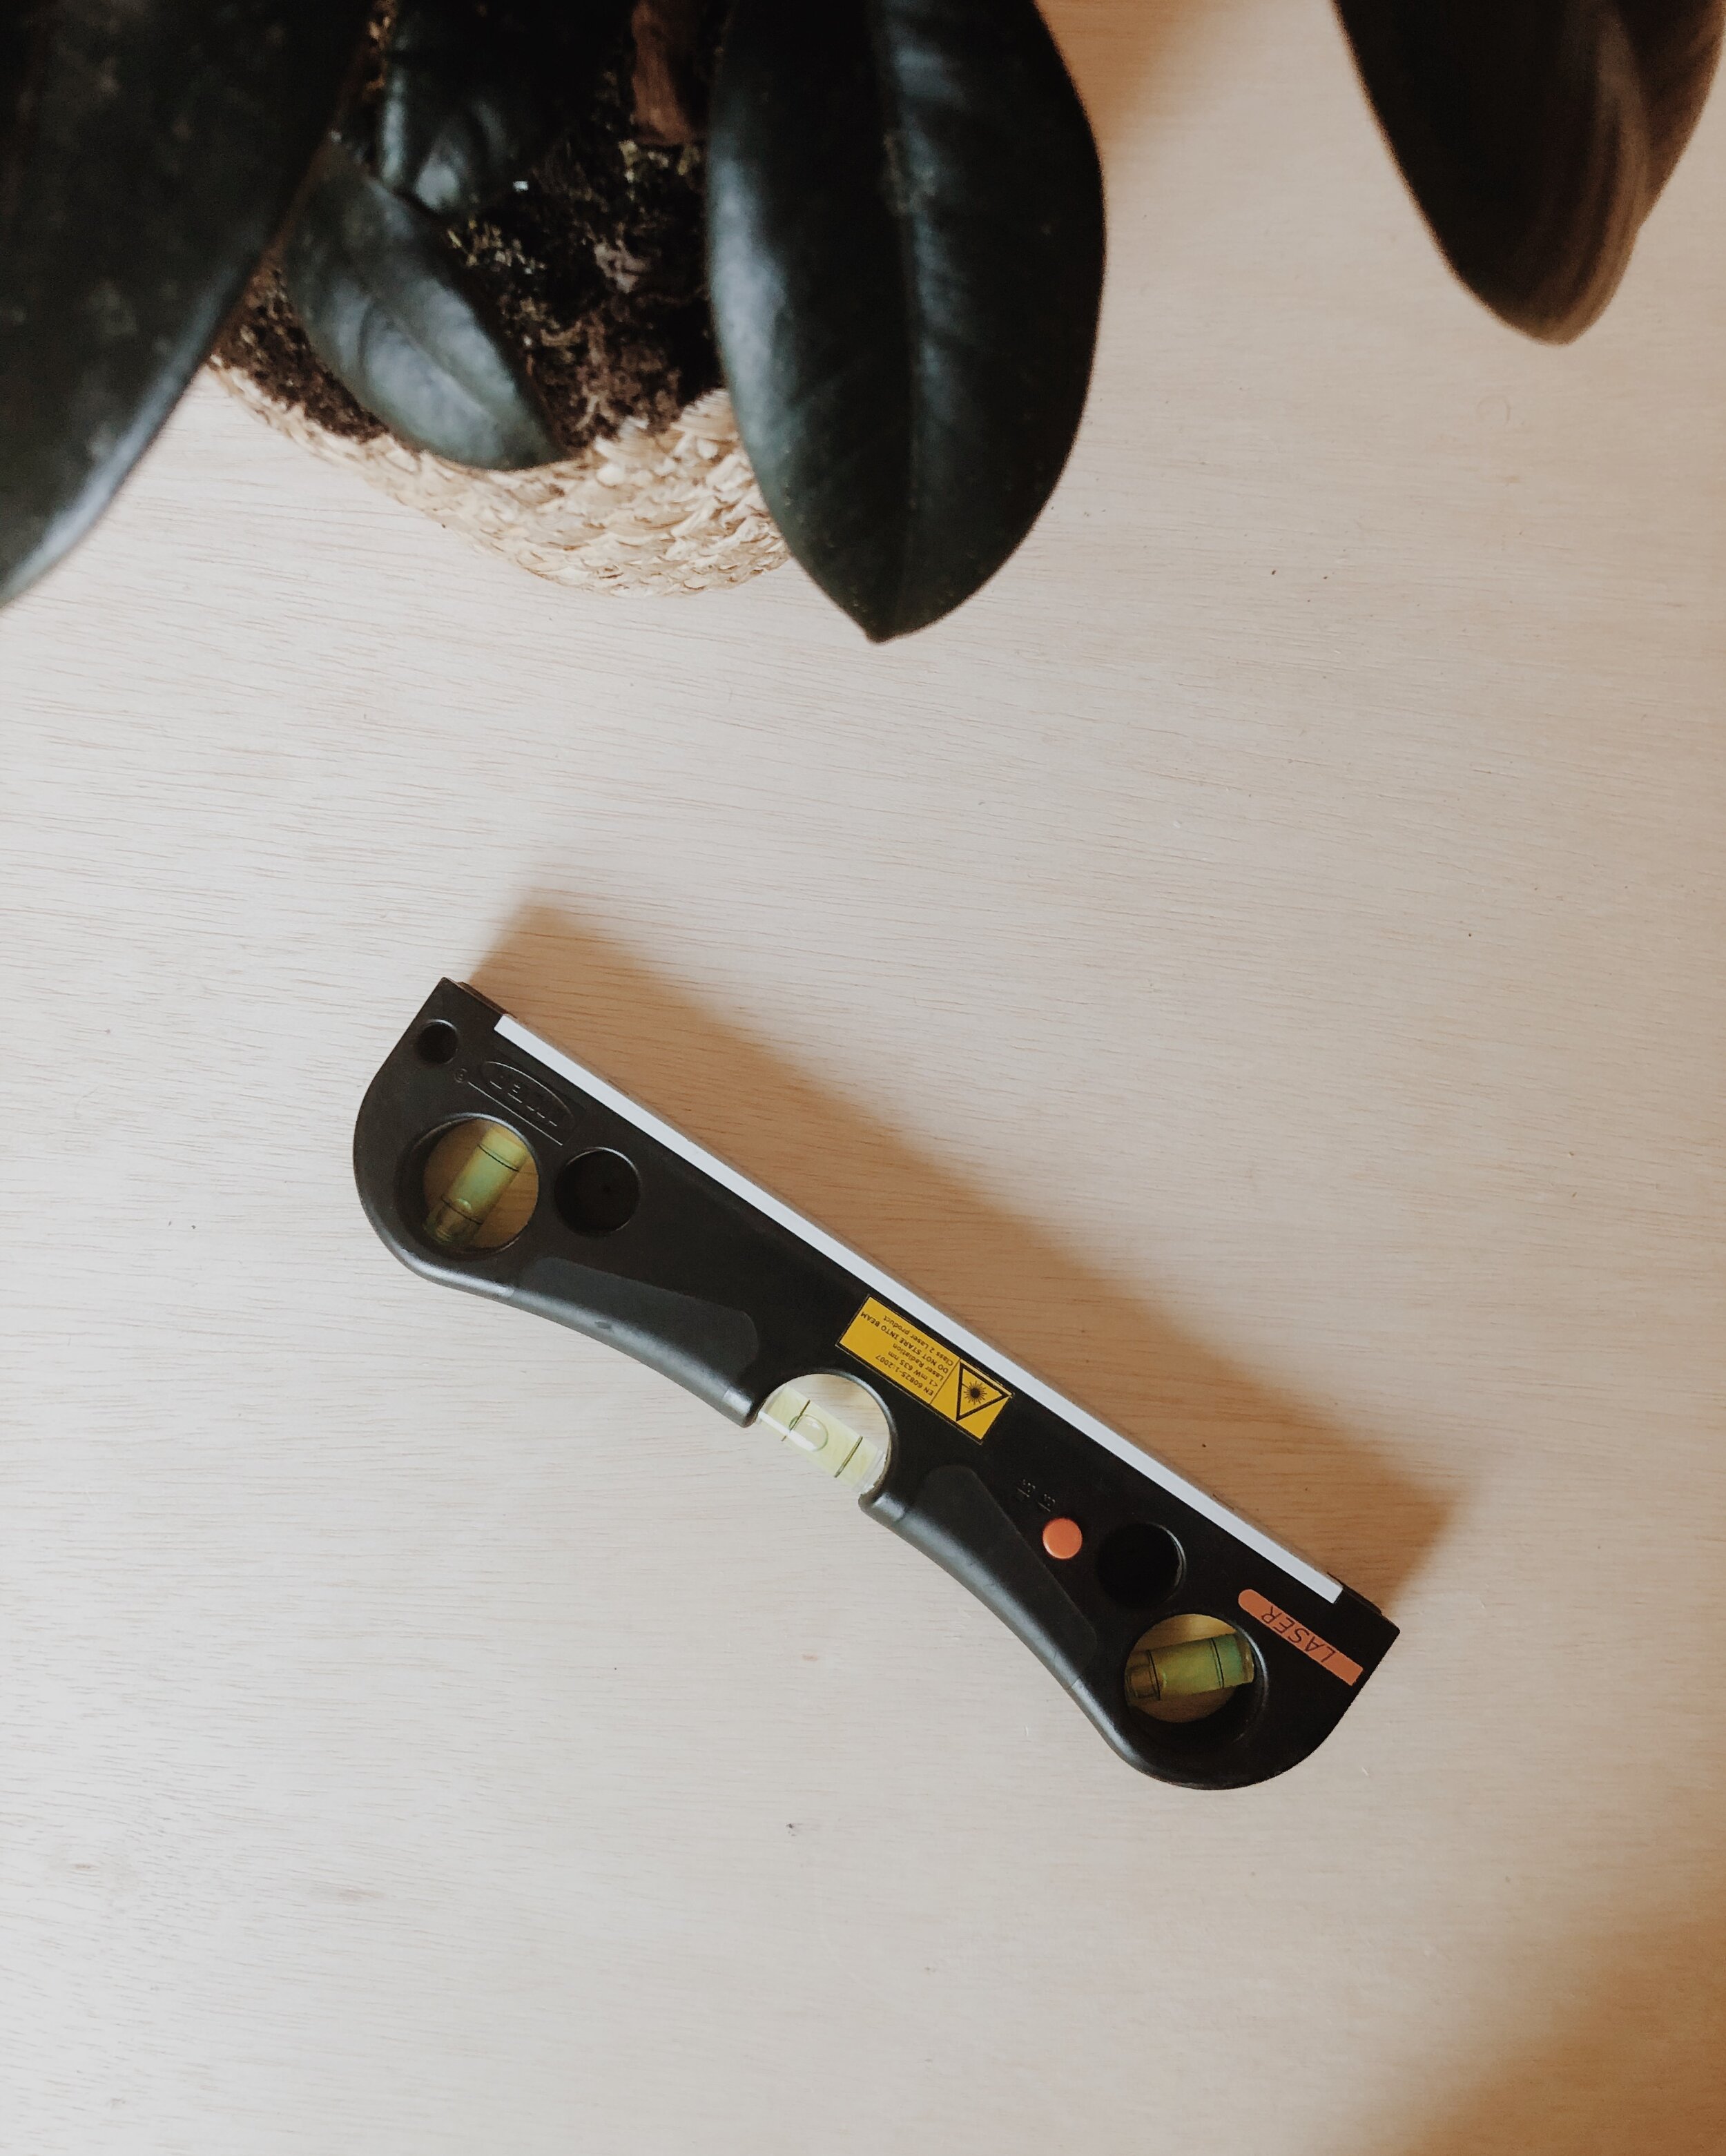
Jute Twine Installation: How To create expensive wall art on a budget: 12 Easy Steps
I’m so excited to finally be sharing this jute twine art installation with you! Here’s the story of how how it came to be: I ran out of budget during a client-project, and needed to source an art-piece for a feature wall, with only $40 left to spare. This is when I came up with the idea for this art-piece! It’s budget-friendly wall art with an expensive look!
Here’s what you’ll need:
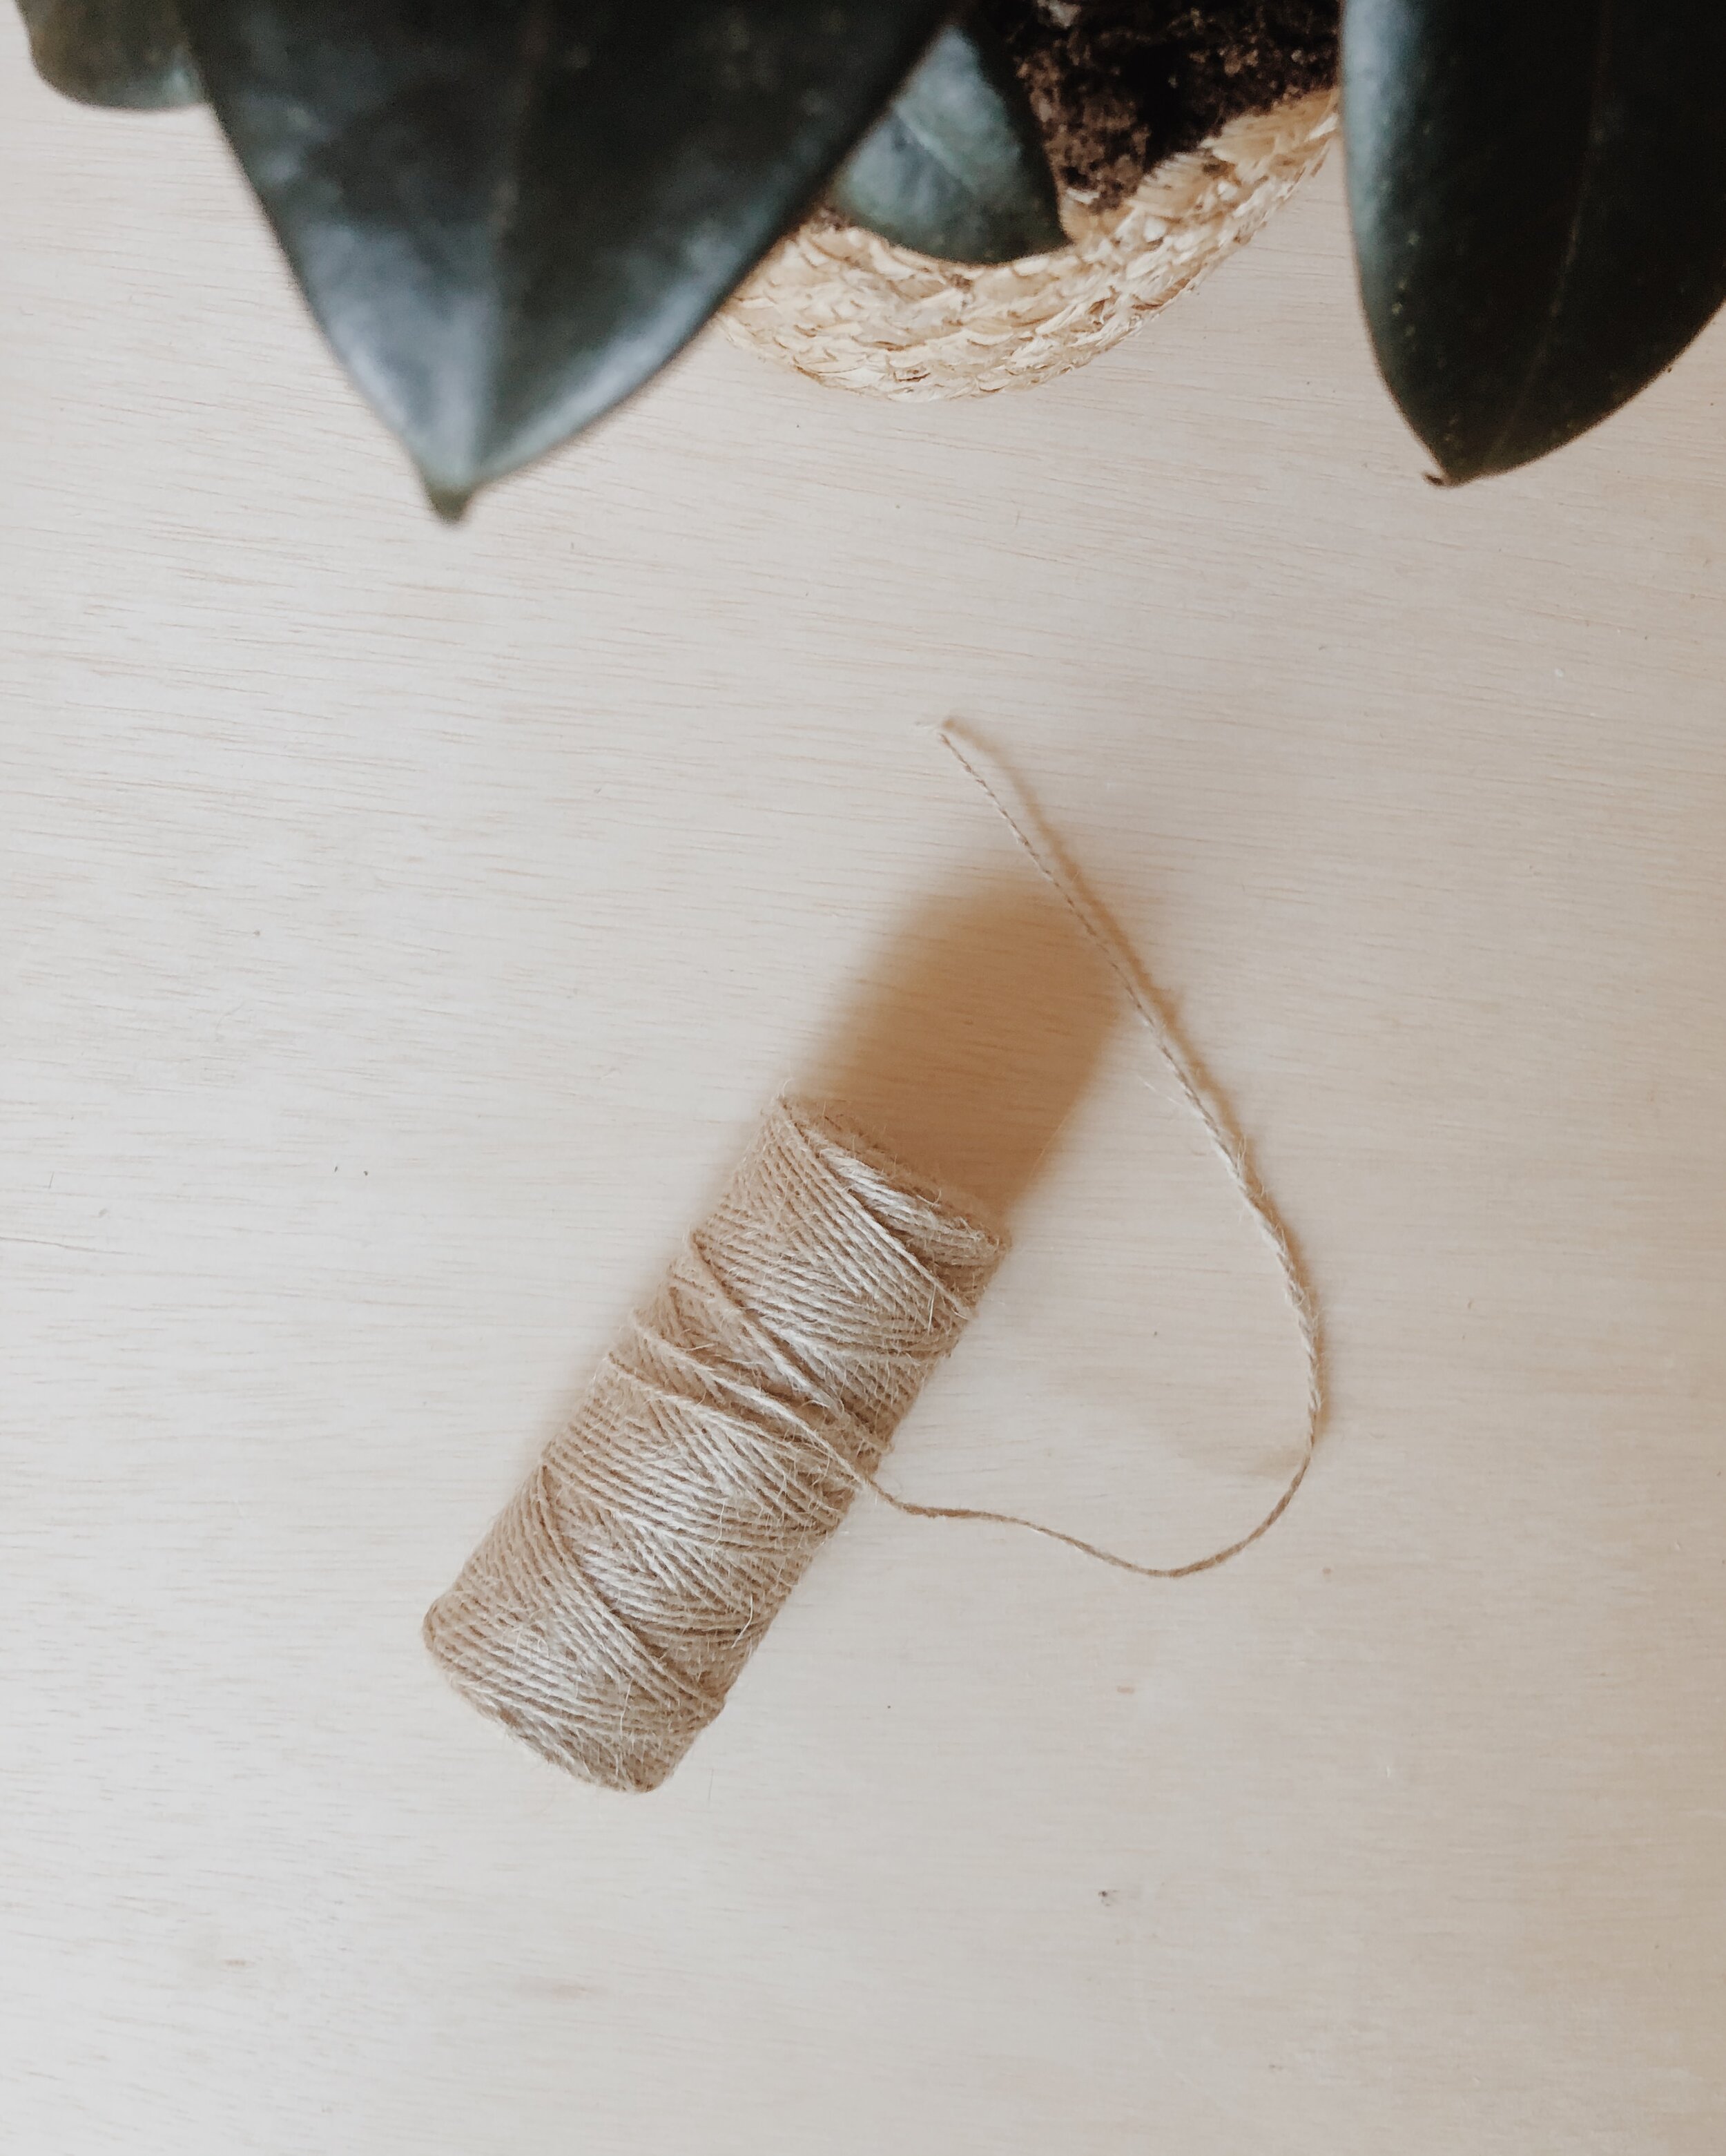
1.) Jute Twine
2.) Measuring Tape
3.) Hammer
4.) Lots of Nails
5.) A Level
6.) A Pen or Marker

STEP 1
Choose a space in your room to get an idea of how big you’d like to make the wall art. It’ll either be a square or a rectangle.
STEP 2
Once you choose the spot, Start by nailing in the top left corner nail, and measure how far to the right you’d like the next nail. Use the level to get a straight horizontal line.

STEP 3
My design will be a vertical rectangle, so I’ve started by measuring 7 inches (horizontally) in between each nail. I’ll only be hammering three horizontal nails to start.

STEP 4
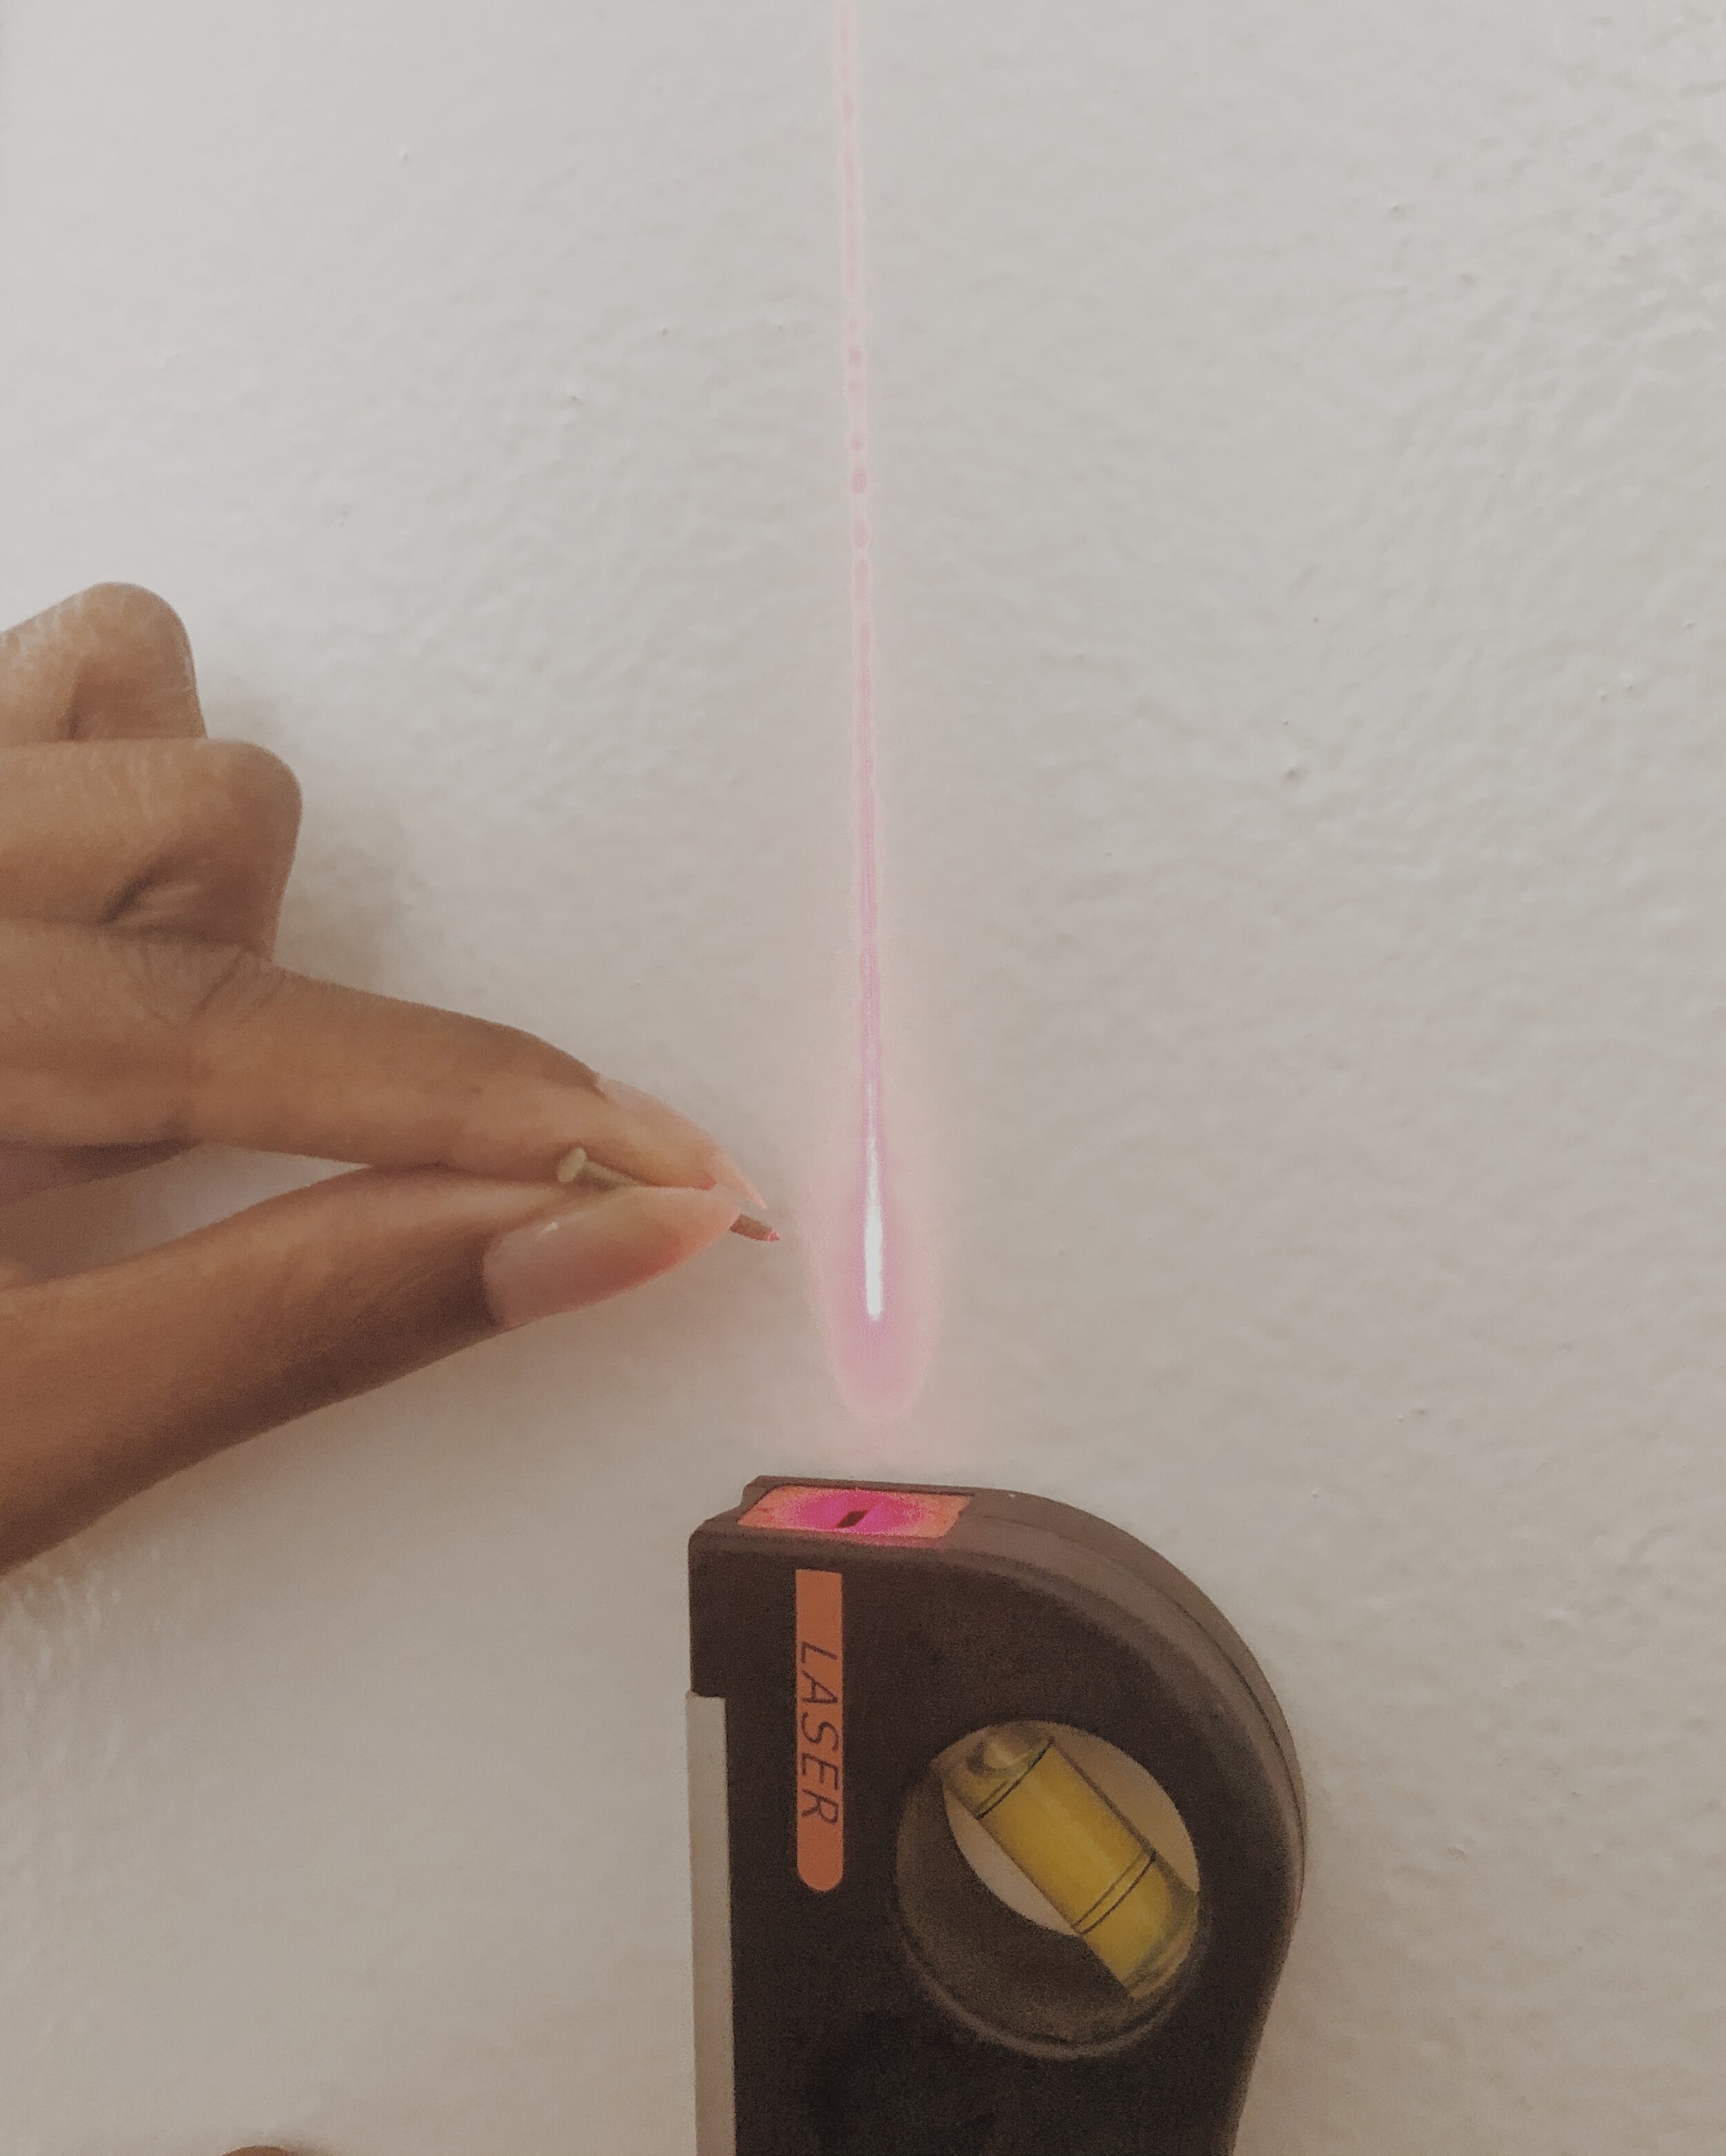
Choose how long (far down) you’d like your wall art. After this, you’ll need to hammer in the bottom left corner nail. You can use your laser-level to help you get the line straight - by using the top left nail as a reference to create a straight vertical-line. This creates the border of the wall art.

STEP 5
Measure 7 inches to the right to place the next nail. Use the laser-level to get a straight horizontal line. Measure another 7 inches to the right to mark the spot for the bottom right corner nail.
STEP 6
Hammer in the bottom right corner nail. This is the last nail you’ll need to complete the border for the wall art. You can use your laser-level to help you get the line straight - by using the top-right nail as a reference to create a straight vertical-line.

STEP 7
Now take your roll of twine and tie the end piece to the top right-corner nail. Make a knot around this nail. Then use the twine to wrap a border around each nail. One wrap-around each nail will do.

STEP 8
Wrap until you make it back to the top left-corner nail. Now you have your border! Make another knot when you’ve made it back to the top left-corner nail.

STEP 9
Release your string, so that you can start making marks for each border nail you’ll need to hammer in. For this design, I chose to go down 8 nails - two inches in between each nail. I did this on both vertical sides of the border.

STEP 10
After you’ve made all of your marks, start hammering in all of the nails.

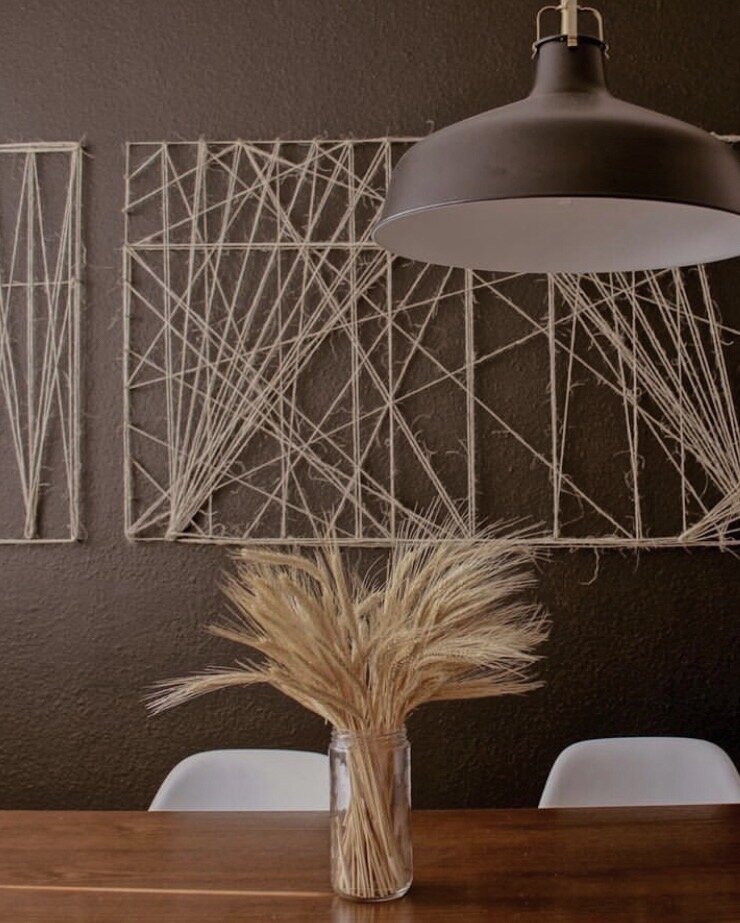
STEP 11
Above, is a picture of what it will look like once you’ve hammered in all of your border nails. Afterwards, I decided to add a nail in the center of the art piece. I thought this would make a really cool geometric pattern.

STEP 12
Now grab your jute twine from the top left corner, and free-style a design!

There are no rules as to what design you can come up with. Just be creative and do what you feel. This is what makes a piece like this custom and unique!

Here’s the design I came up with this time around!

Now you know how to make my jute twine wall art installation! Its such a fun art piece to create and I can’t wait to see your wall art! If you post your piece to instagram, please hashtag #TrueHomeDIY.
Drop a comment below if you have any questions, and I’ll get back to you ASAP!
Happy Designing & DIYing,
Ajai

How I saved money by tiling my own kitchen backsplash, using subway tile.

If you want to build confidence, do something you’ve never done before.
This was my approach to tiling our kitchen backsplash for the first time. I must admit, I was a bit scared to get started initially, but after receiving a few quotes, all averaging out to around $3,000, I figured it was time for me to put my DIY tights on and get to work.
I wanted to be lenient and give myself grace, so I gave myself two weeks to complete the project. My husband travels a lot for work, so I wanted to go about it like I’d be the only one working on the project - and if / whenever he could join in, would be great too!
That said, I’m going to break down this DIY the way I learned. I watched two youtube videos, and researched the materials I would need to get started.
Along with a list of materials, and the links to the videos, I’m also going to leave a few tips (knowing these tips will help the process and leave less room for errors). Before I get to it, I want to encourage you to go about this with an optimistic attitude. Give yourself time (don’t rush). It’s important to have patience when you are laying subway tile. It is a tedious-sort-of-work, but there is so much beauty in these details.
Alright, let’s start with watching the videos first!
Two videos I’m encouraging you to watch before getting started:
Video Number One:
(TILING)

Video Number Two:
(Grouting)

Here’s a list of what you’ll need:
Adhesive
Grout
Sealant
A Spirit Level
Measuring Tape
A Tile Bead
Grout Finisher


My Tips To You:
Be as patient with yourself as you can and make this a fun and enjoyable project. Play music and have a good time.
Try to keep your space clean as you go along. A clean space, is a safe space.
You can never have enough drop cloths.
Make sure to buy a 15% overage of tiles - you can return the extra boxes you don’t use once you’ve finished the product. Would suck to get into the groove of things only to have to run to the store because you’ve ran out of tile.
Prepare to use quite a few tubes of caulk. I used seven caulk tubes for my project.
Make sure your caulk matches your grout.
When it’s time to grout, do it in small sections.

Our kitchen has come such a long way, and we still have a few things to do before we can call it complete. Tiling the backsplash knocked out a BIG to-do for us. I really enjoyed this project and am so proud of the work we did on this kitchen. We’ve been smiling non-stop every time we pass by this room. Not to mention, we saved $2,600 by doing it ourselves. The materials came in a little under $400.


Now let’s be clear, I understand that there are experts who could’ve done this job, and I believe in leaving most of the work to the experts. However, we are first-time home-buyers and had to remodel the entire kitchen, update our plumbing and electric, along with plenty of other things around the house. Thus, we decided to take matters into out own hands for some of the cosmetic projects we were confident and skilled enough to do.
For anyone willing to brave it out and save on such an expensive project, I am hoping you have just as much fun as we did tiling our kitchen. If you decide to be brave and tile your backsplash, I’d love to hear about how it came out. please come back and share under this post to encourage all of the other tile-DIYers!
XoXo,
Ajai @truhome_

How To Create A Beautiful Album Display For Your Photos

I recently read a blog about intentional design and how “feeling” should always be considered in home decor. This resinated well with me, as I’m always considering the psychology of a space, and what emotion it will evoke on the people utilizing it. For this reason, I am so happy to share a design secret of mine that will be sure to leave breadcrumbs of memories and feelings throughout an intentionally decorated home.

A few years ago, I wondered how I could share more of the memories my husband (Jonathan) and I had created throughout or home, and in an aesthetically pleasing way.
I thought of the traditional photo album, but soon realized going this route would lead my well-cherished photos and memories straight into retirement. I wanted these photos to easily be seen everyday, and to have a display that encouraged me to take a trip down memory lane.
During this time, Jon and I were in the middle of making payments towards our wedding photographer and deciding on whether we could afford to have a videographer at the wedding as well. That said, I wanted to consider the costs of choosing the traditional wedding album to display our wedding photos.

After much research I found a 33 dollar glass box, that at the time was marketed as a jewelry box. I checked for its dimensions and realized they were the exact same size as your typical 5x7 photo. This made we wonder off into the world of Amazon, looking for other glass boxes that also reflected the typical photo sizes.

After 2 hours spent shopping through Amazon.com, I found the perfect vendors to order my 5x7 and 4x6 glass boxes. I’d decided I would print my engagement photos to fit a copper 4x6 glass box , and that I’d print my wedding photos to fit the brass 5x7 glass box I ordered.

For my wedding photos, I wanted a high-quality look and feel, so I chose a double-thick matte option from Artifact Uprising. I selected their Everyday Print Set and ordered 100 photos.
to save a few more dollars, I went to my local print shop to print my engagement photos, and they also turned out beautifully.

This photo album hack is one of my favorite home decor tips to share. It’s elegant, and perfect for displaying and keeping my photographs safe. Both glass boxes will hold over 100 prints, and the presentation is so lovely. They are also quite the conversational piece, you’ll too be sharing this secret with your friends and loves ones!

Dried Arrangement Hack

I’ve been getting so many messages asking me where I get my favorite flower: Pampas Grass and other dried flowers from! I am beyond thrilled to finally share my little secret and DIY on how I’m able to keep these beauties throughout my home, and how they last no matter the season.
1. Find A Place Where flowers grow
With permission - I like to visit my normal spots for flowers. I utilize my backyard, neighborhood (with my neighbors permission), and some businesses let me cut from their properties.
Luckily, pampas grass and similar flowers are a normal thing in my neighborhood and city - they’re everywhere!

2.BRING HEAVY DUTY SCISSORS TO SNIP STEMS
Make sure to bring heavy duty scissors with you.
Scan the area for your favorite looking stems / flowers. You’ll want to avoid any that appear covered in insects or show any signs of disease, as they are not good candidates for drying.
When cutting your stems, you’ll want to clip a nice long stem. This will give you room to play around with the length of each stem as you’re arranging them in your vas later on.

3. ARRANGE & Use Hairspray
Once you’ve got your stems home, arrange them in the way you’d like them displayed (be sure to use this time to cut the stems to a length you like). This means you’ll line your stems up and get them vas-ready.
Once you’ve got them arranged in a pretty way, with a light coating of hair-spray, spray the bundle. The hairspray acts as a flower preservative. Any hairspray will do, just make sure to apply a light coat. Spray the front first (but leave about two inches at the bottom of the stem for you to grab them and pick them up).
Flip them over after you’ve sprayed the front side of the arrangement, and then lightly spray the back side.
Hang them them with string and leave them to dry upside-down for an hour.

There you have it! That’s my dried arrangement hack! But before I go, I wanted to share with those who don’t have access to flowers in their backyard or neighborhood… No worries if this is the case for you. You can still purchase your pampas grass here!

Pot Painting Hack
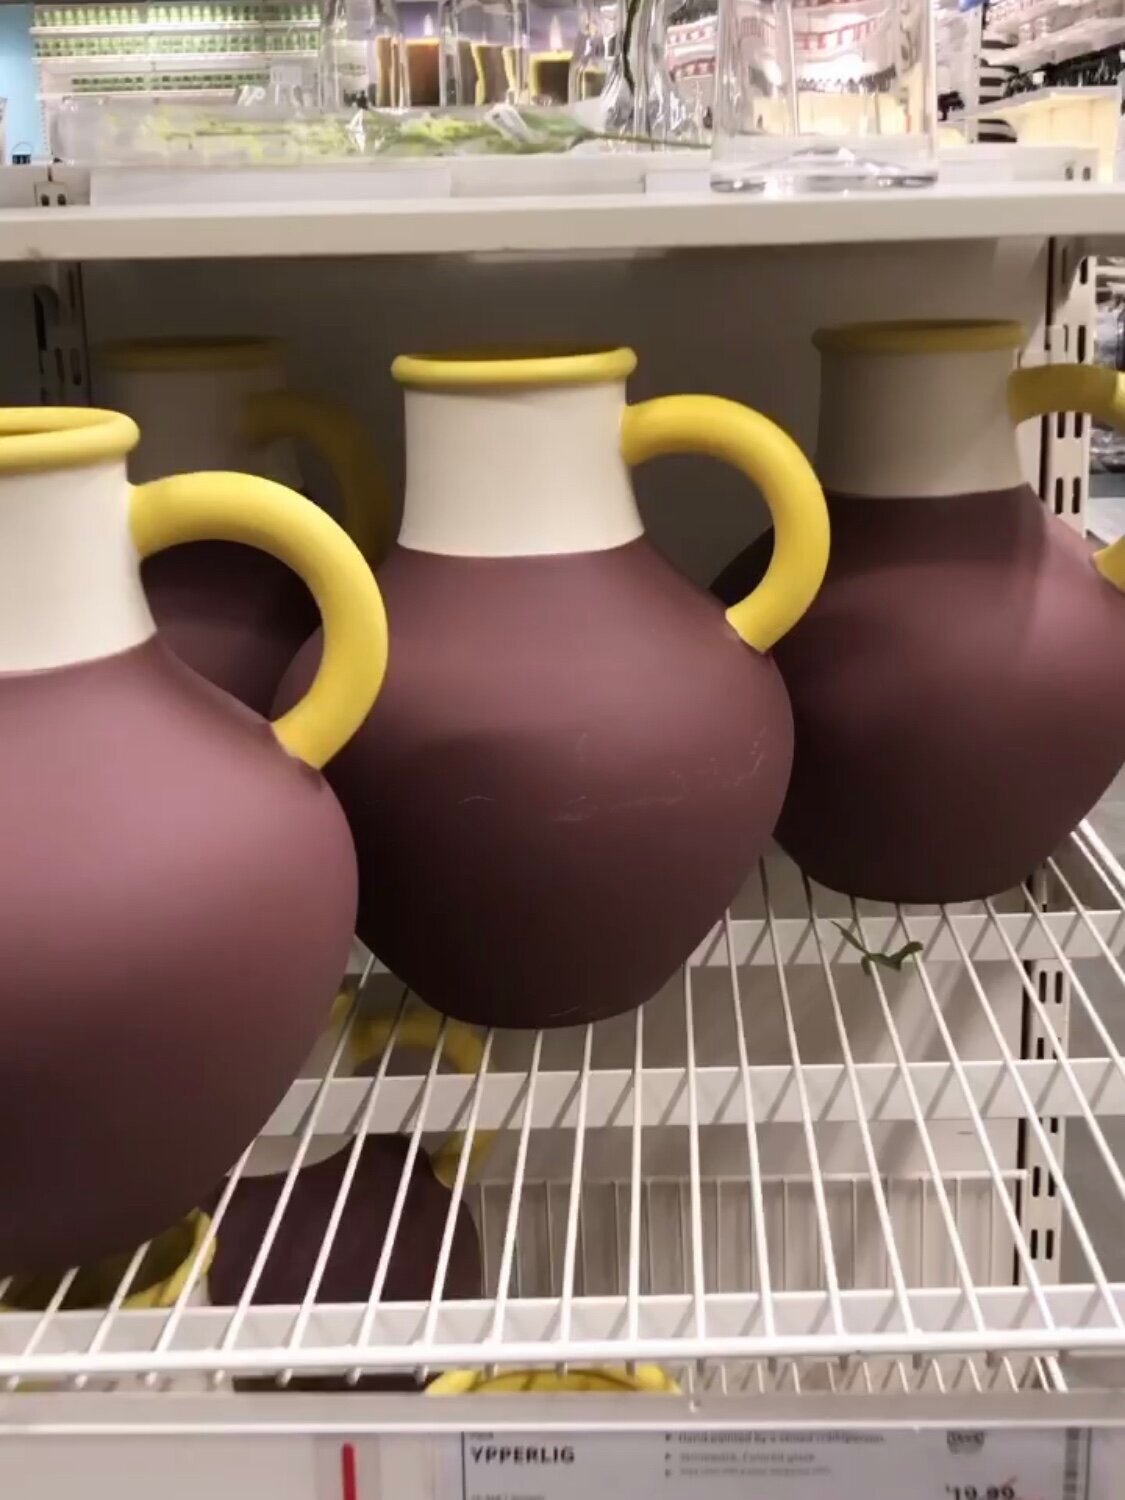
I’ve been on the hunt for a few ceramic pots for some time now, and have luckily found some beauties! However, I’ve been wanting to purchase 3-5 larger sized pots all at once, so I needed to find them at the right price - because pots don’t grow on trees right?
I was able to find larger-sized pots that were great quality at IKEA. Nevertheless, the color of the pots weren’t very desirable, unless you’re a Laker fan that is (click arrow for the “before” photo of pots). Because there aren’t a lot of Laker fans living here in Atlanta, I’m assuming these Ypperlig pots didn’t do so great in sales, and therefore were marked down to $8.99 from their original price of $20.00 per pot.
Long story short, I purchased three! took them home, sprayed them with Rustoleum, and voila! A very quick DIY that’ll give you an upscale artisanal look in your home. I used a white Rust-Oleom Chalked Paint Aerosol and a Rust-Oleom Auto Paint Matte Finish Spray for my black pot . There you have it, my pot-paining secret!
If you try this DIY, drop a comment below and let us know how it turned out for you!