
Jute Twine Installation: How To create expensive wall art on a budget: 12 Easy Steps
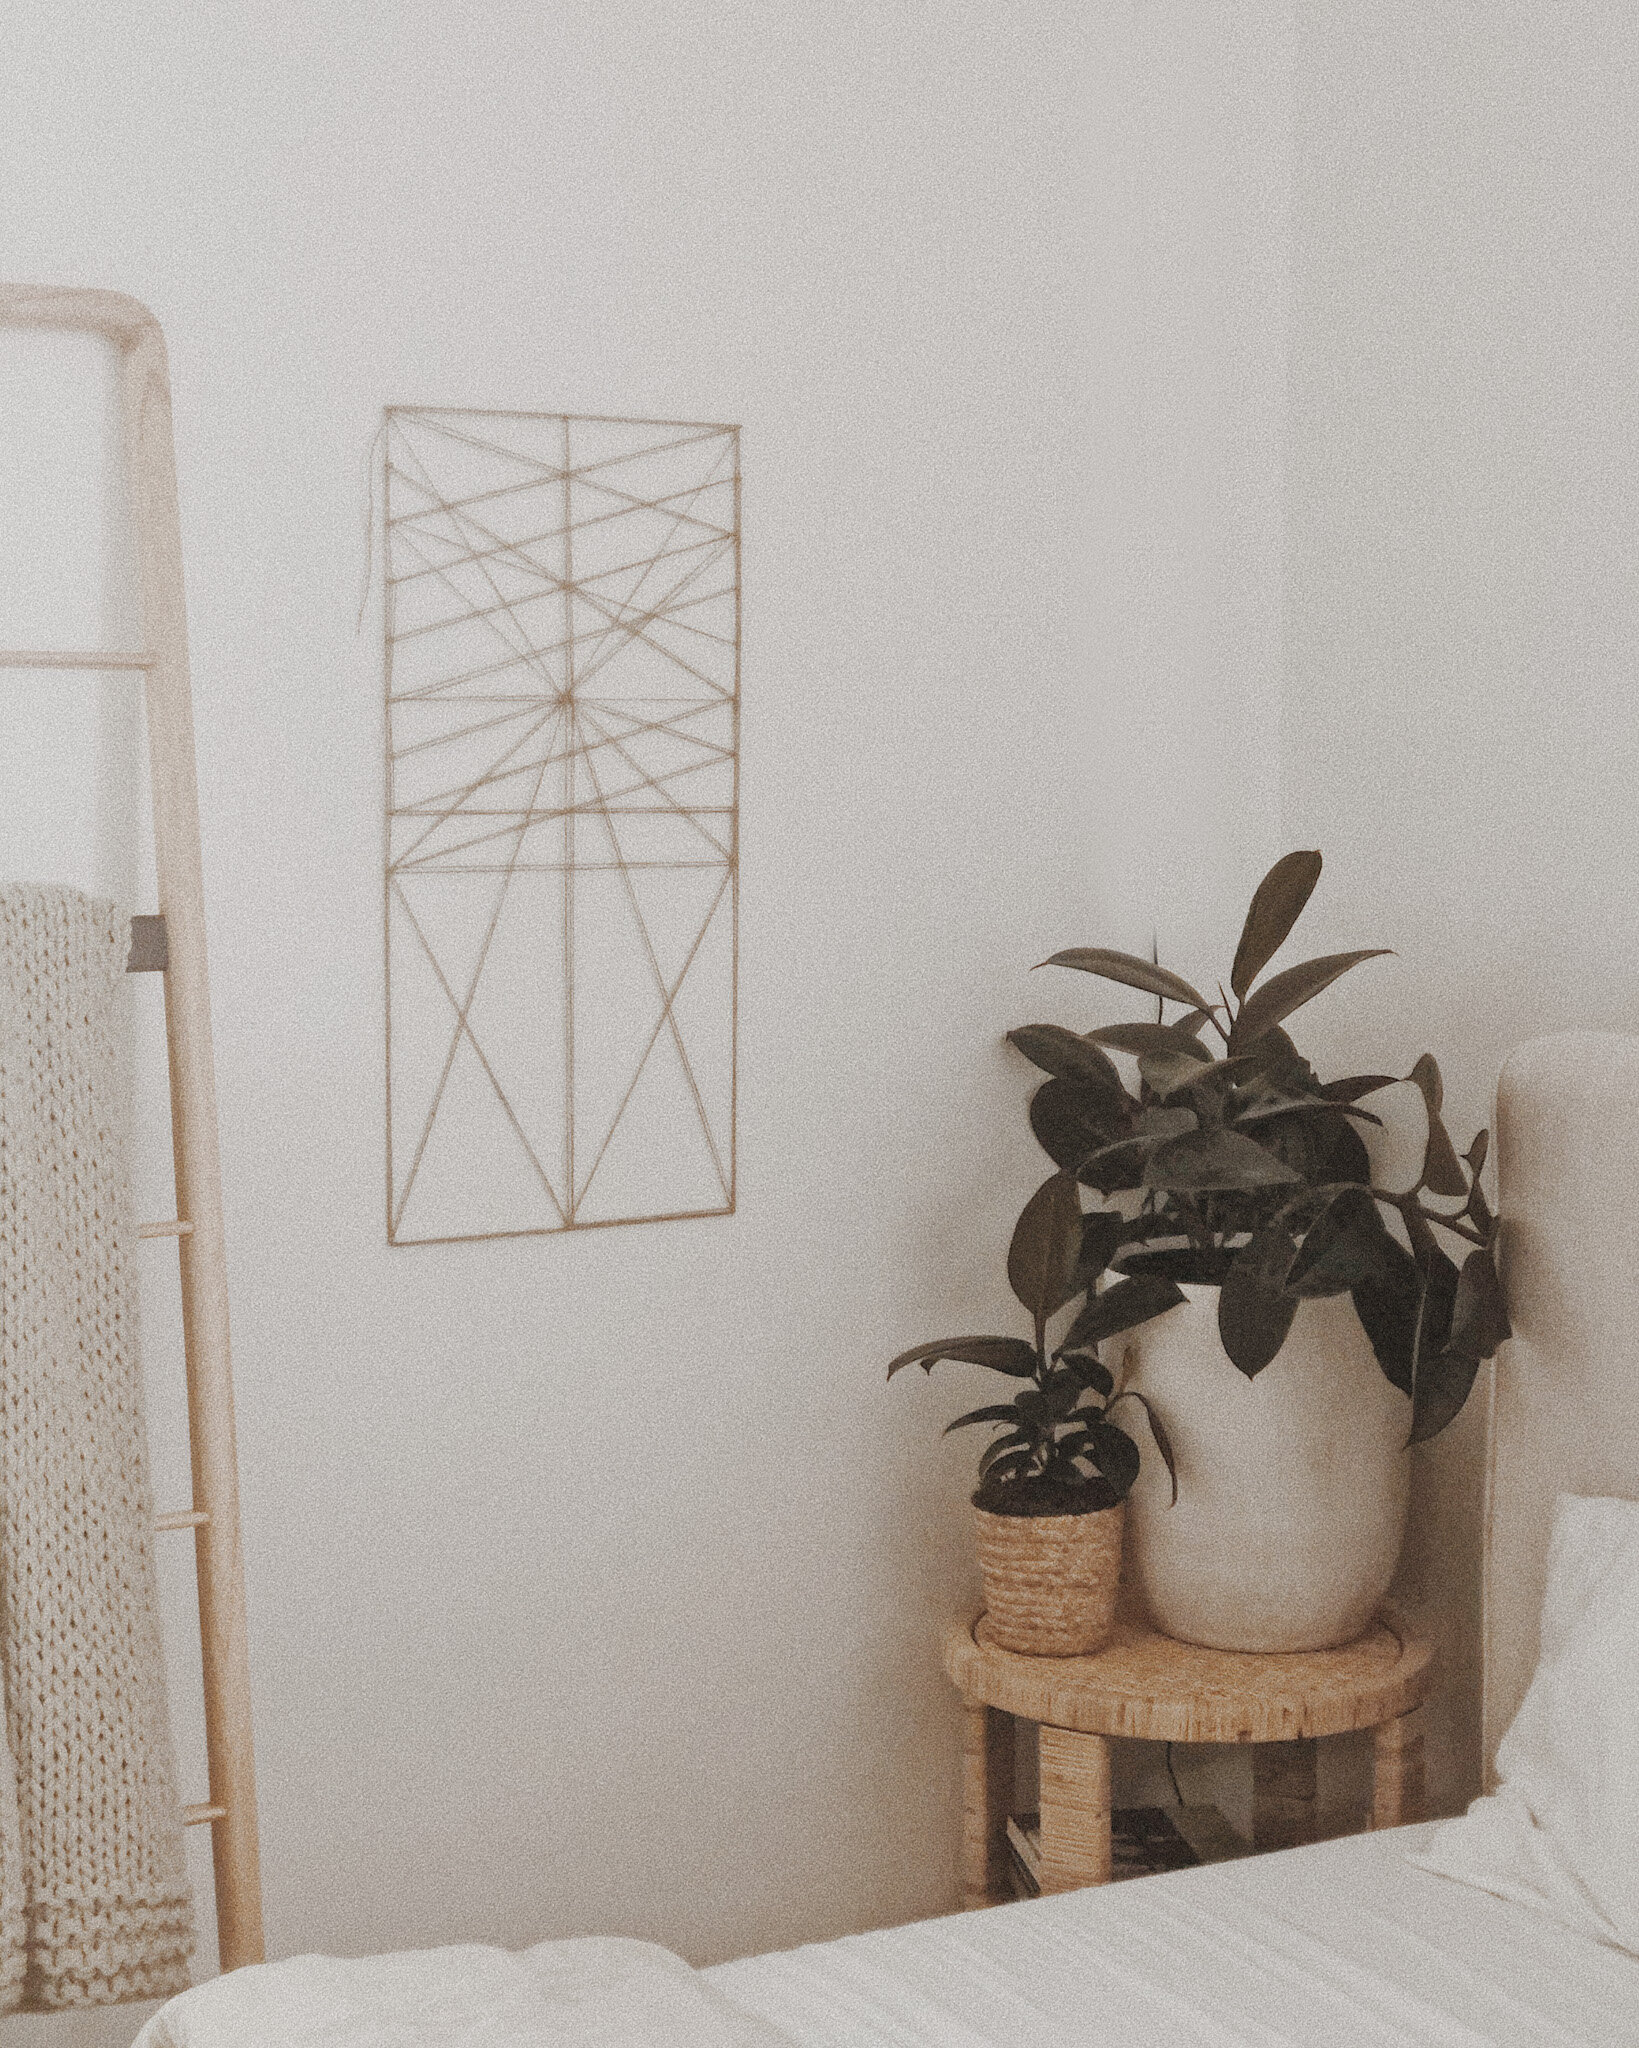
I’m so excited to finally be sharing this jute twine art installation with you! Here’s the story of how how it came to be: I ran out of budget during a client-project, and needed to source an art-piece for a feature wall, with only $40 left to spare. This is when I came up with the idea for this art-piece! It’s budget-friendly wall art with an expensive look!
Here’s what you’ll need:
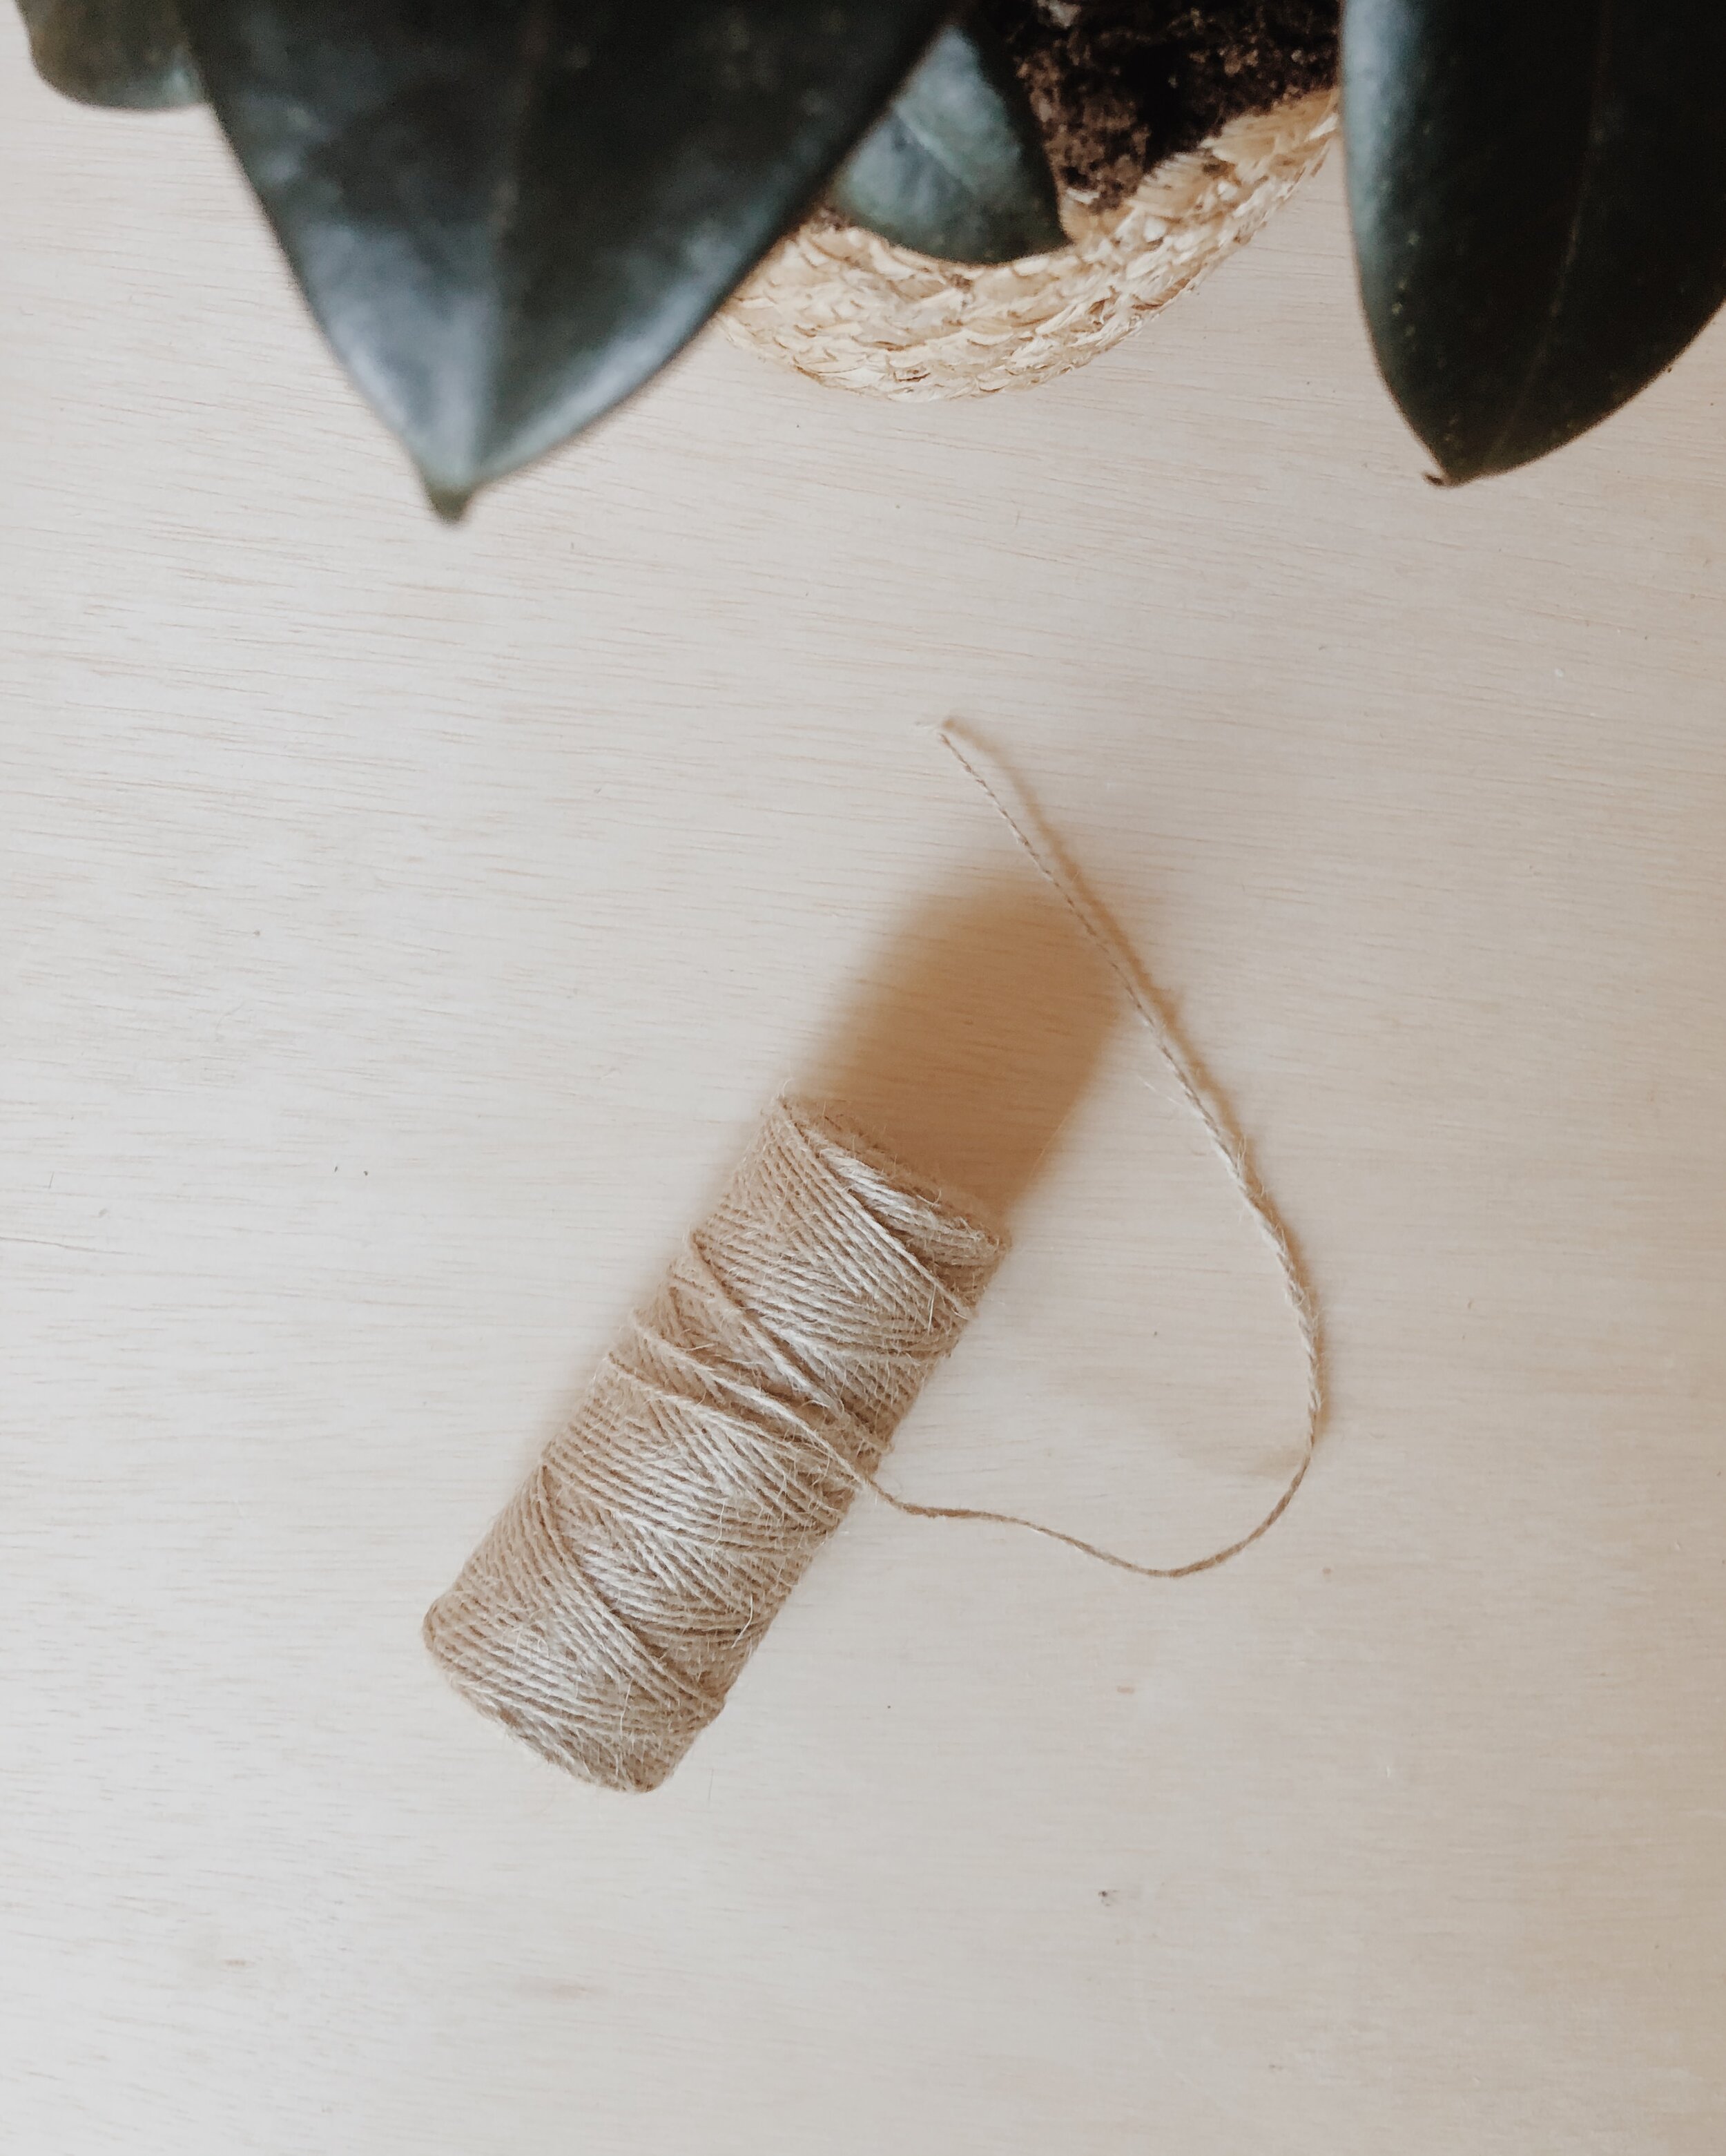
1.) Jute Twine
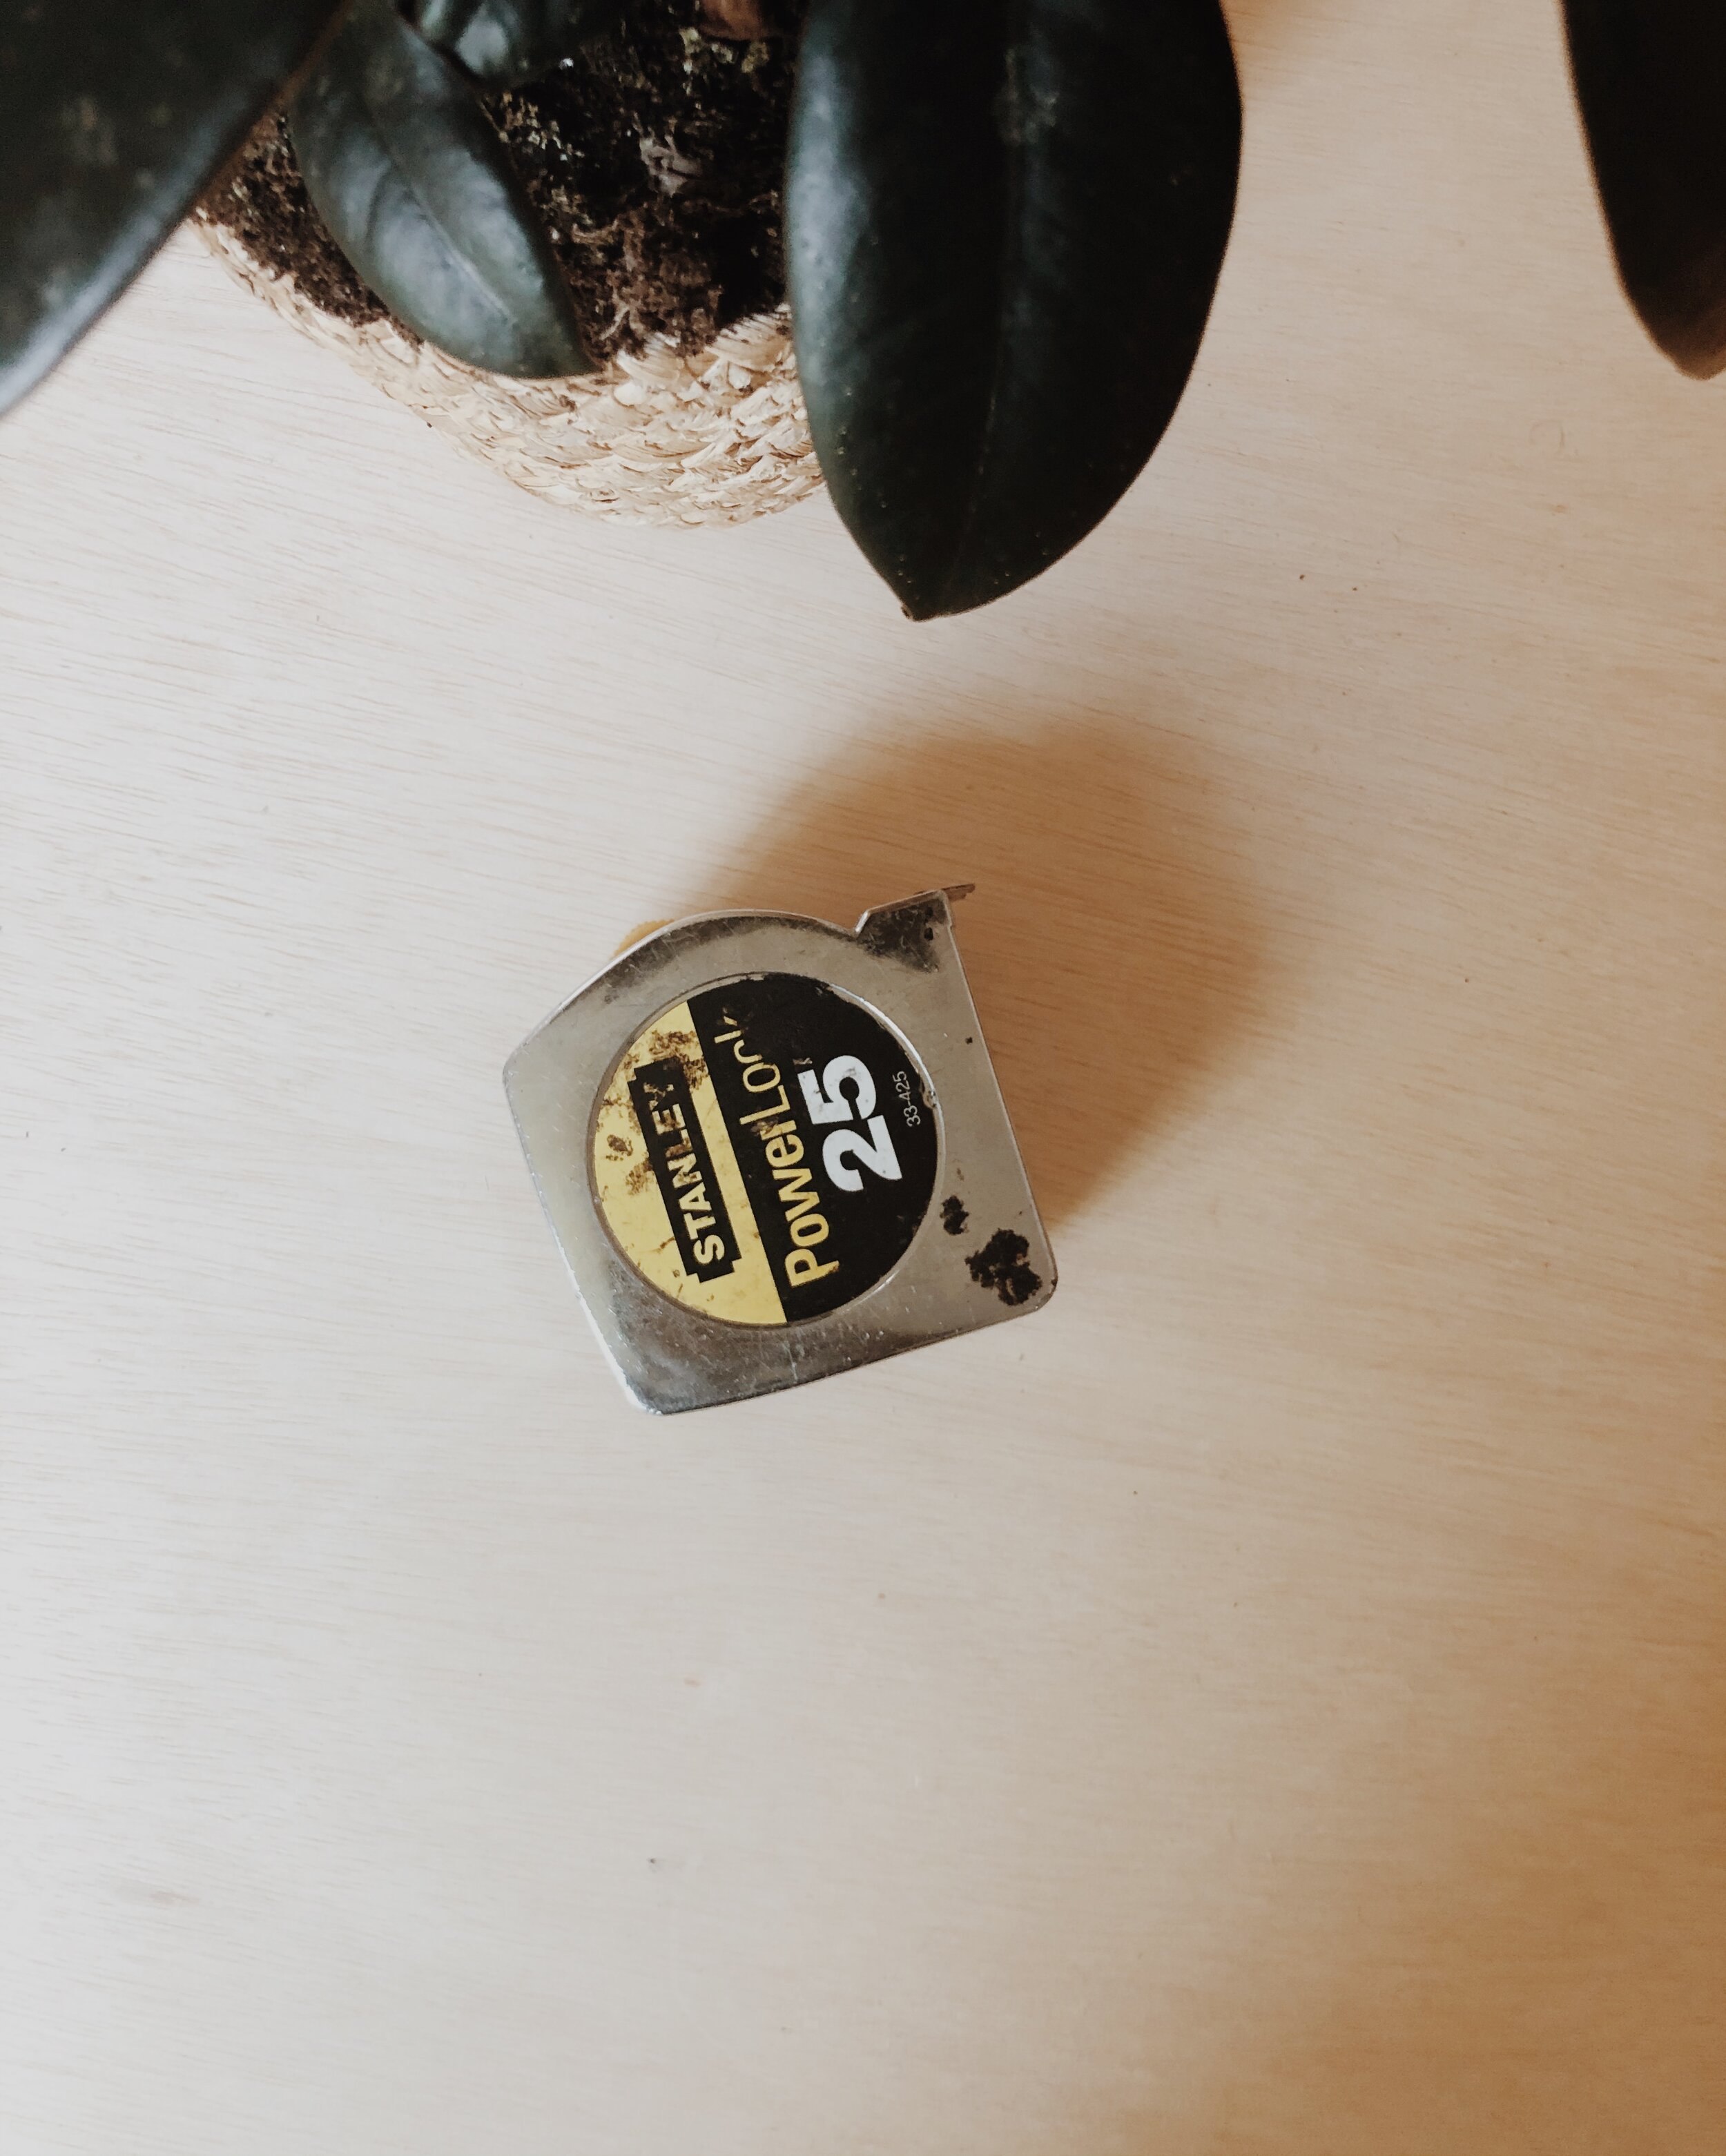
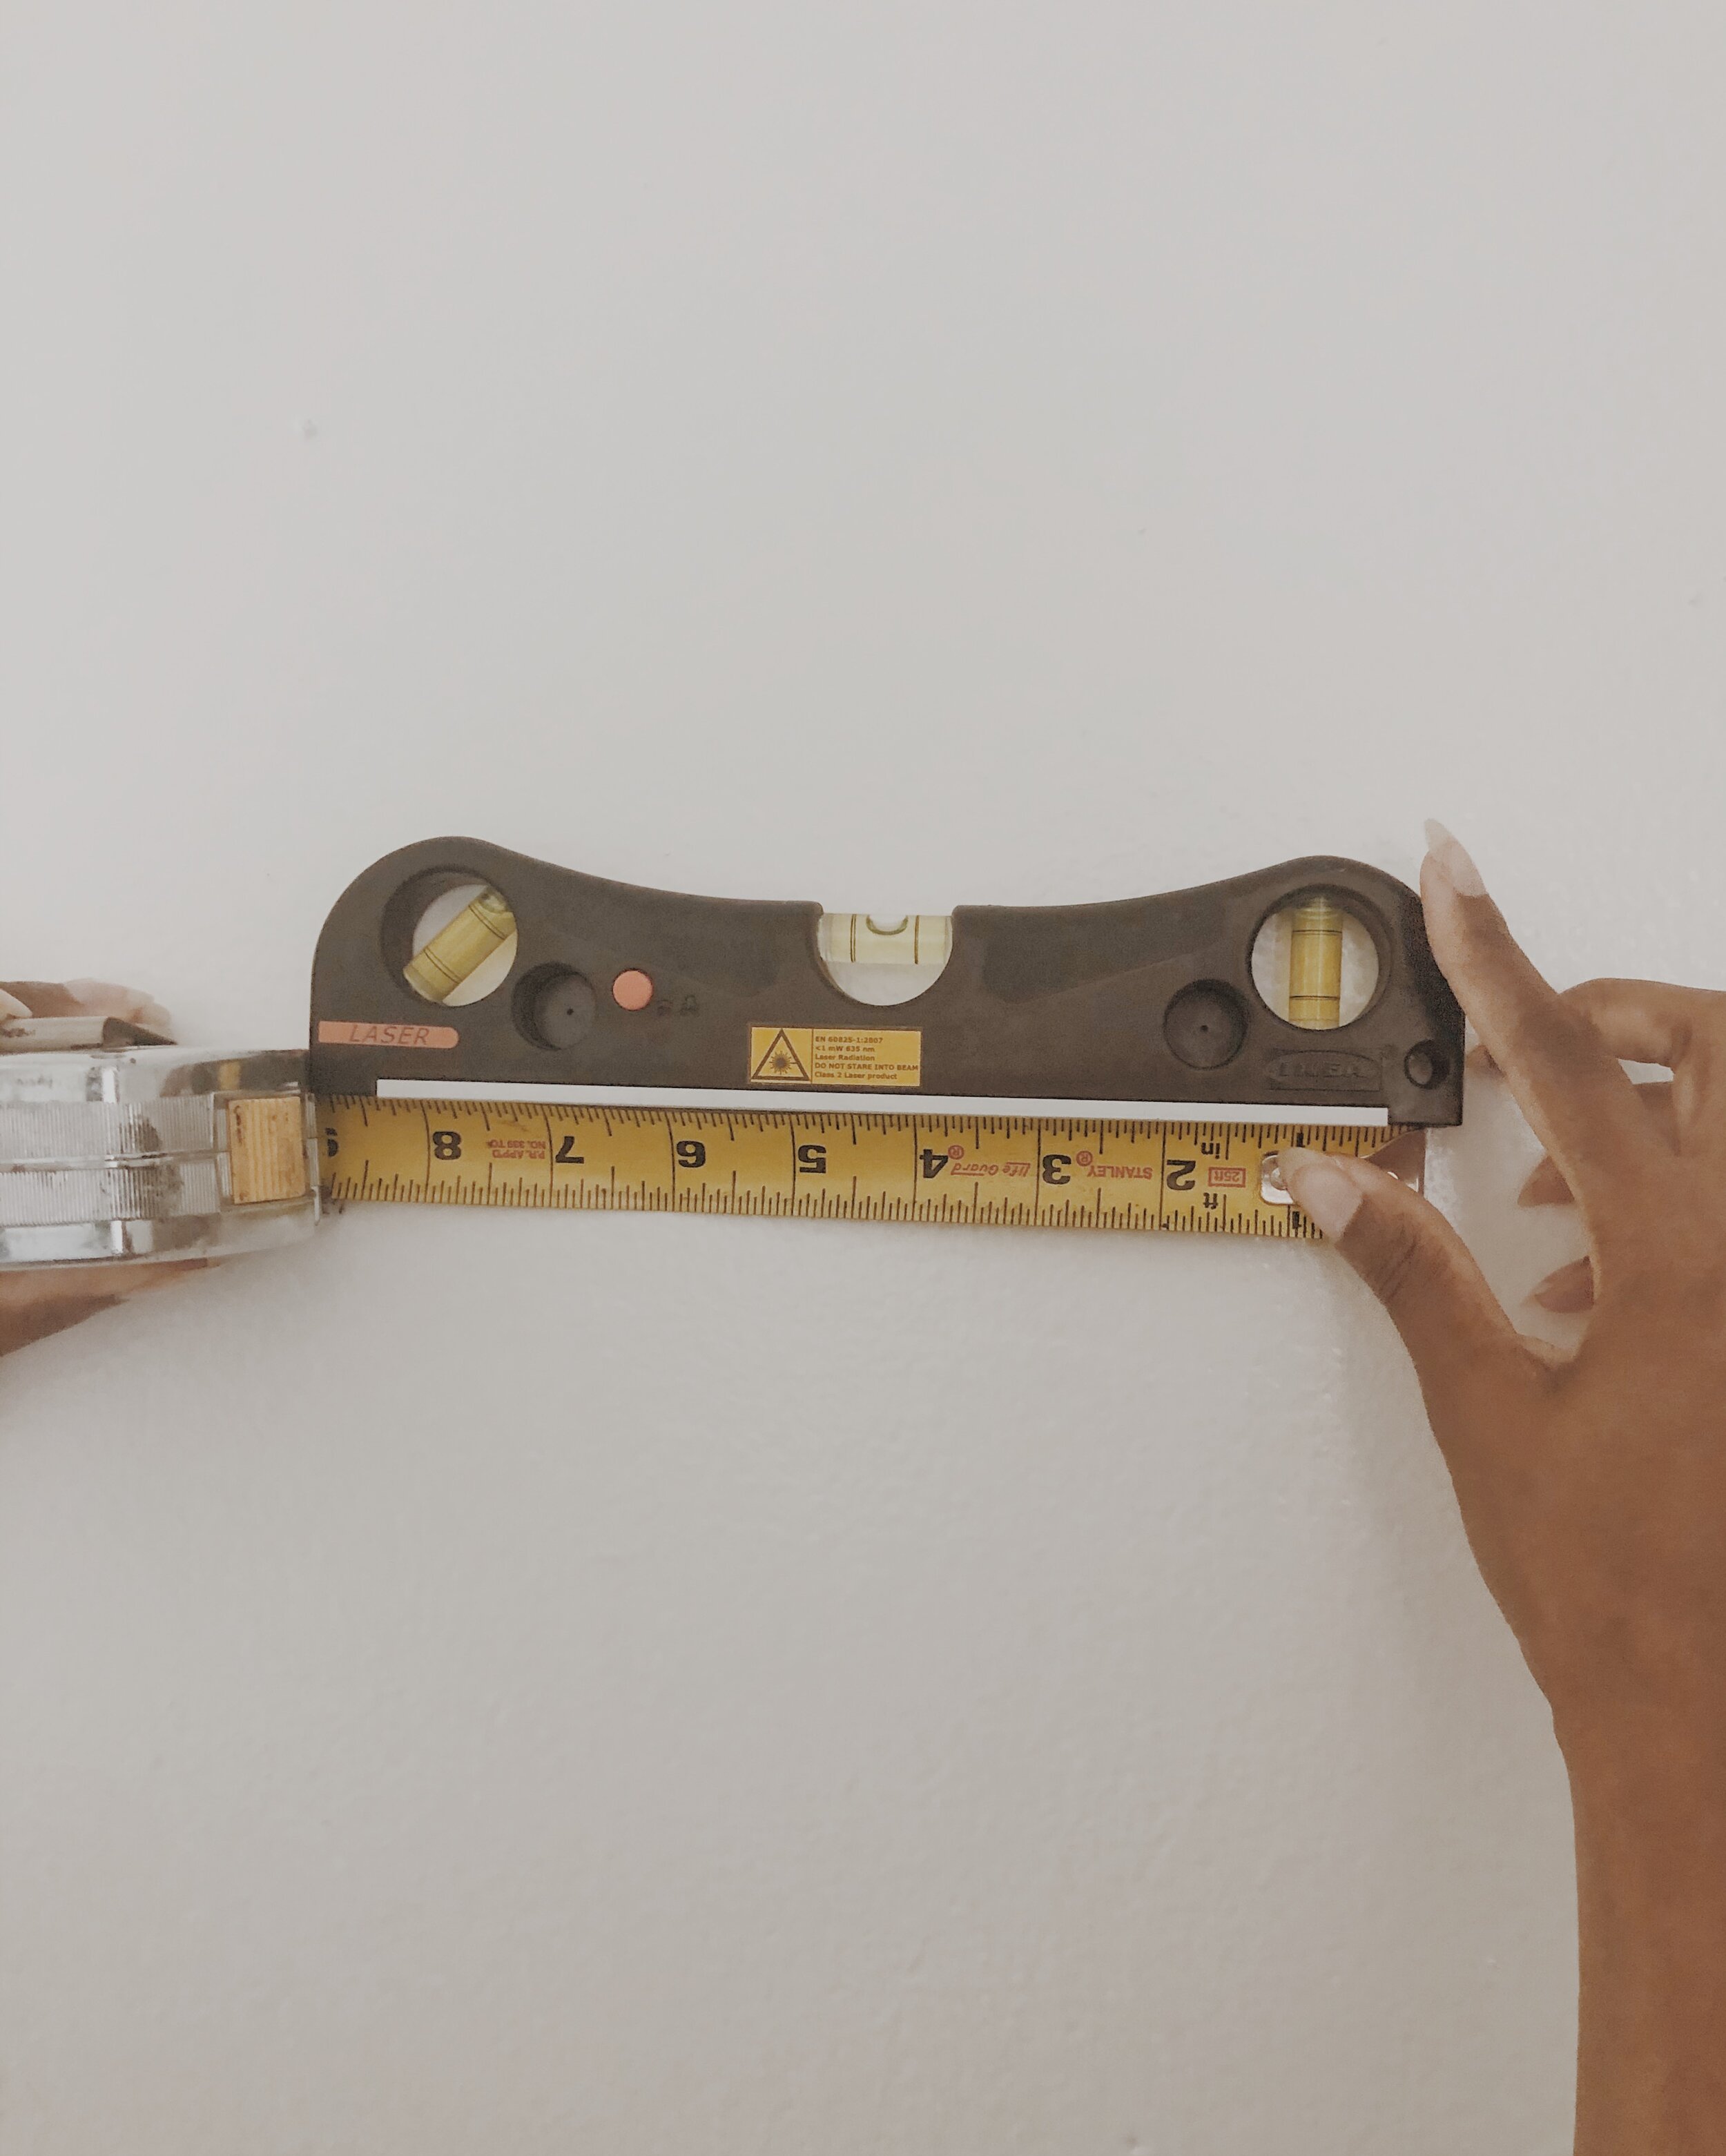
2.) Measuring Tape
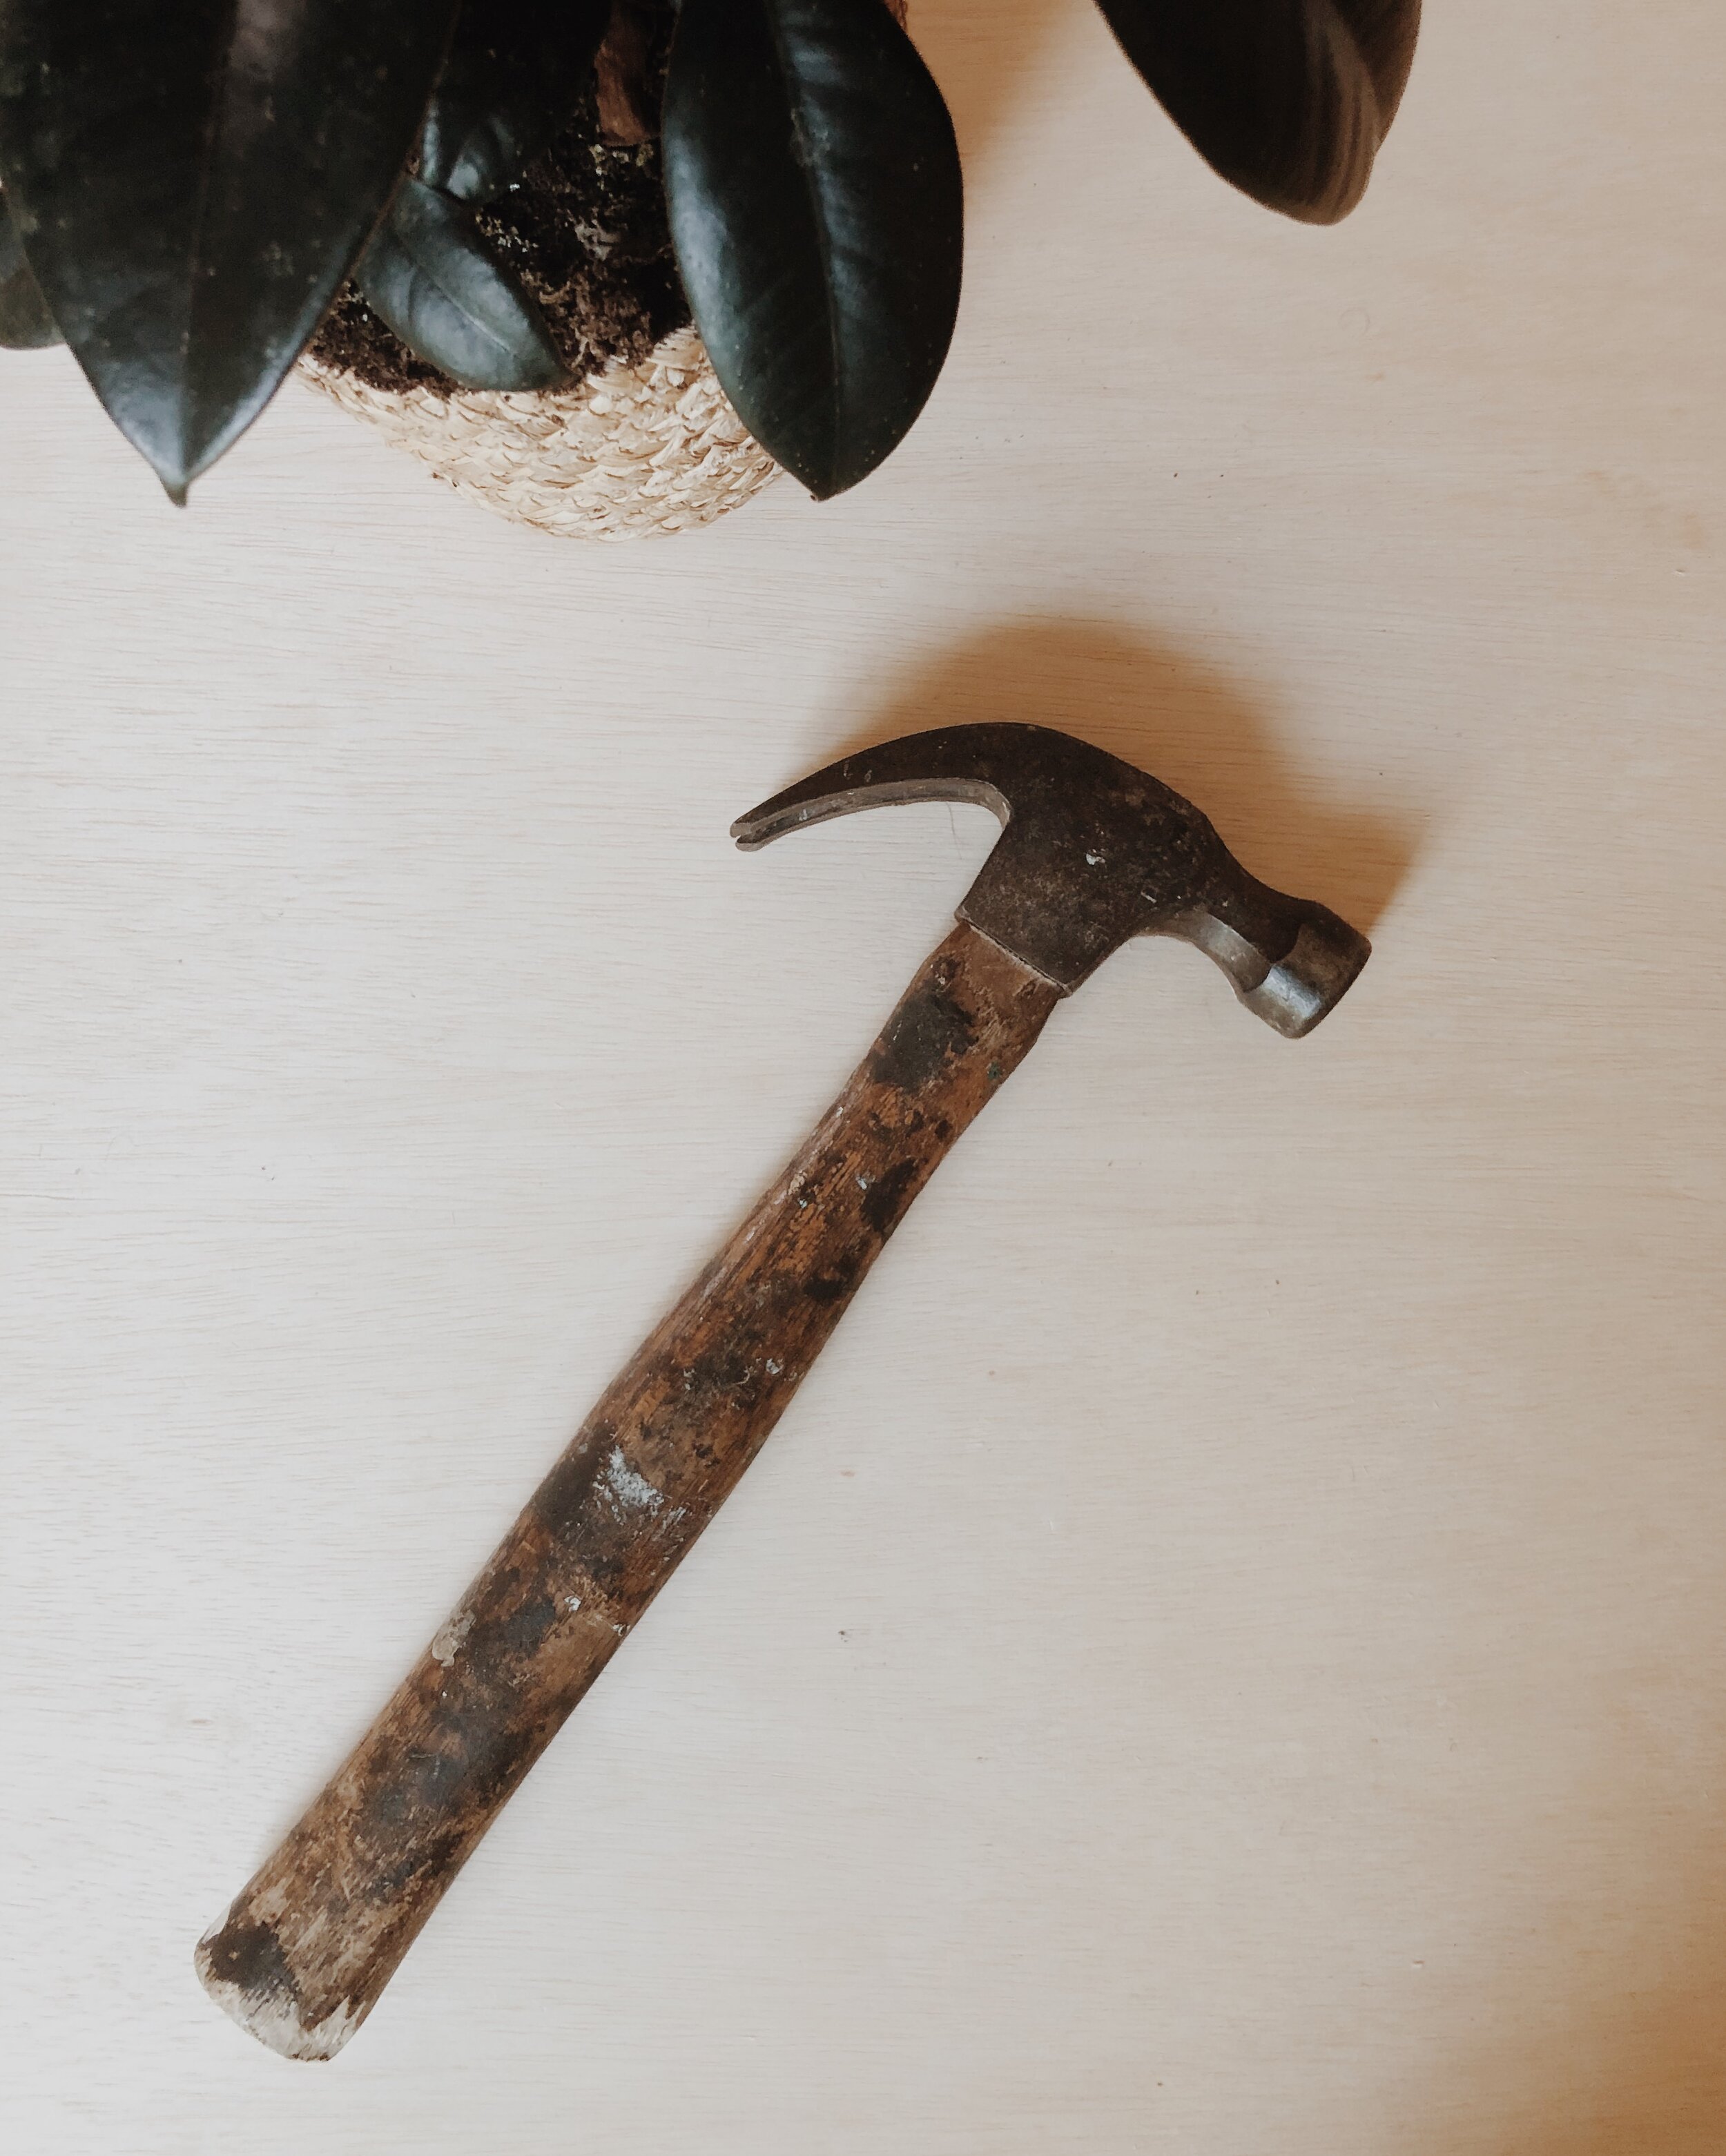
3.) Hammer
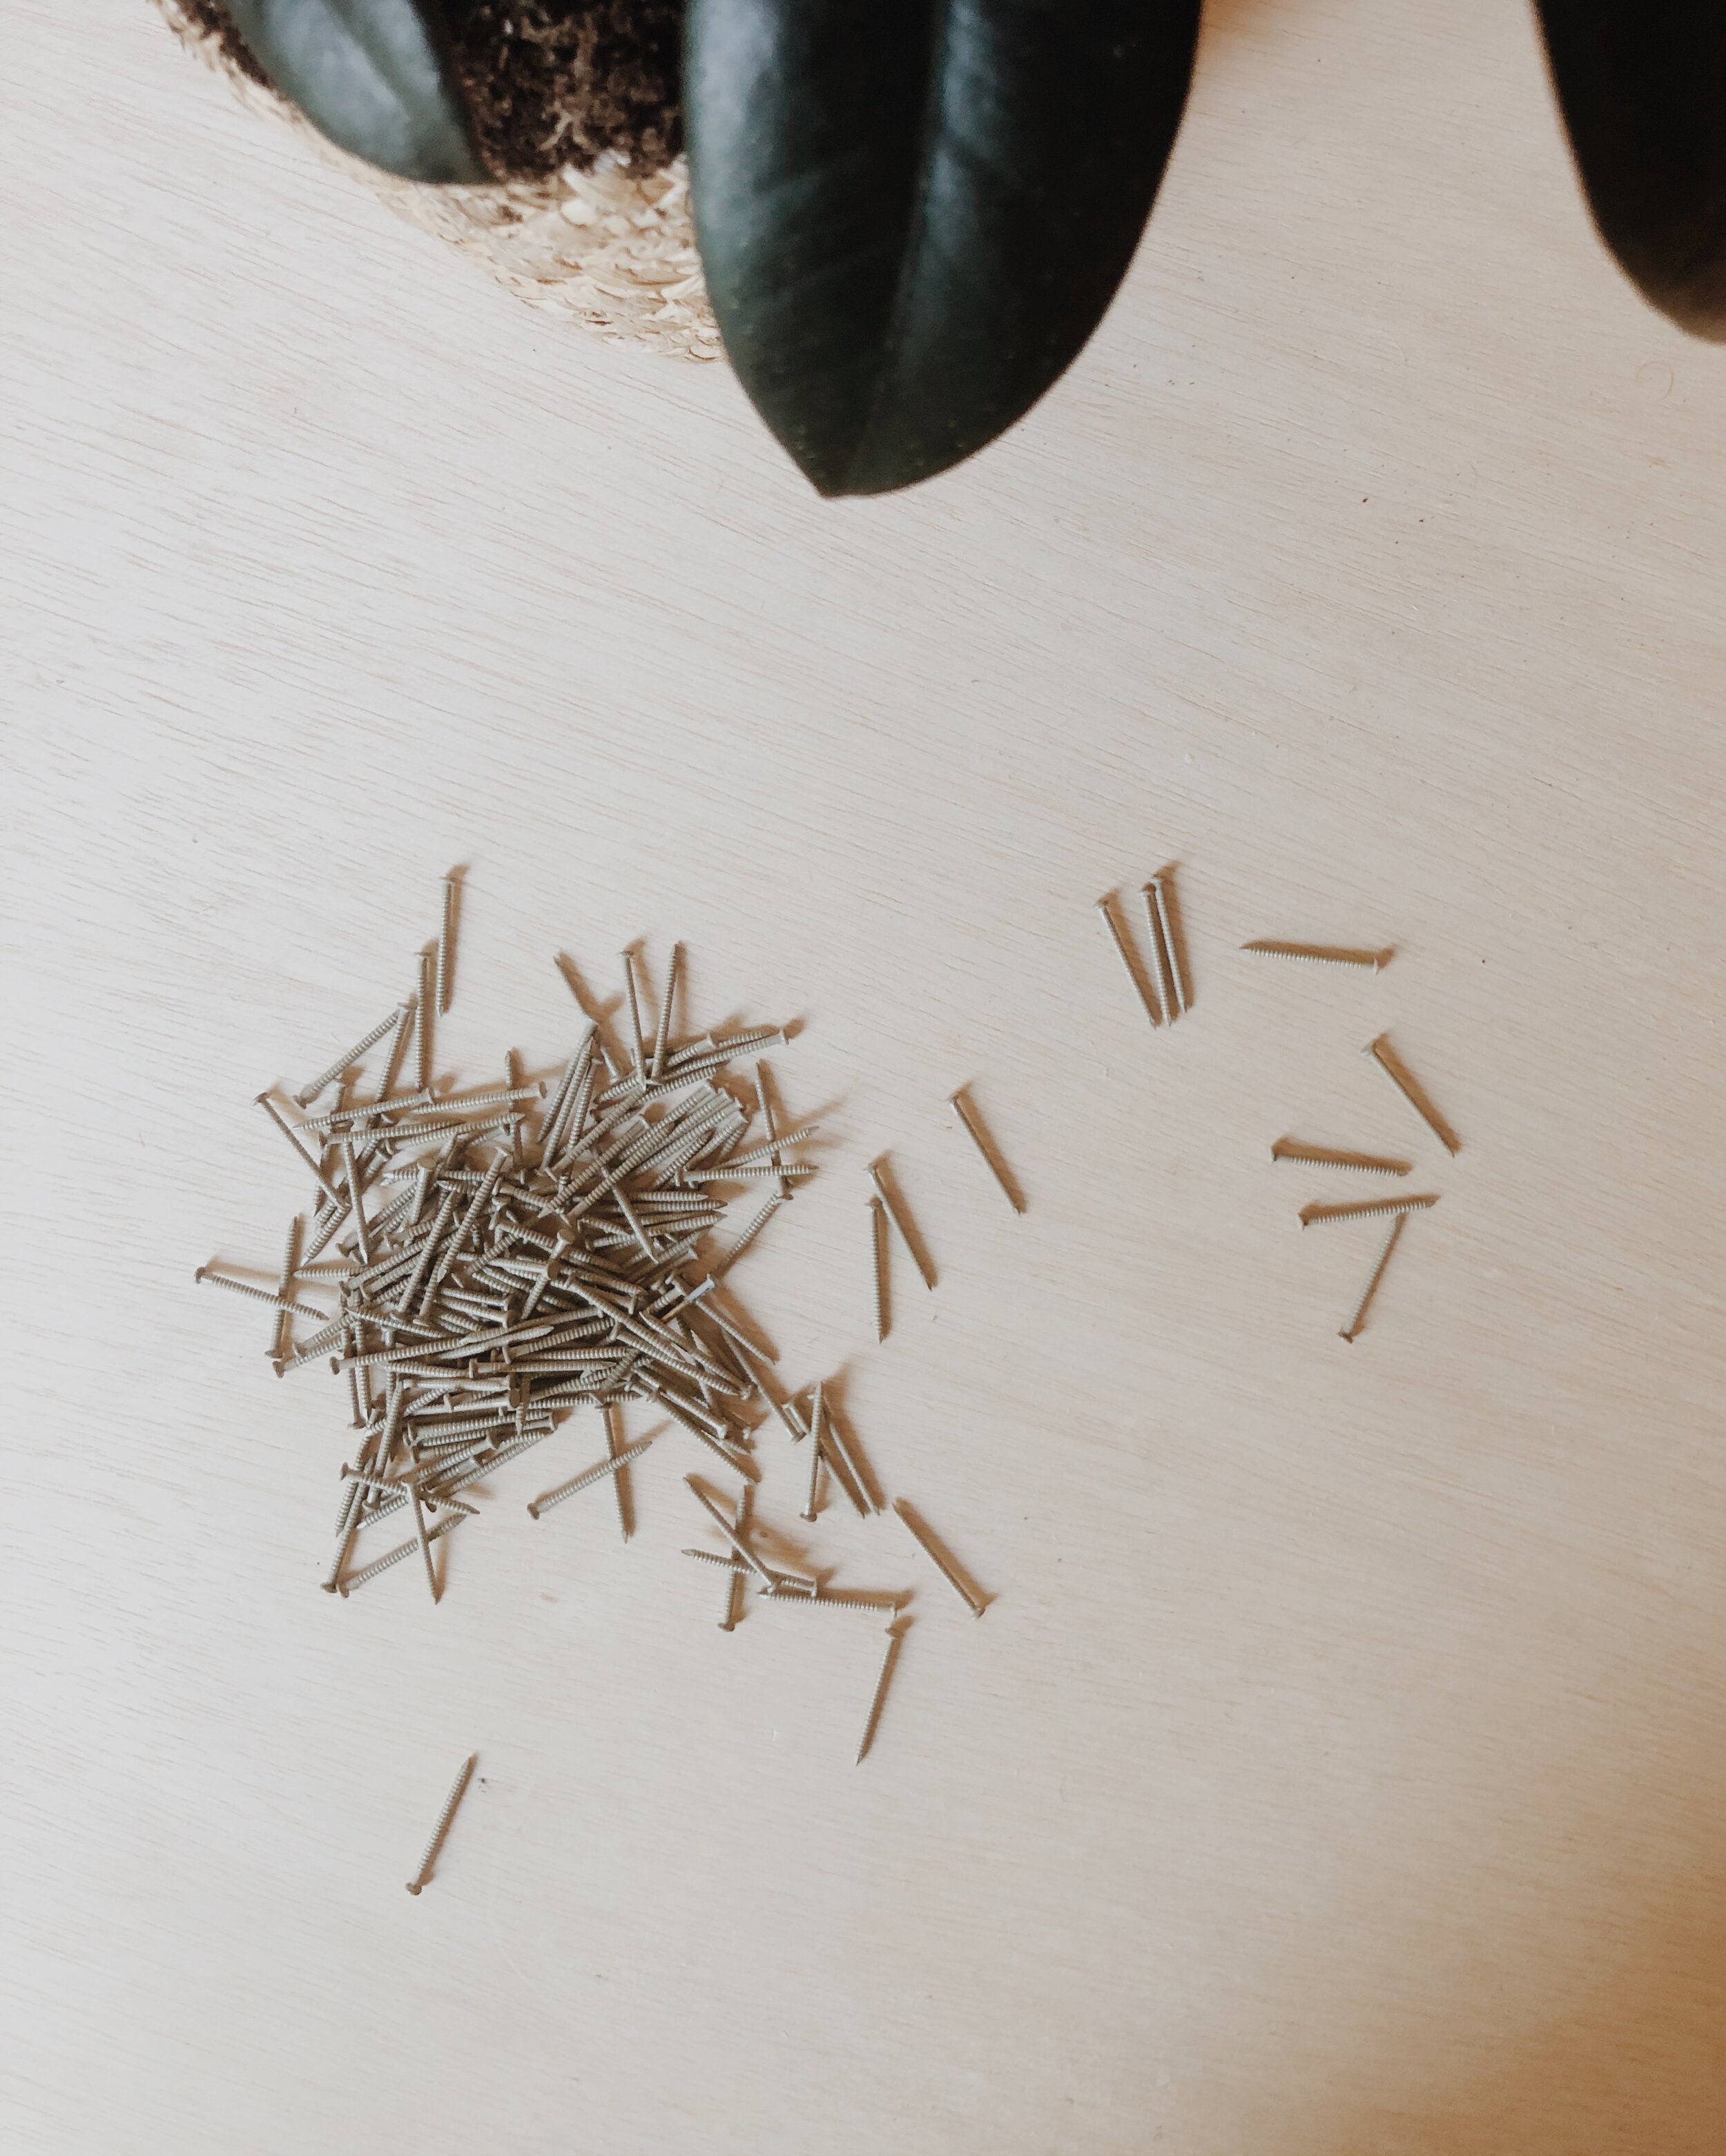
4.) Lots of Nails
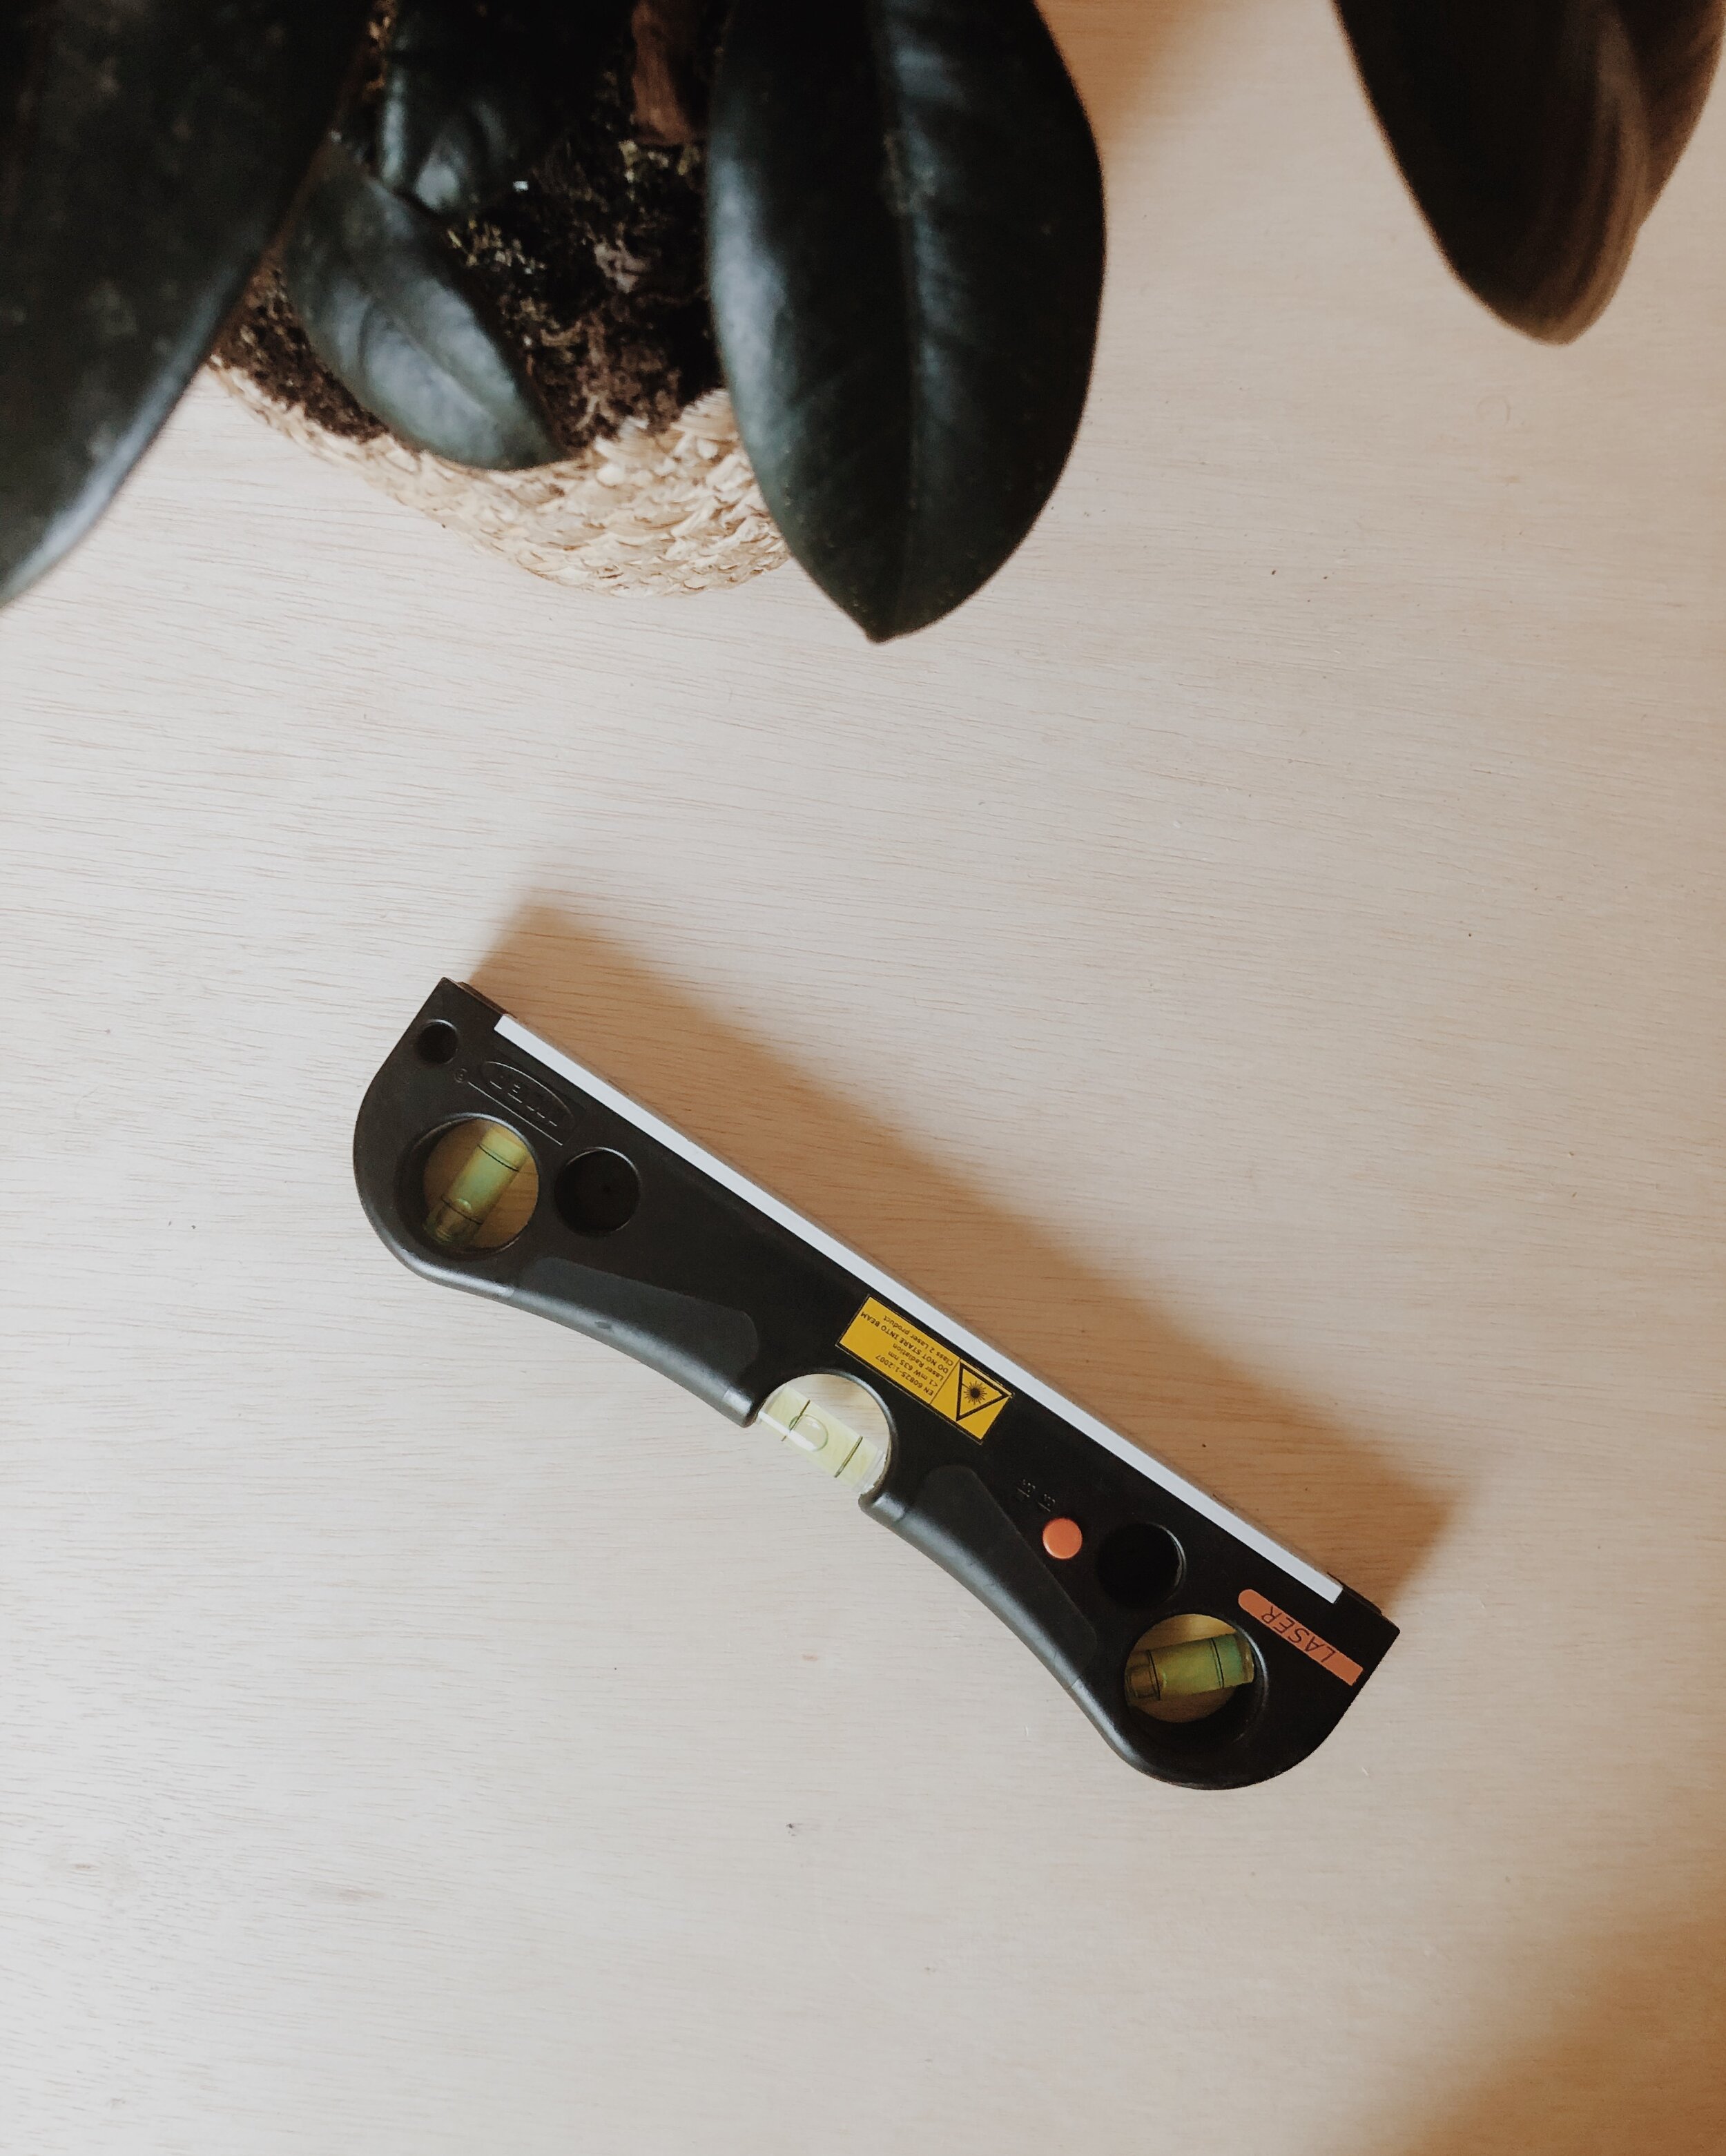
5.) A Level
6.) A Pen or Marker

STEP 1
Choose a space in your room to get an idea of how big you’d like to make the wall art. It’ll either be a square or a rectangle.
STEP 2
Once you choose the spot, Start by nailing in the top left corner nail, and measure how far to the right you’d like the next nail. Use the level to get a straight horizontal line.

STEP 3
My design will be a vertical rectangle, so I’ve started by measuring 7 inches (horizontally) in between each nail. I’ll only be hammering three horizontal nails to start.

STEP 4
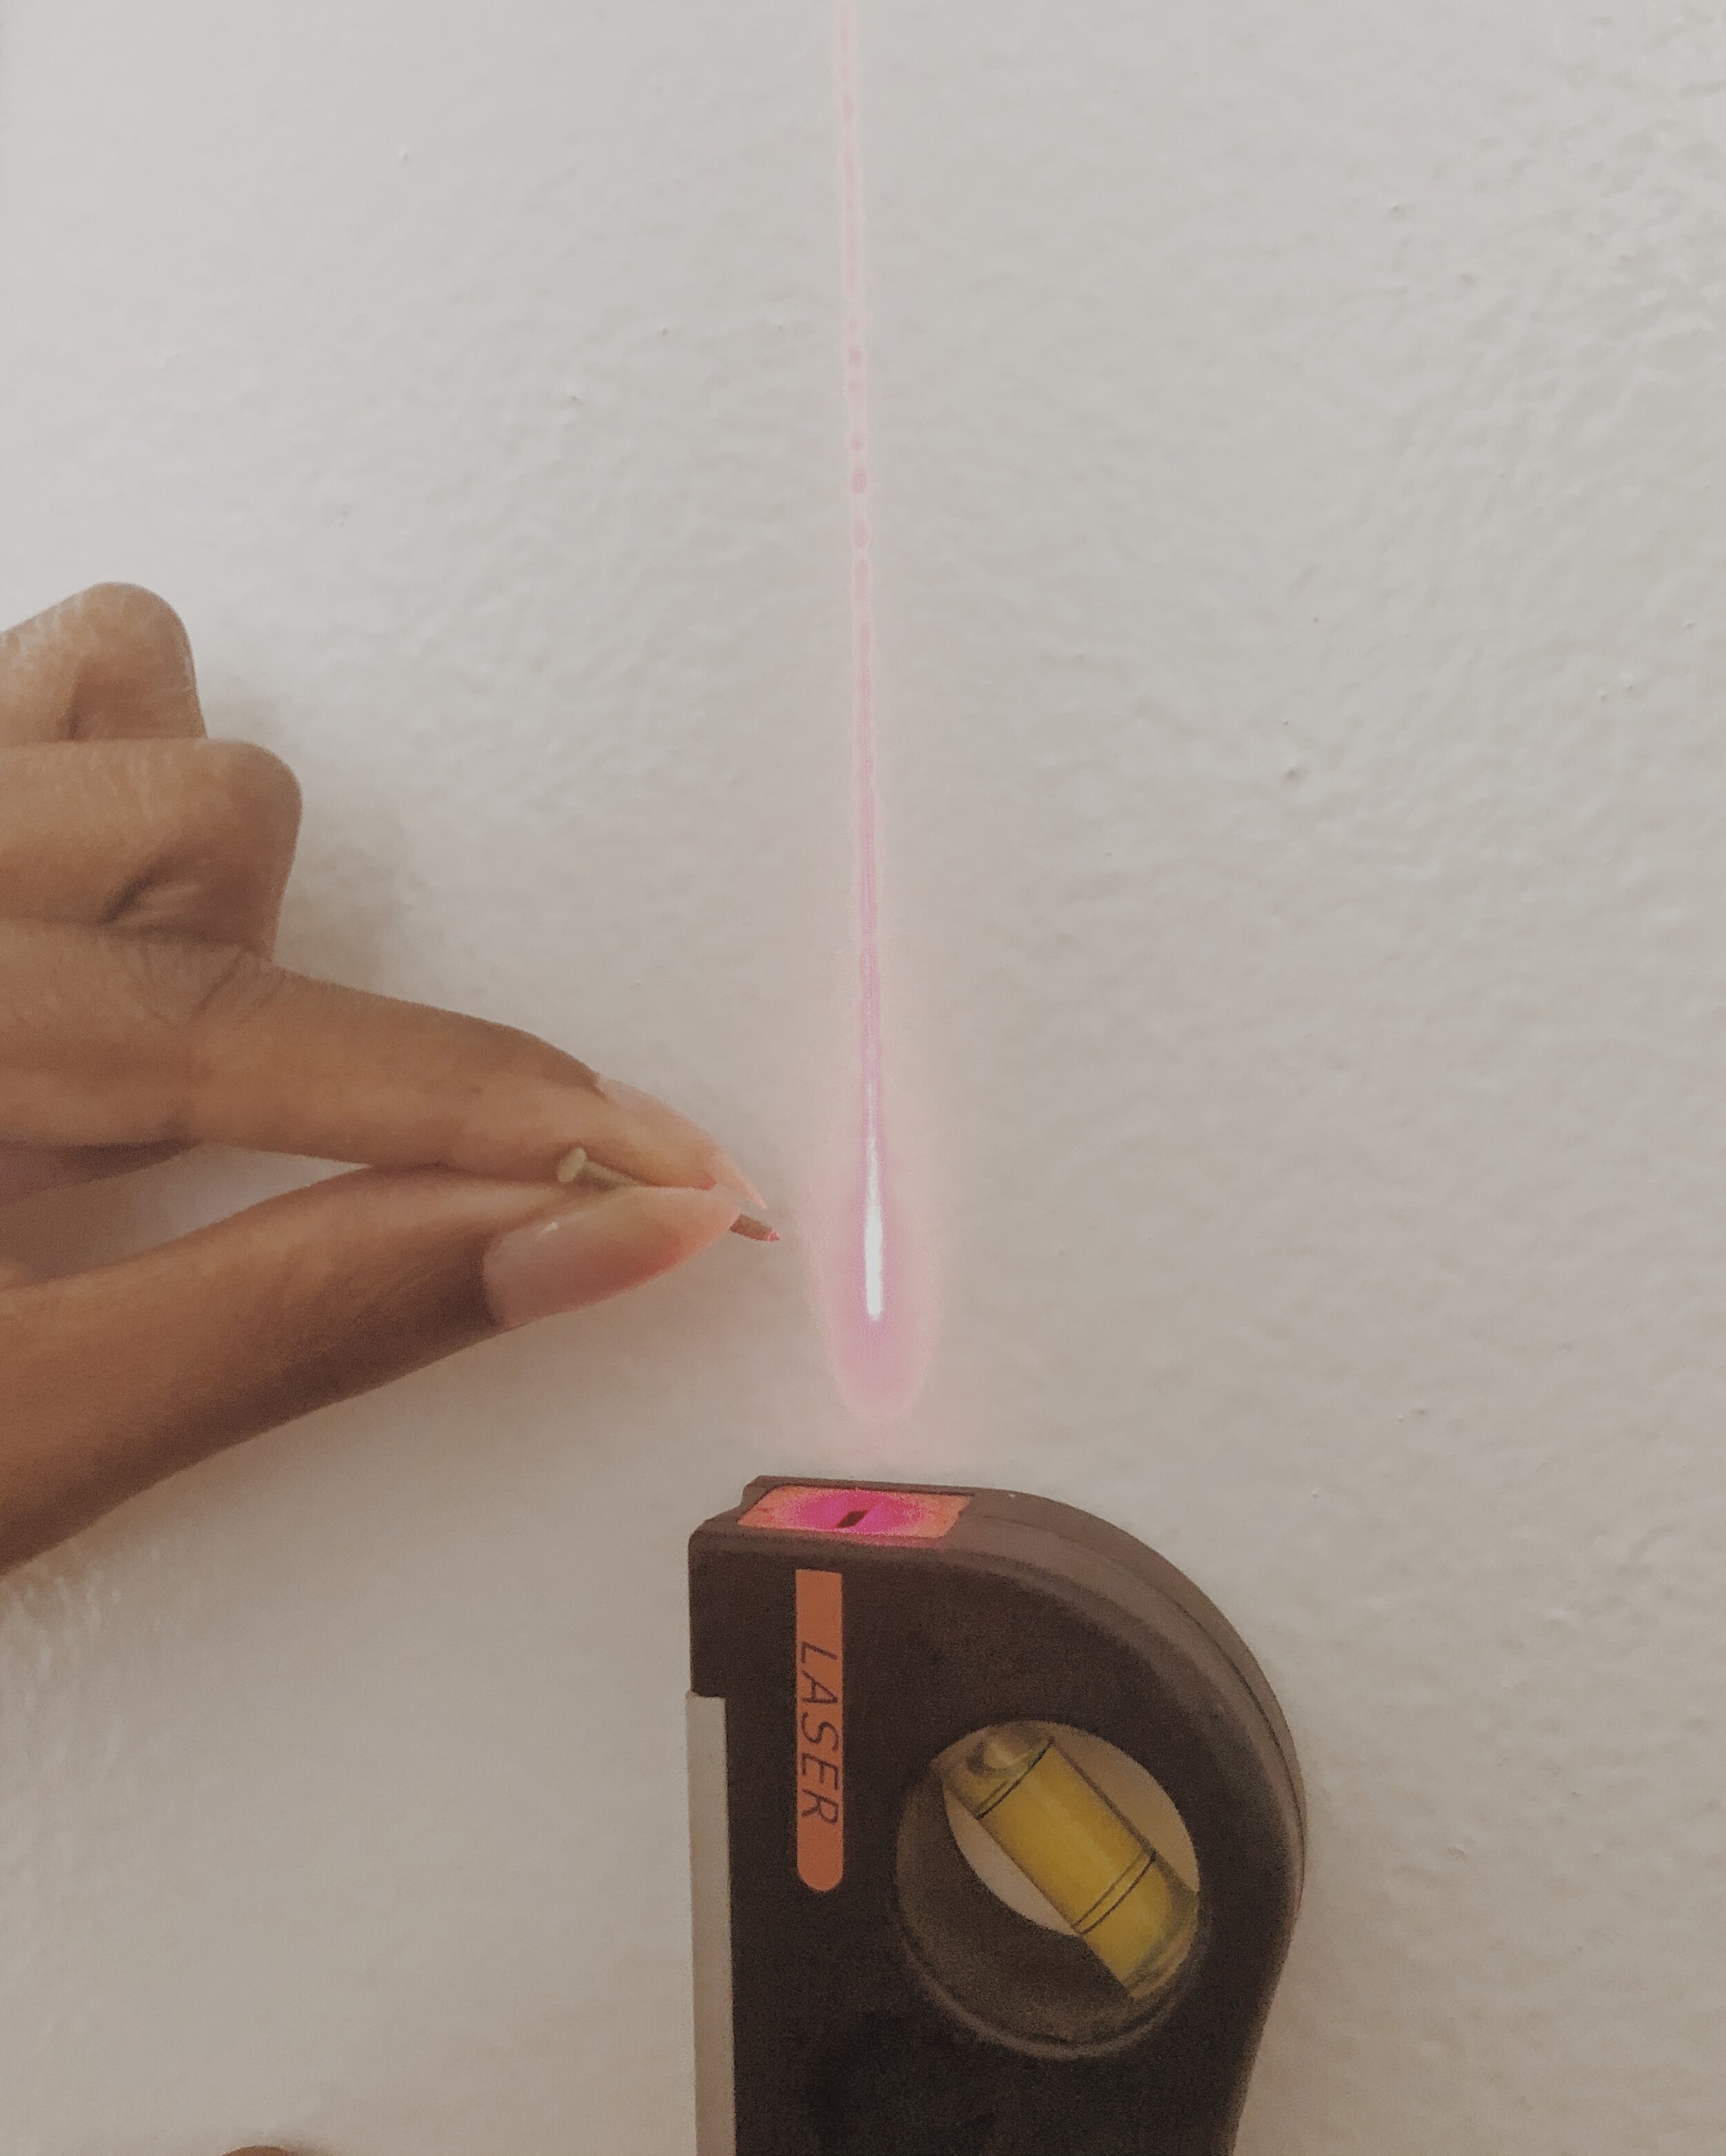
Choose how long (far down) you’d like your wall art. After this, you’ll need to hammer in the bottom left corner nail. You can use your laser-level to help you get the line straight - by using the top left nail as a reference to create a straight vertical-line. This creates the border of the wall art.

STEP 5
Measure 7 inches to the right to place the next nail. Use the laser-level to get a straight horizontal line. Measure another 7 inches to the right to mark the spot for the bottom right corner nail.
STEP 6
Hammer in the bottom right corner nail. This is the last nail you’ll need to complete the border for the wall art. You can use your laser-level to help you get the line straight - by using the top-right nail as a reference to create a straight vertical-line.

STEP 7
Now take your roll of twine and tie the end piece to the top right-corner nail. Make a knot around this nail. Then use the twine to wrap a border around each nail. One wrap-around each nail will do.

STEP 8
Wrap until you make it back to the top left-corner nail. Now you have your border! Make another knot when you’ve made it back to the top left-corner nail.

STEP 9
Release your string, so that you can start making marks for each border nail you’ll need to hammer in. For this design, I chose to go down 8 nails - two inches in between each nail. I did this on both vertical sides of the border.

STEP 10
After you’ve made all of your marks, start hammering in all of the nails.

STEP 11
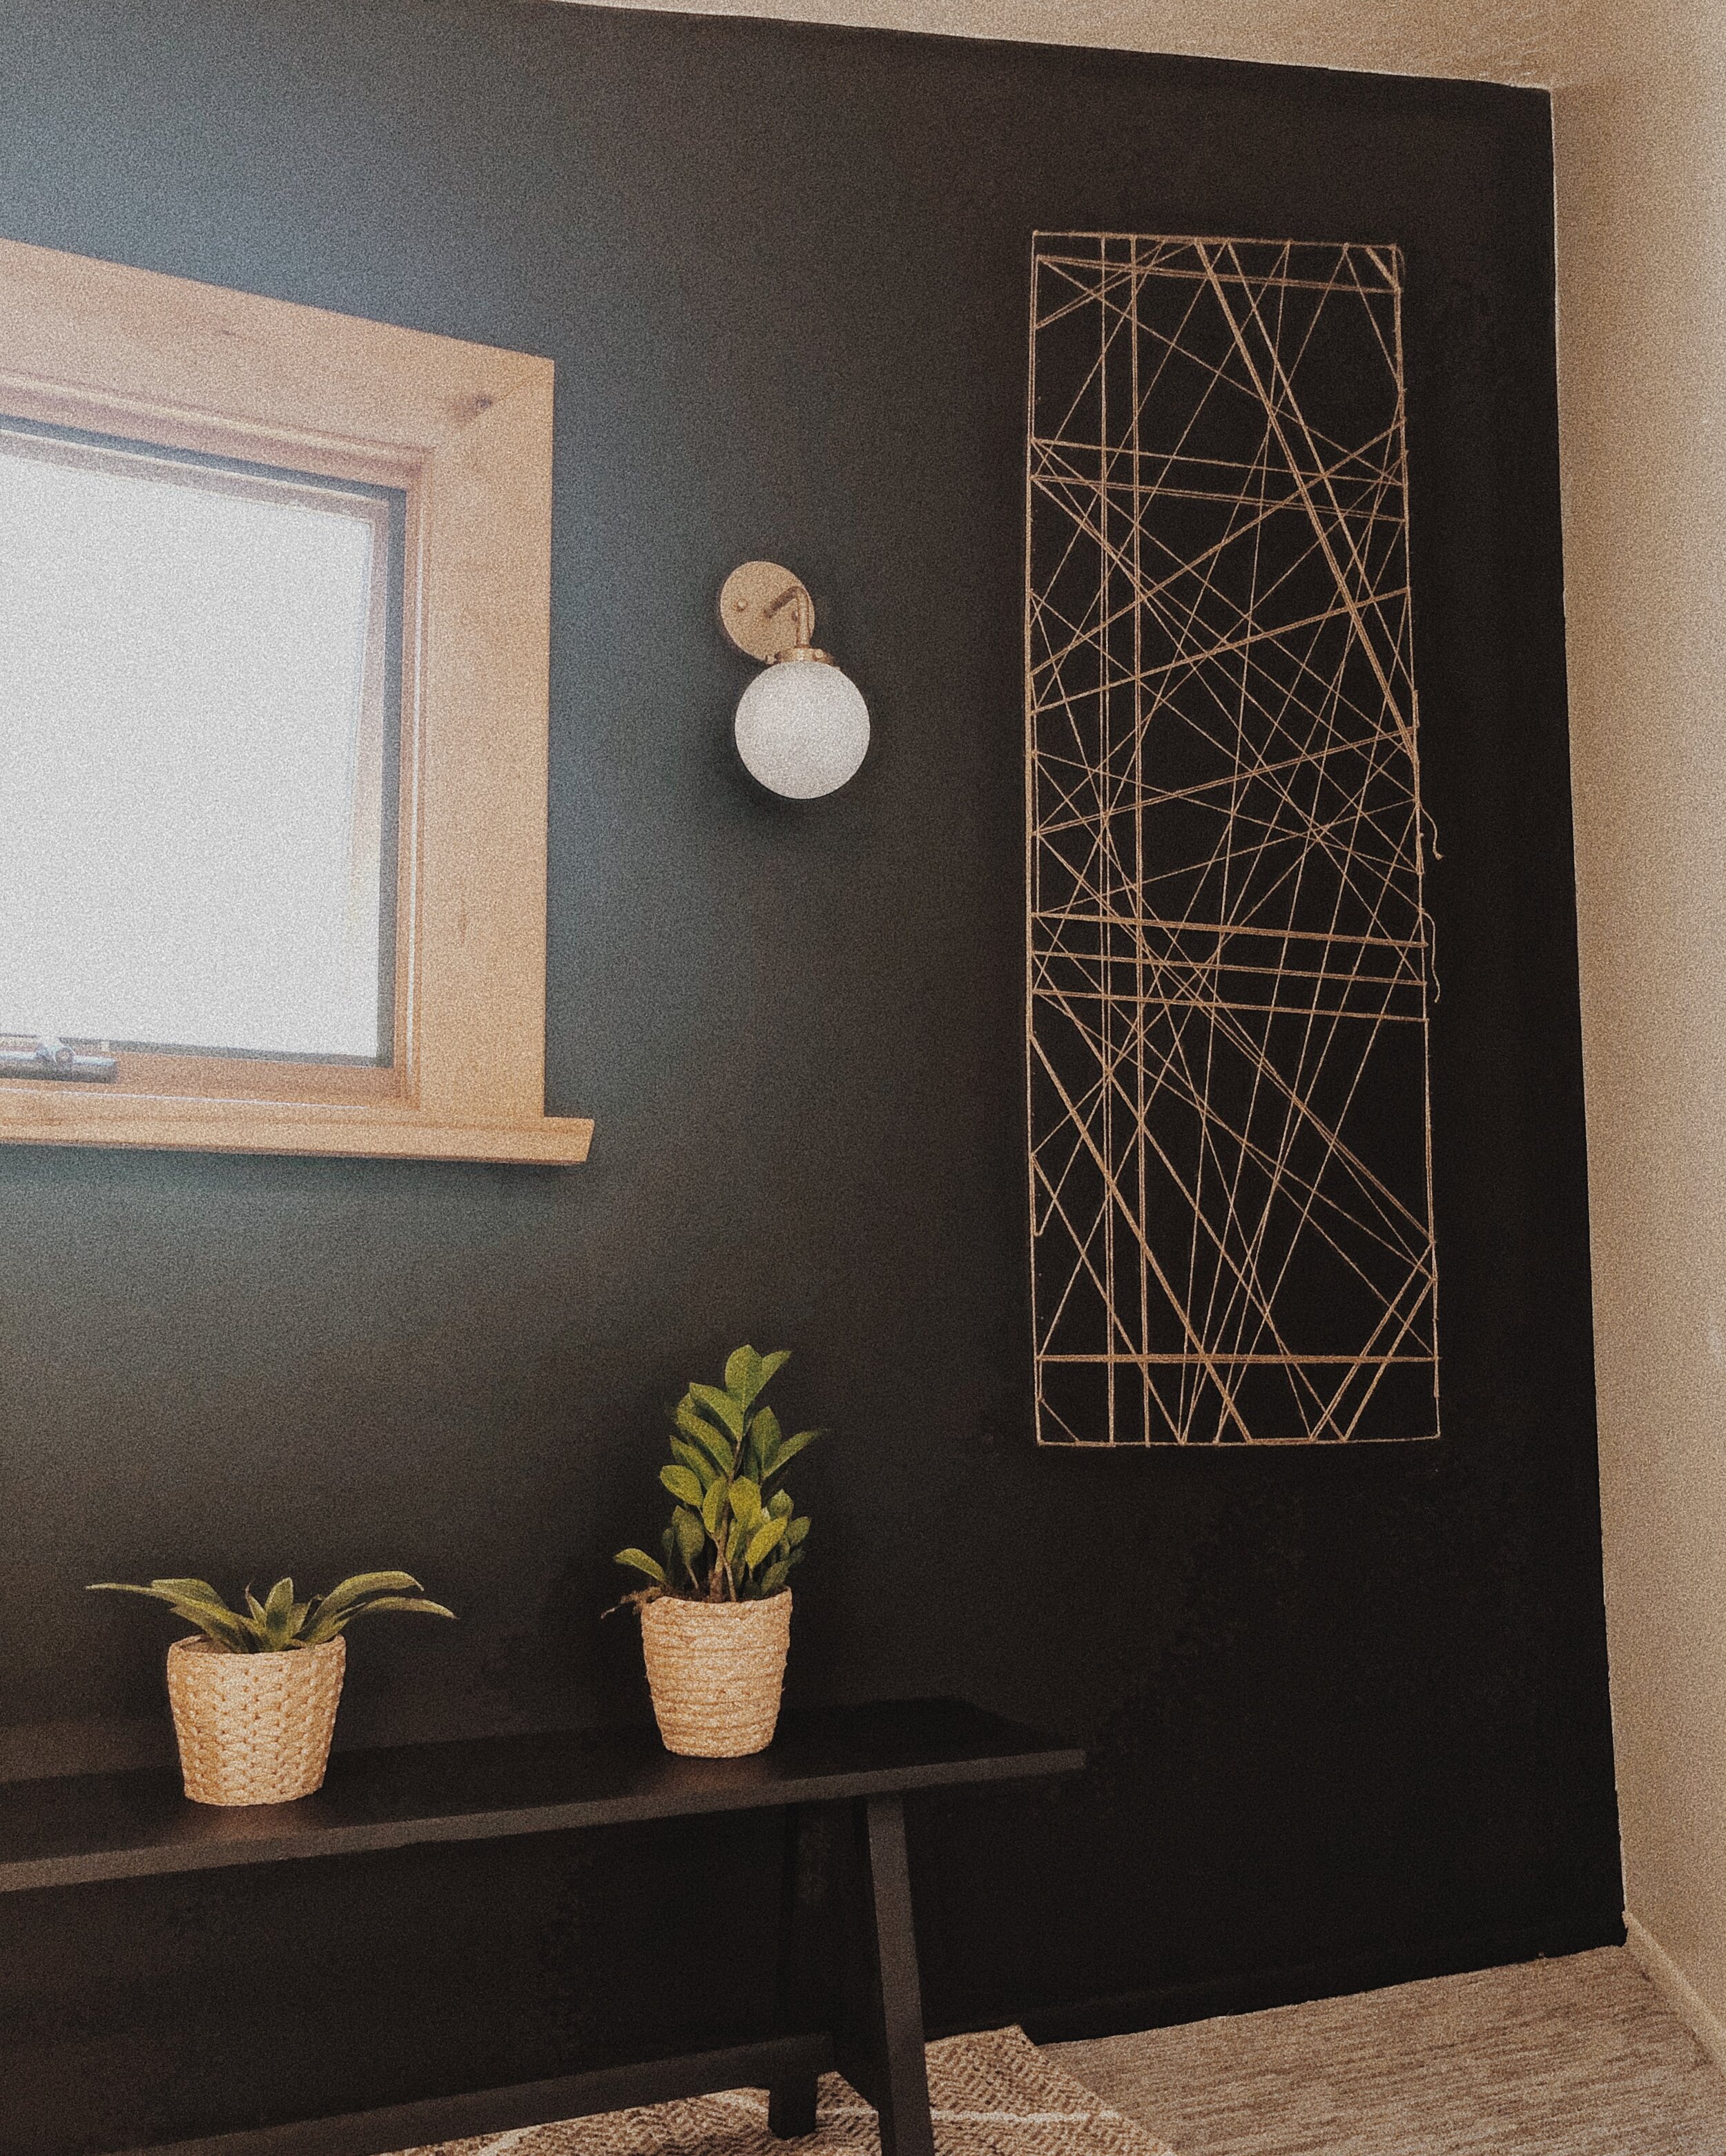
Above, is a picture of what it will look like once you’ve hammered in all of your border nails. Afterwards, I decided to add a nail in the center of the art piece. I thought this would make a really cool geometric pattern.

STEP 12
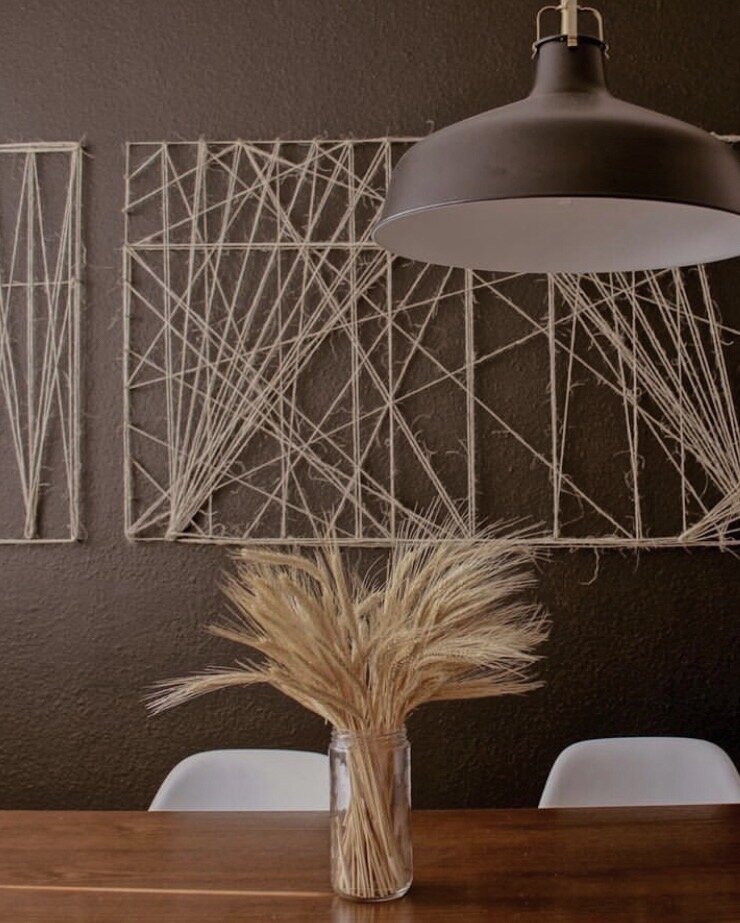
Now grab your jute twine from the top left corner, and free-style a design!

There are no rules as to what design you can come up with. Just be creative and do what you feel. This is what makes a piece like this custom and unique!

Here’s the design I came up with this time around!

Now you know how to make my jute twine wall art installation! Its such a fun art piece to create and I can’t wait to see your wall art! If you post your piece to instagram, please hashtag #TrueHomeDIY.
Drop a comment below if you have any questions, and I’ll get back to you ASAP!
Happy Designing & DIYing,
Ajai