
How we updated our bathroom on a $250 budget

The $250 Budget
When we moved into our house we had to update both of our bathrooms in a hurry! Neither one of the bathroom’s toilets or sinks were water compliant (up to code) therefore, we could not have the water or gas turned on. This left us with a small budget, needing to update two bathrooms! After updating the larger bathroom, we were left with $250 to remodel the half-bath. Below is a before photo of what we were working with.

Getting Started
To get started, we thought it would make the most sense to immediately swap out the toilet and sink, as they were the primary reason we could not have the water and gas turned on. We found a traditional toilet and vanity during a BOGO deal! We bought the toilet for our full bath and got a toilet free, and bought a vanity for our full bath and got one free. We used the free toilet and sink for our half bath.
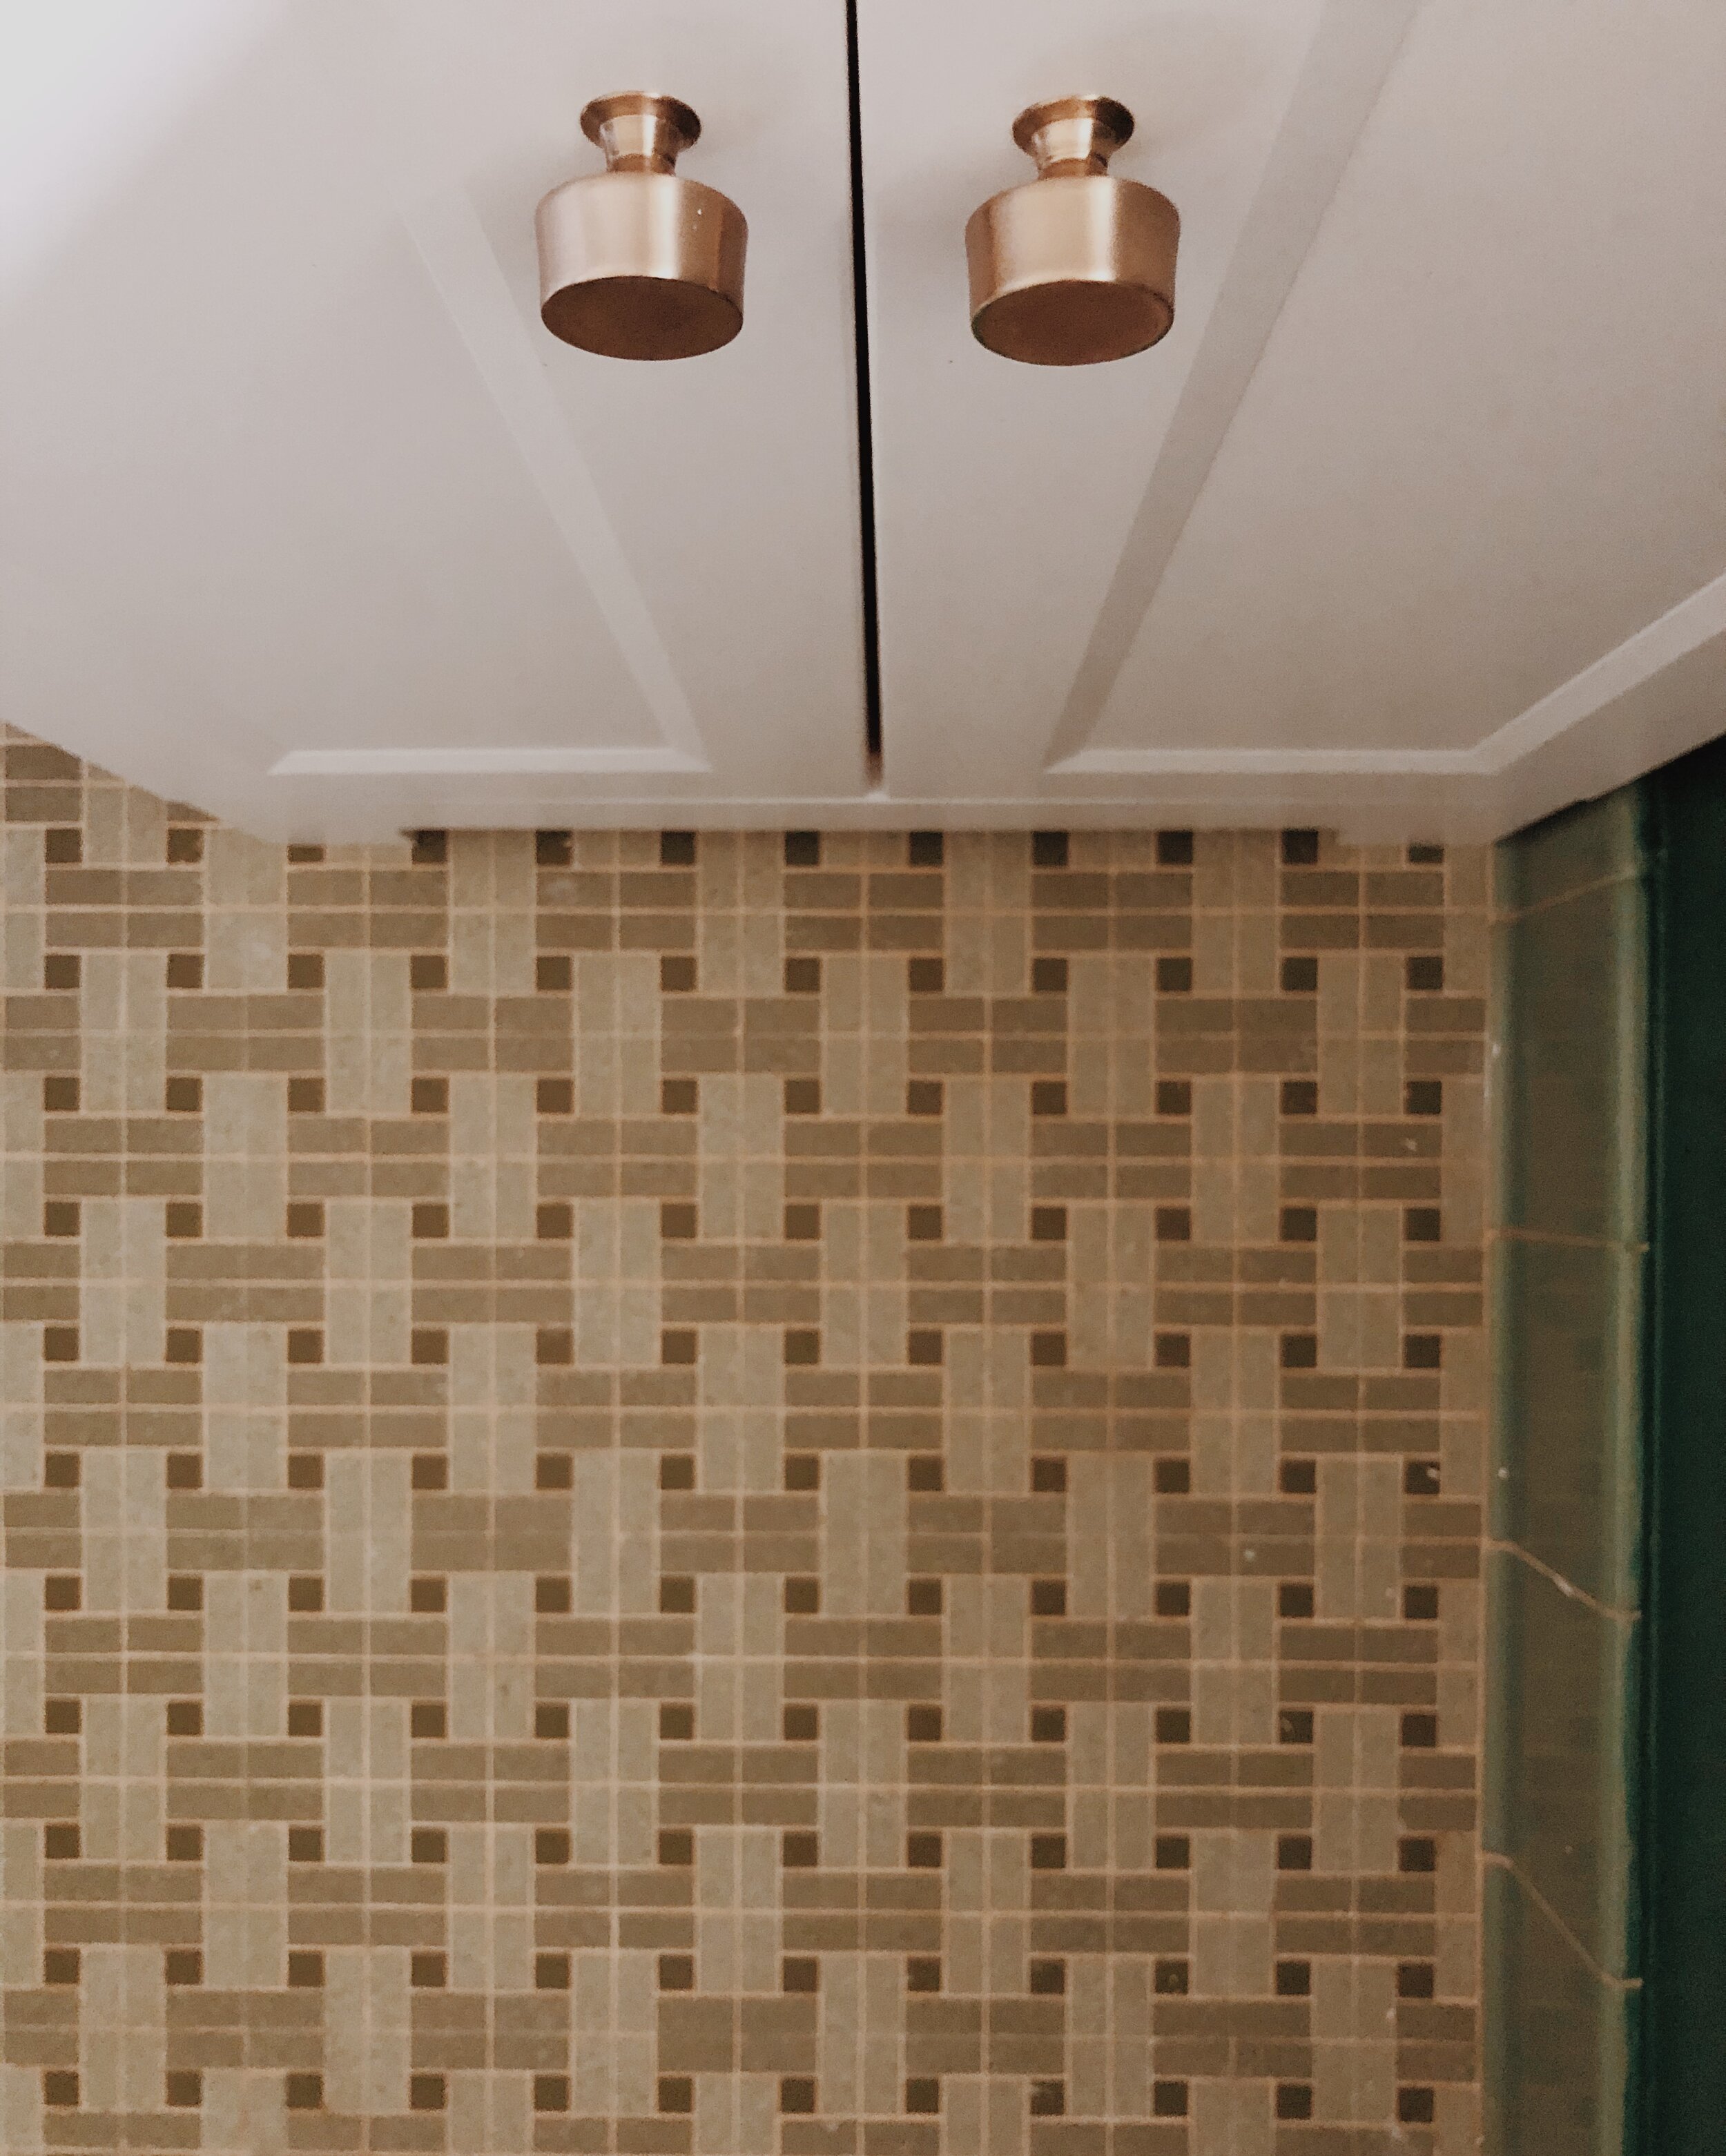
We also purchased different vanity knobs, a brass faucet, and sconce to go along with our design concept.

Design Concept
We decided on “vintage and quaint” for our design concept. This meant we would keep our older tile and use it as an inspiration for the new design! This lead us to choosing a paint color that would compliment the already existing floor tile.
Sweat Equity
We wanted to do all of our own work in this space, because we knew we’d get more bang for our buck. So we did all of our own patch work after removing the existing medicine cabinet and hardware.
We even swapped out the vanity and toilet on our own.

Mounting hardware first
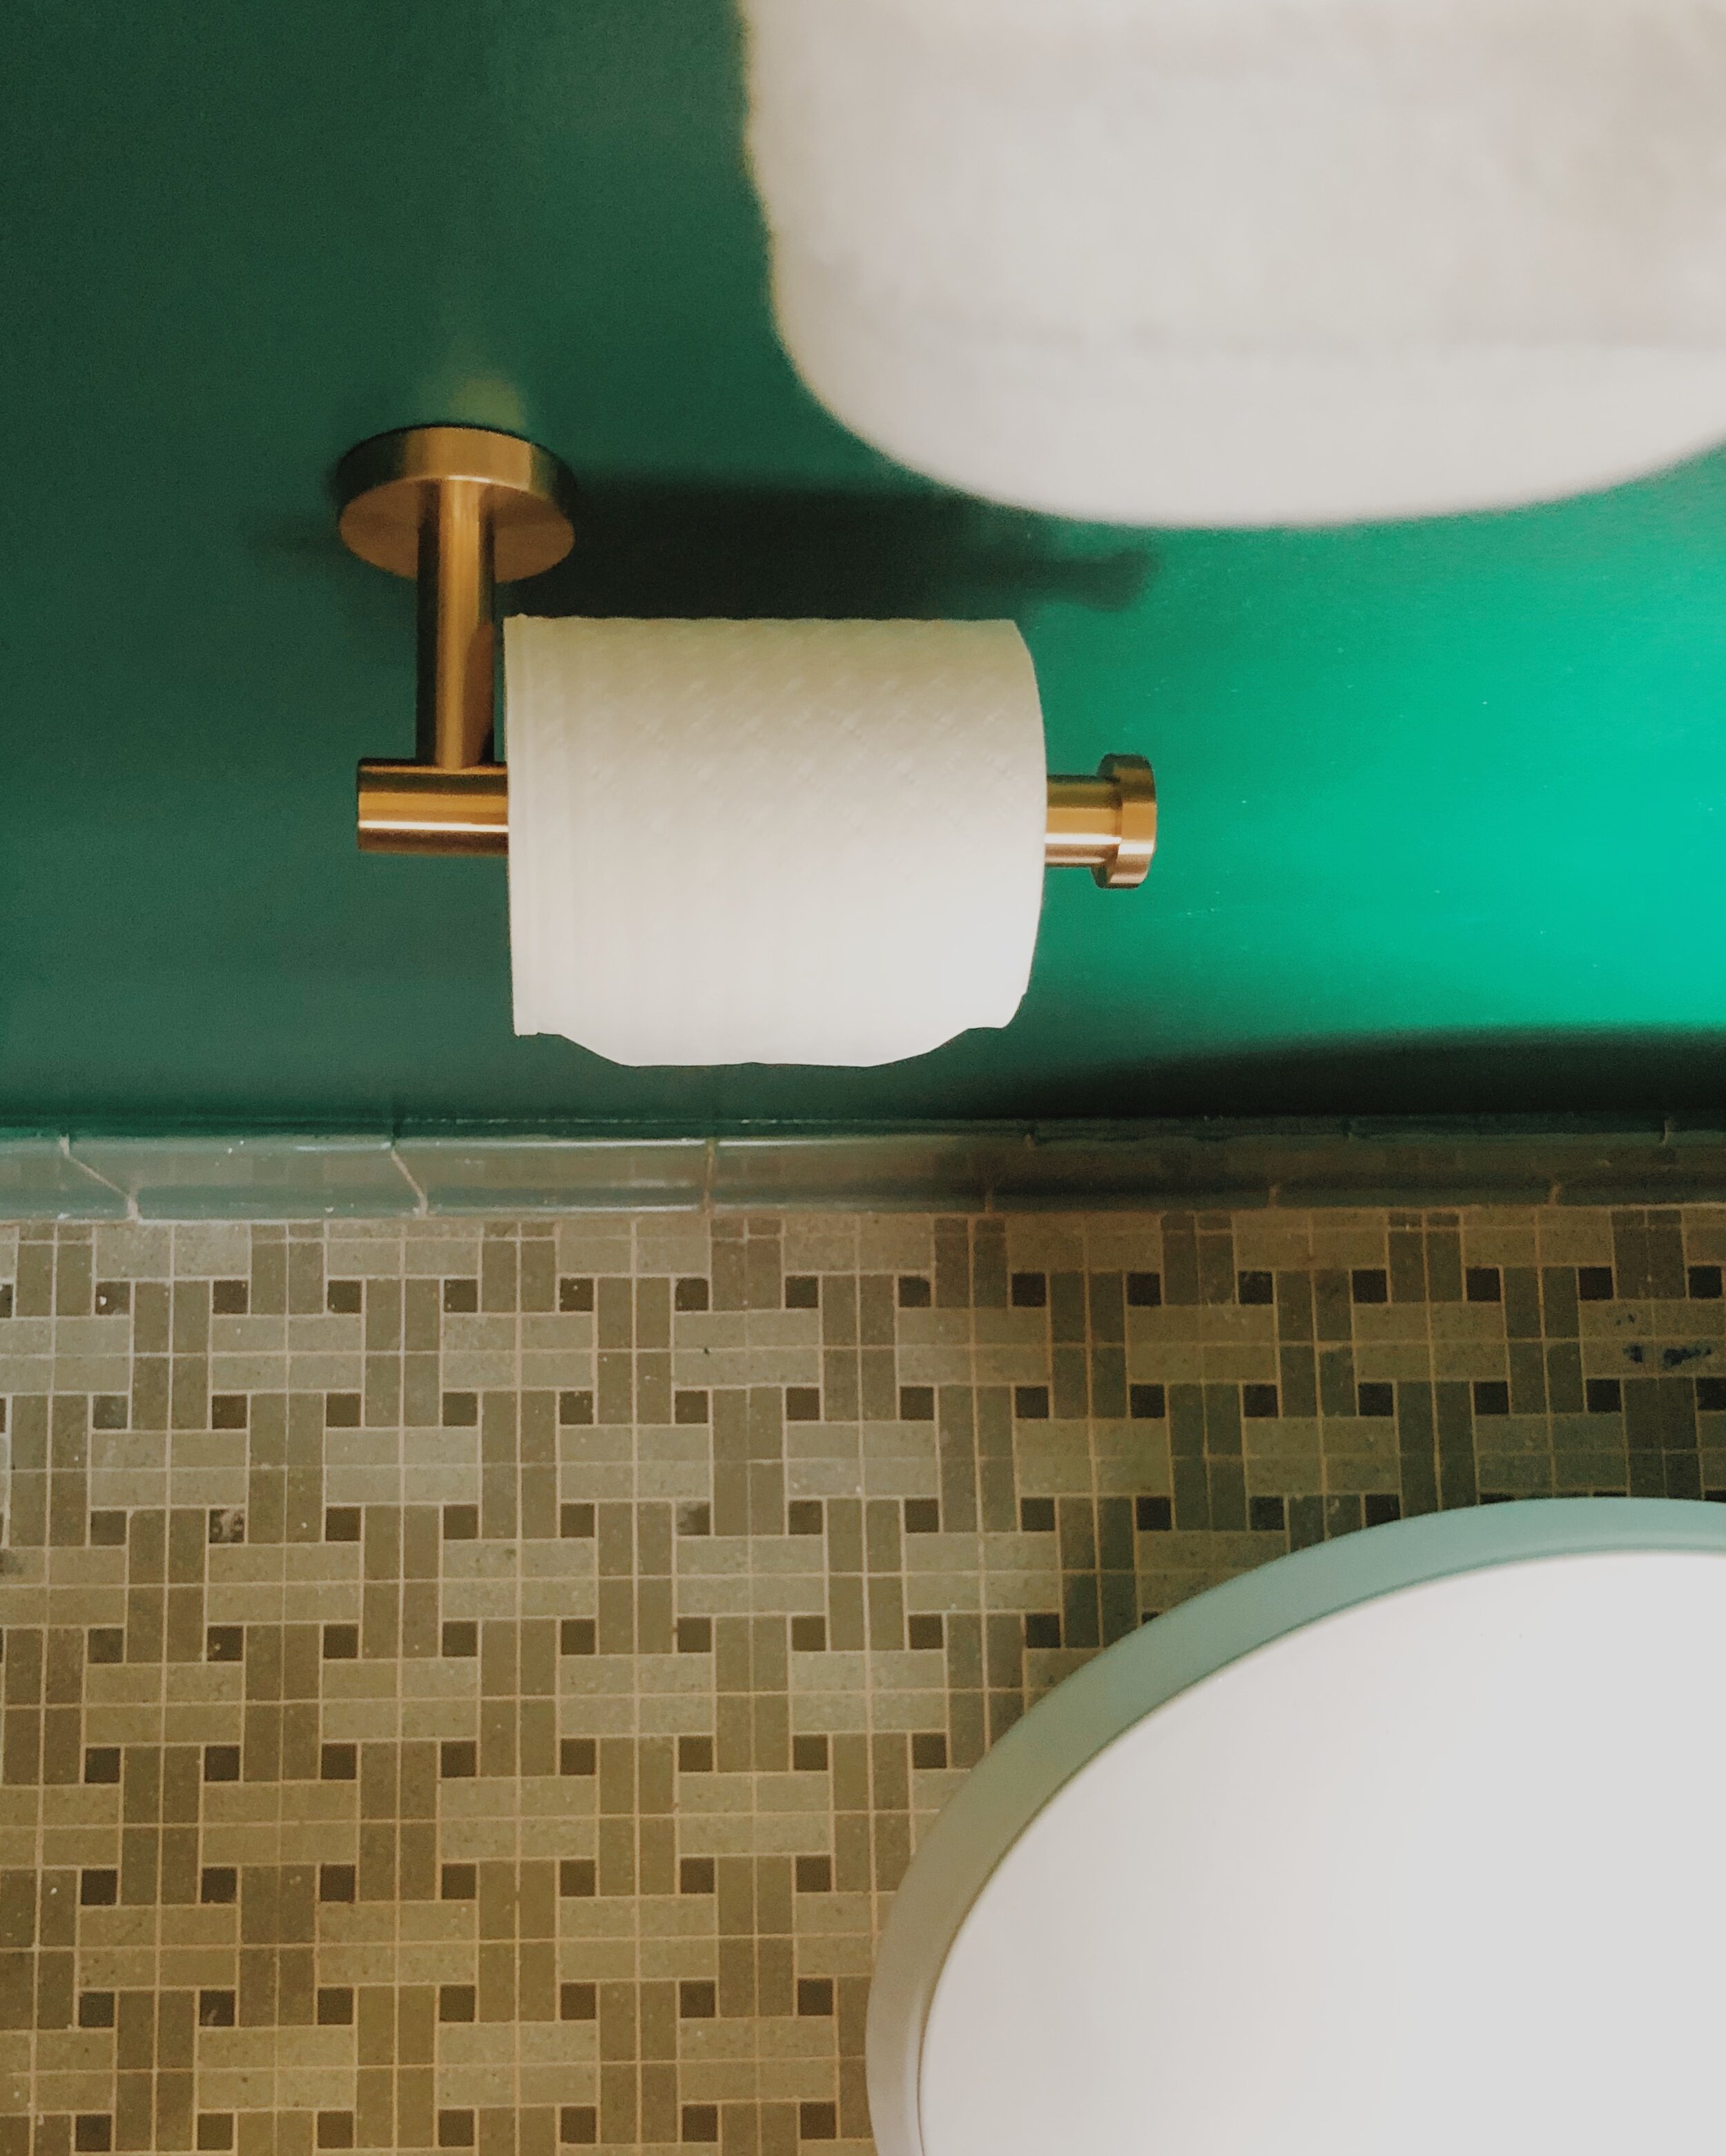
From there, we mounted the new hardware, as it’s important to do this before starting any painting. Creating the holes for hardware like, toilet paper and towel holders, vanity mirrors, shelves and sconces, allowed us to get everything leveled and in the right spot. We removed the finishing hardware pieces once we had the correct positioning.

Time for Paint
Next, we prepped for paint! We used a laser-level to create a division line with painter’s tape. We decided to paint the top half of the bathroom white, and the bottom half Behr’s Billiard Green. This way we only had to purchase a small amount of paint and were able to use some left-over white paint we already had. After the paint dried, we removed the painter’s tape and added in the hardware. We replaced the original vanity knobs with new knobs, to achieve the quaint feel we desired for the space.

Styling
When it came to styling our bathroom, we decided to only purchase the functional pieces that were a necessity. We bought a marble soap dispenser, toothbrush holder, and a marble canister jar. We already had an extra Glassy Baby hanging around the house, and it happened to match well with the paint color, so we incorporated it into the design. The plants, soap, and toilet paper were also essential items that we already had - and made sense to style into the space.

The end result
There you have it! That’s how we designed our half bath for just $250. It was so important for us to make budget-friendly decisions when updating our bathroom. This way, we could splurge in the areas where it really counted - like our kitchen renovation for instance!